Turning One: Growing Month-by-Month

Turning One: Growing Month-by-Month

Everyone tells you that the first year of having a baby goes by quickly. Now having lived through that first year, I can attest to that being more than true! It flew by. Every minute of it! I had the idea to take a picture of Madalyn each month on her “month birthday” so Bryan and I could look back and see how fast she grew, and I am so glad that I did! I also used chalkboard in the pictures that would have the month written on it. This idea had two purposes: (1) It showed how old she was at the time the picture was taken (the obvious reason for using the chalkboard!) and (2) It was an object that didn’t change size, so it was something we could use as a comparison as she grew!

IMG_0348

IMG_2919

IMG_4896

(LOVE her!)

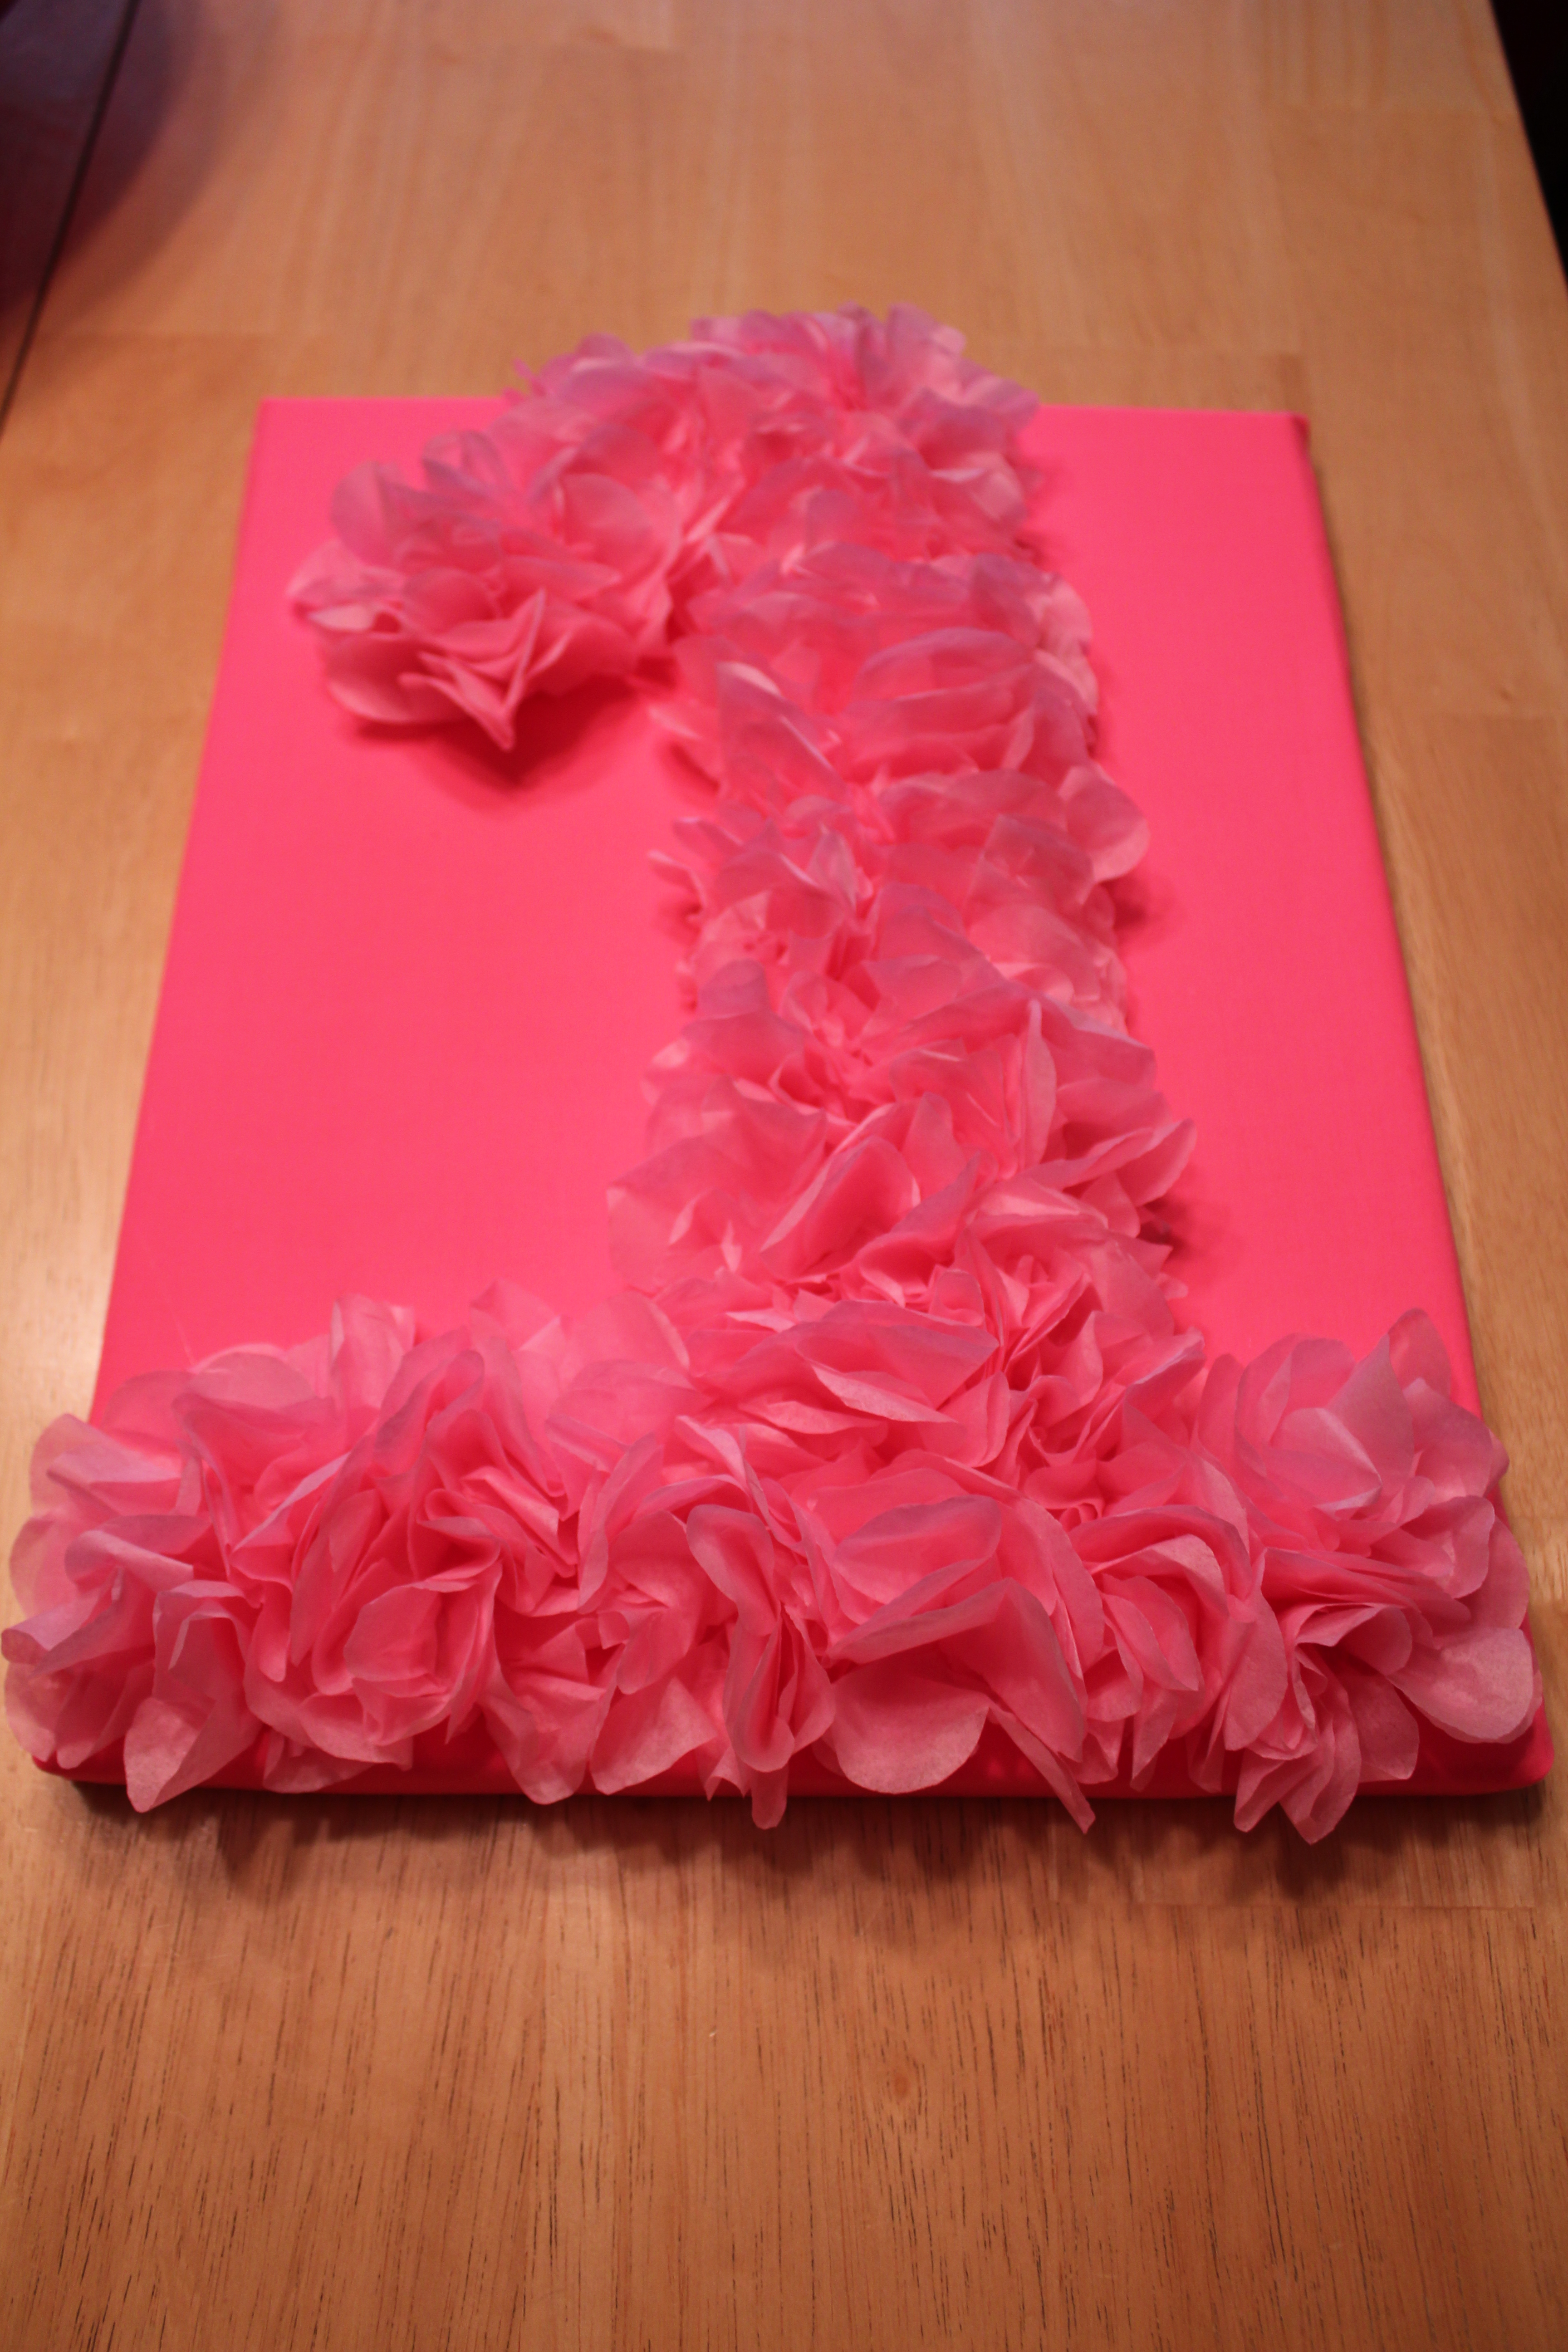
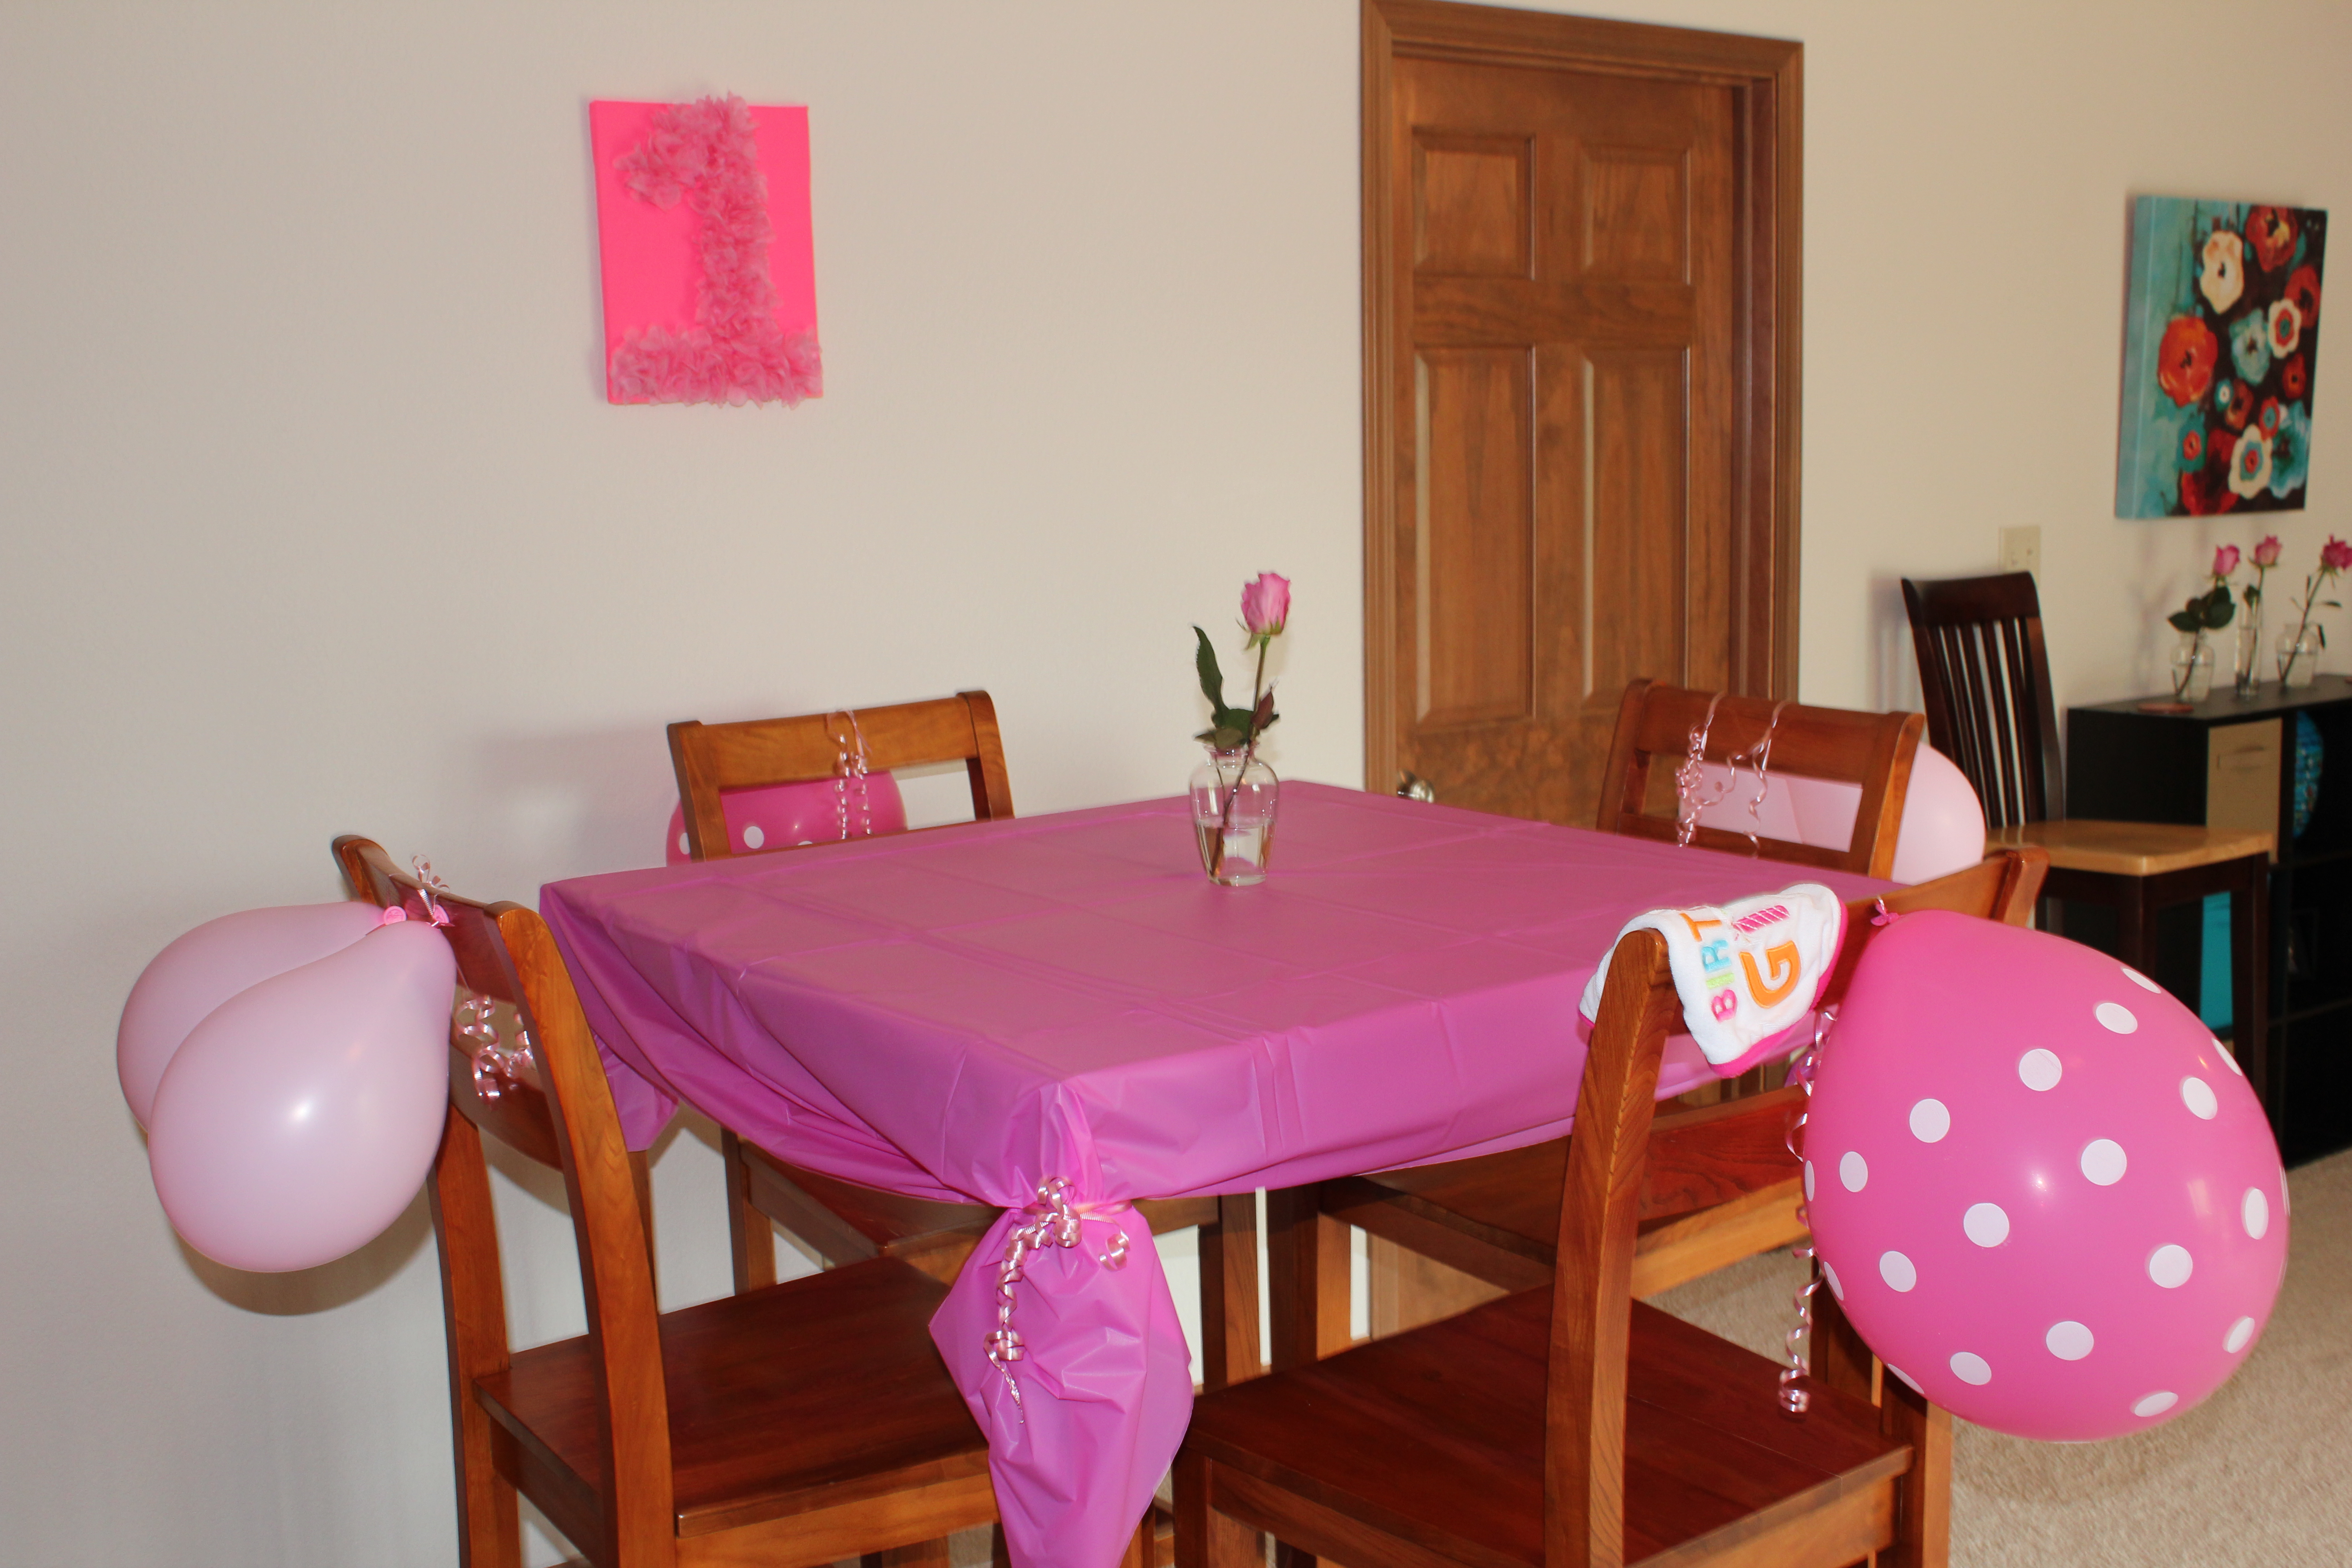
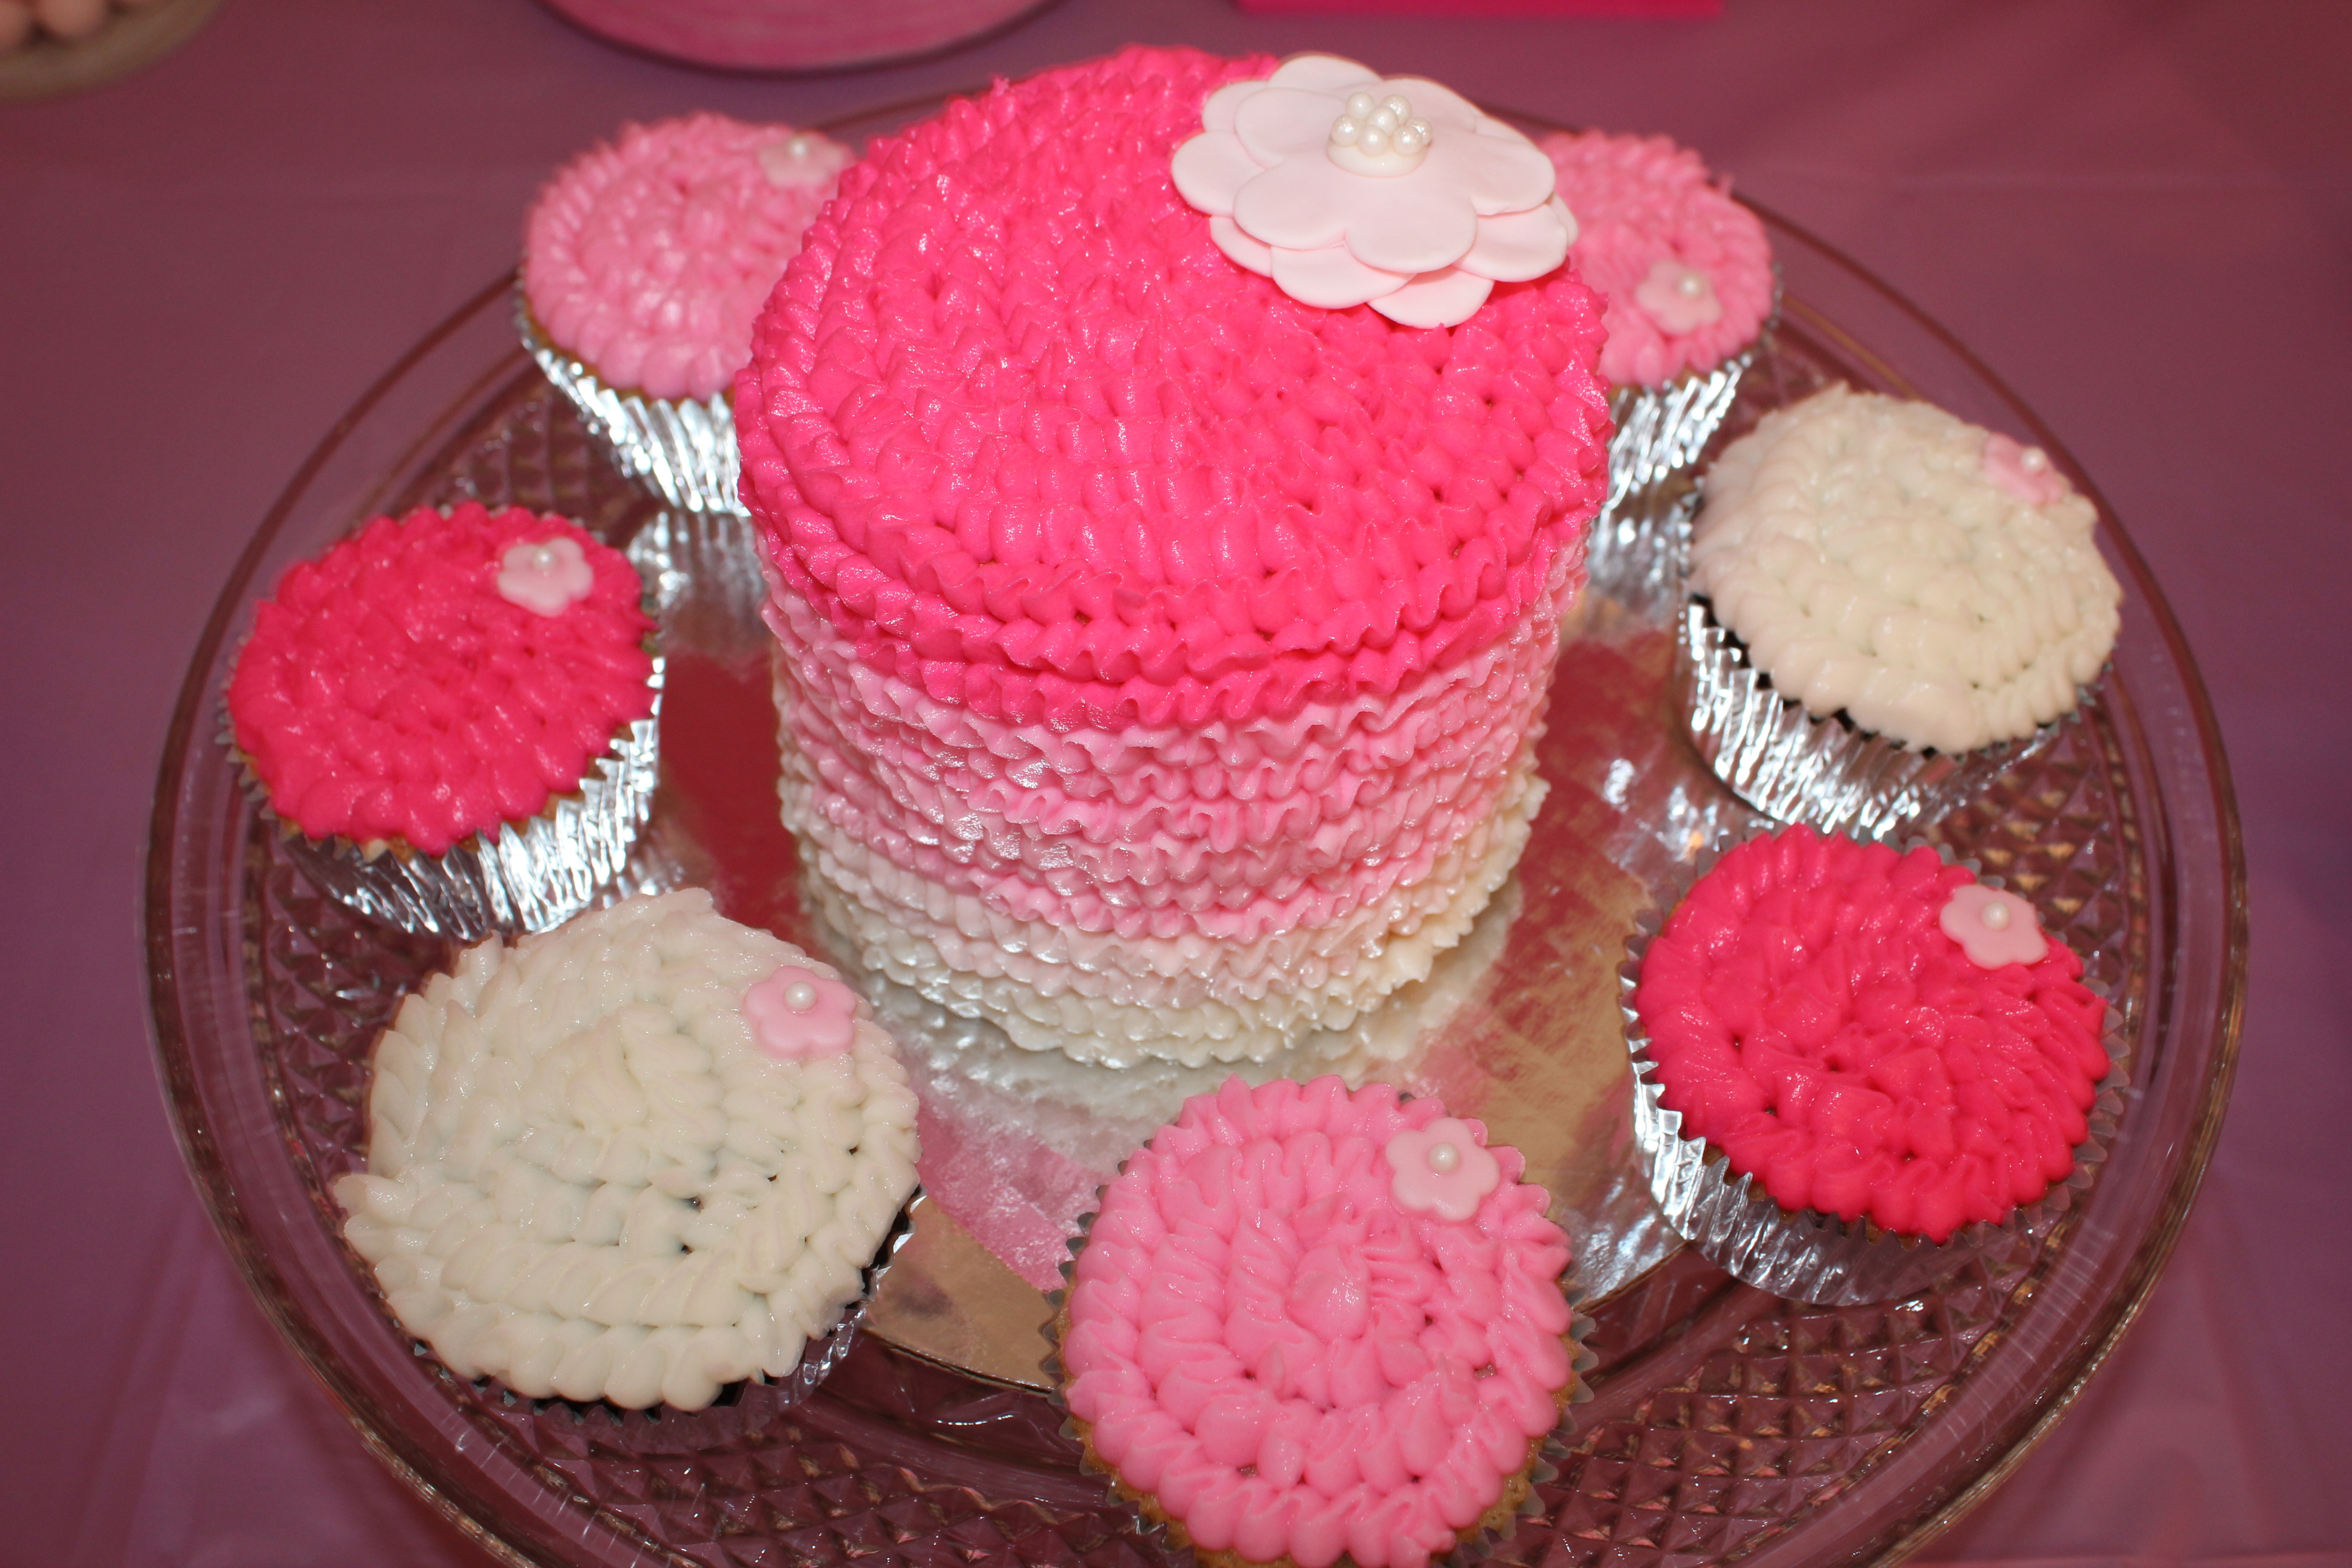
For Madalyn’s first birthday party I wanted to take the chance to showcase some of these monthly pictures, so I decided that I would frame one from each month of Maddy’s first year. This was SUCH a simple decoration to add to her pink party, and it was fun for everyone to see how much she grew in just one, short year!

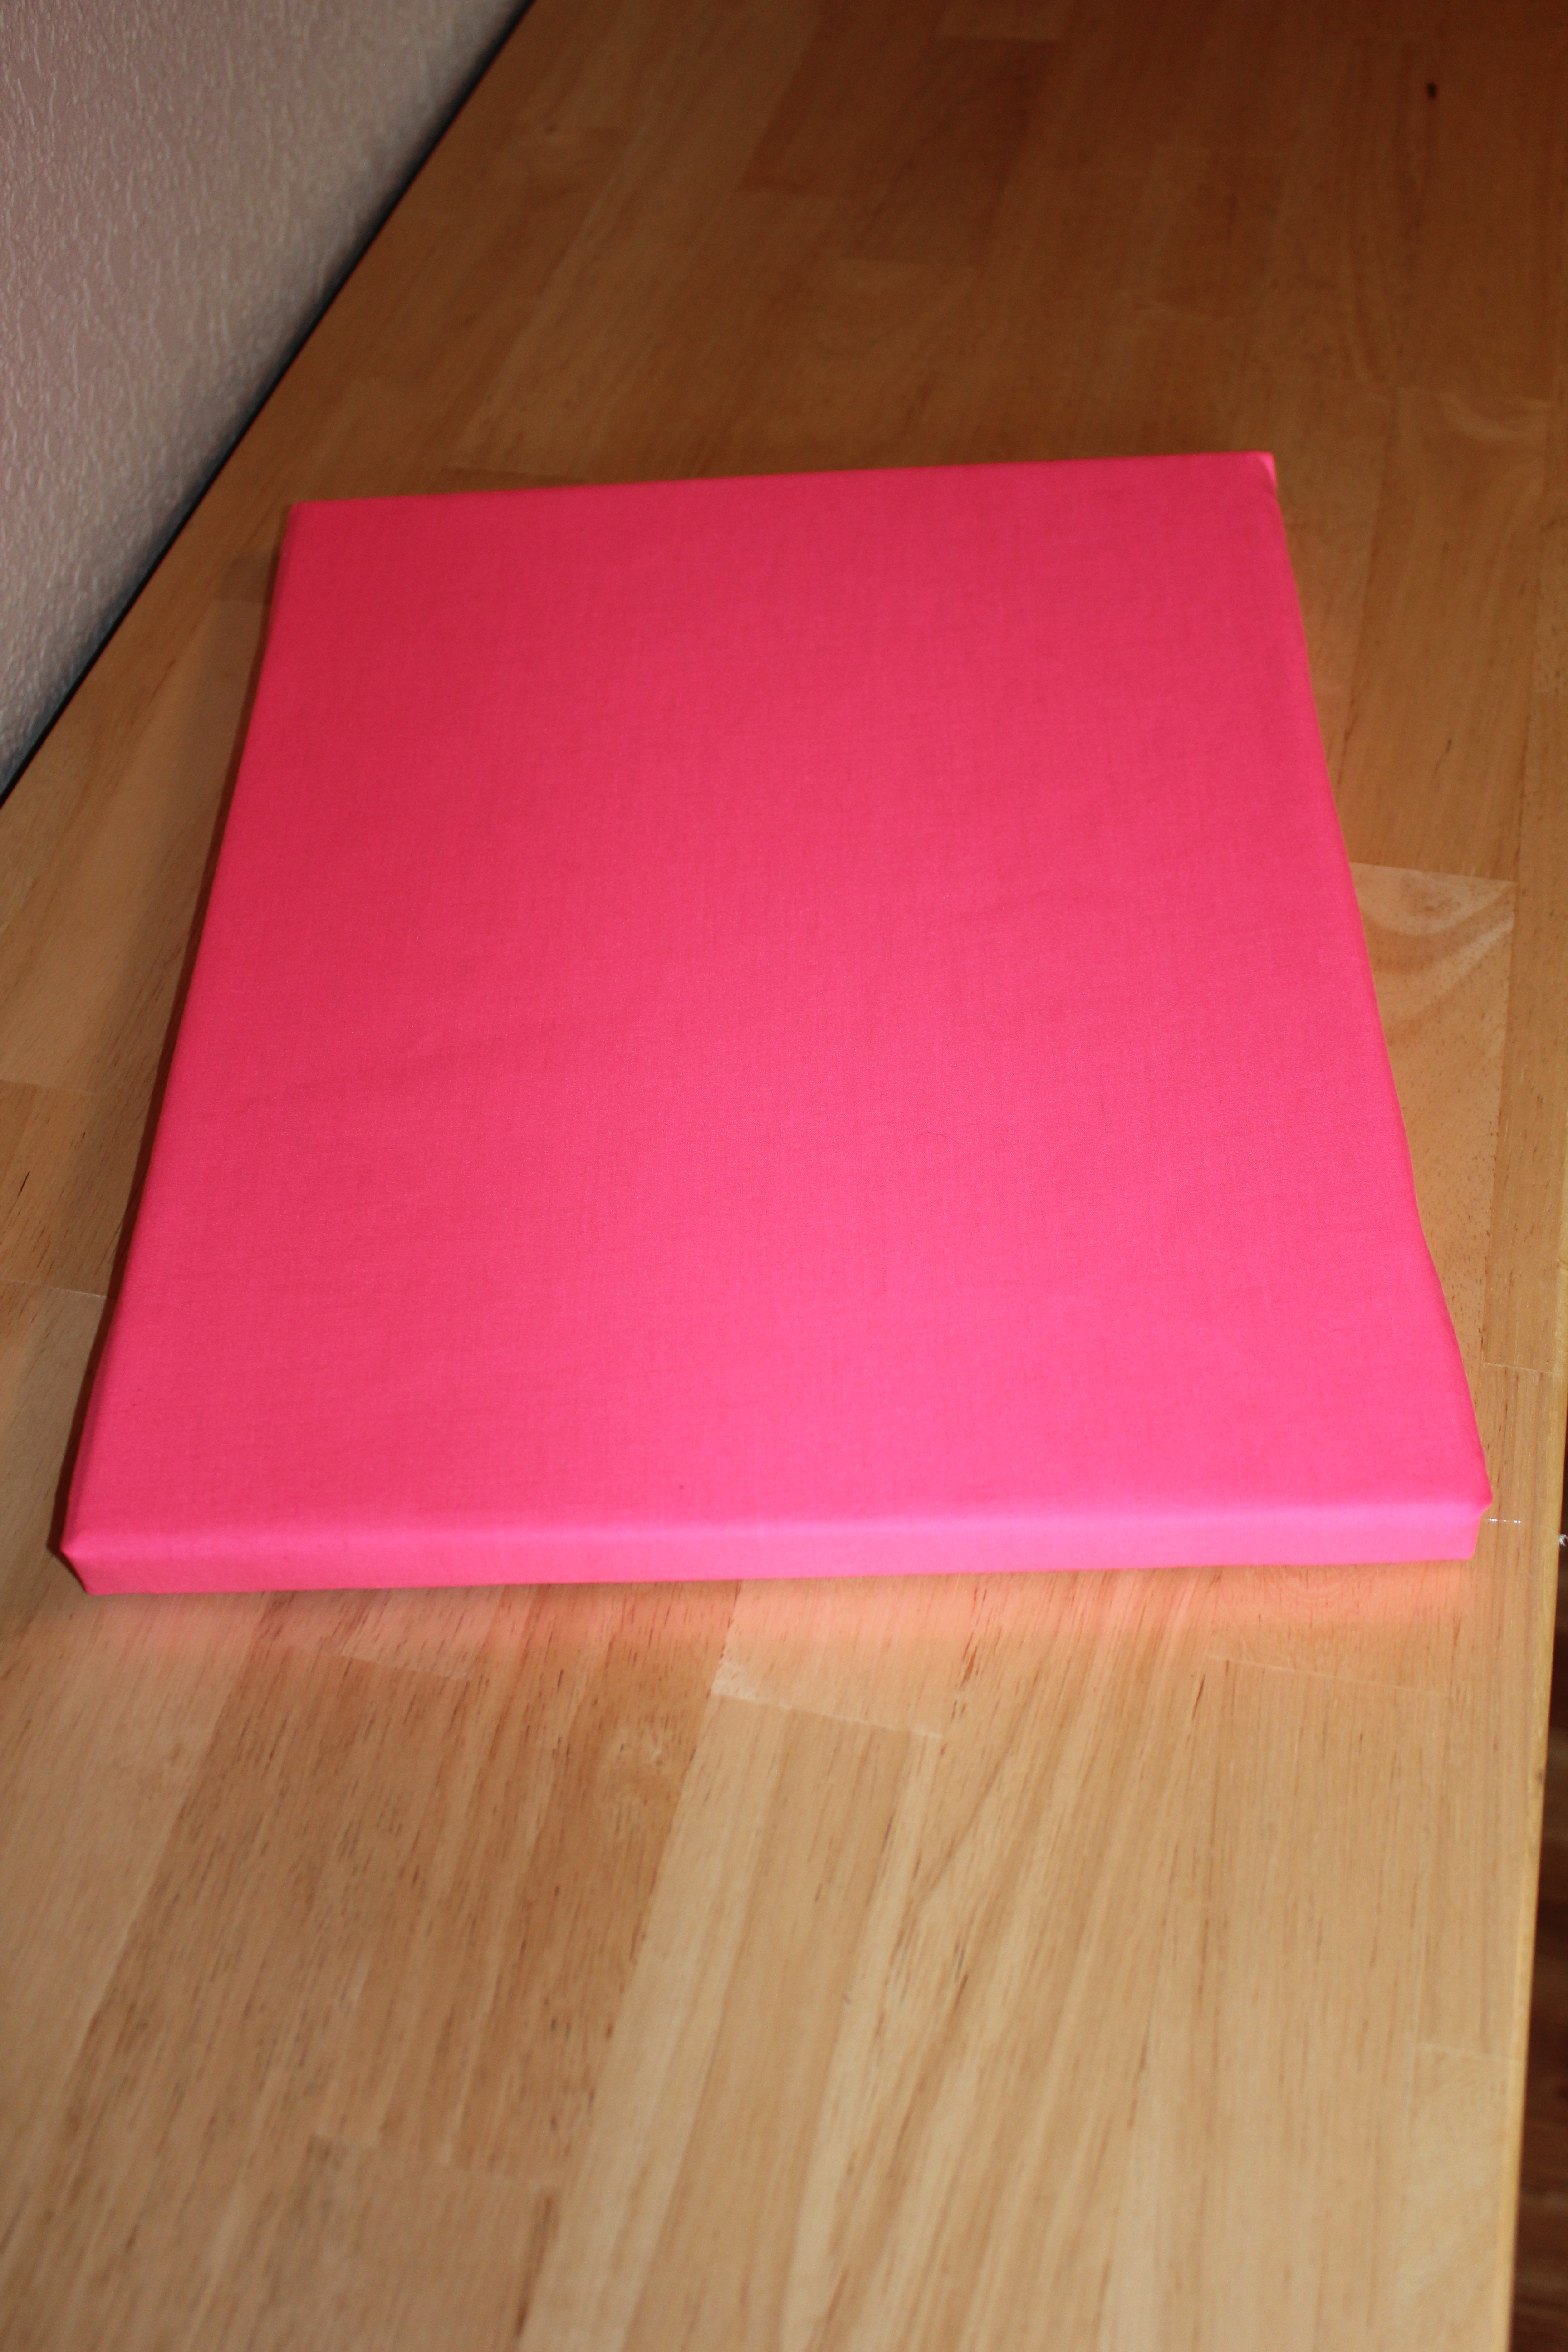
I found matching black picture frames at the Dollar Tree and spray painted them pink using Krylon’s “Mambo Pink.” You could easily use mis-matched frames too, which would also be super cute. To display them at the party, we just made sure to choose a wall that would be visible for everyone.

IMG_5964

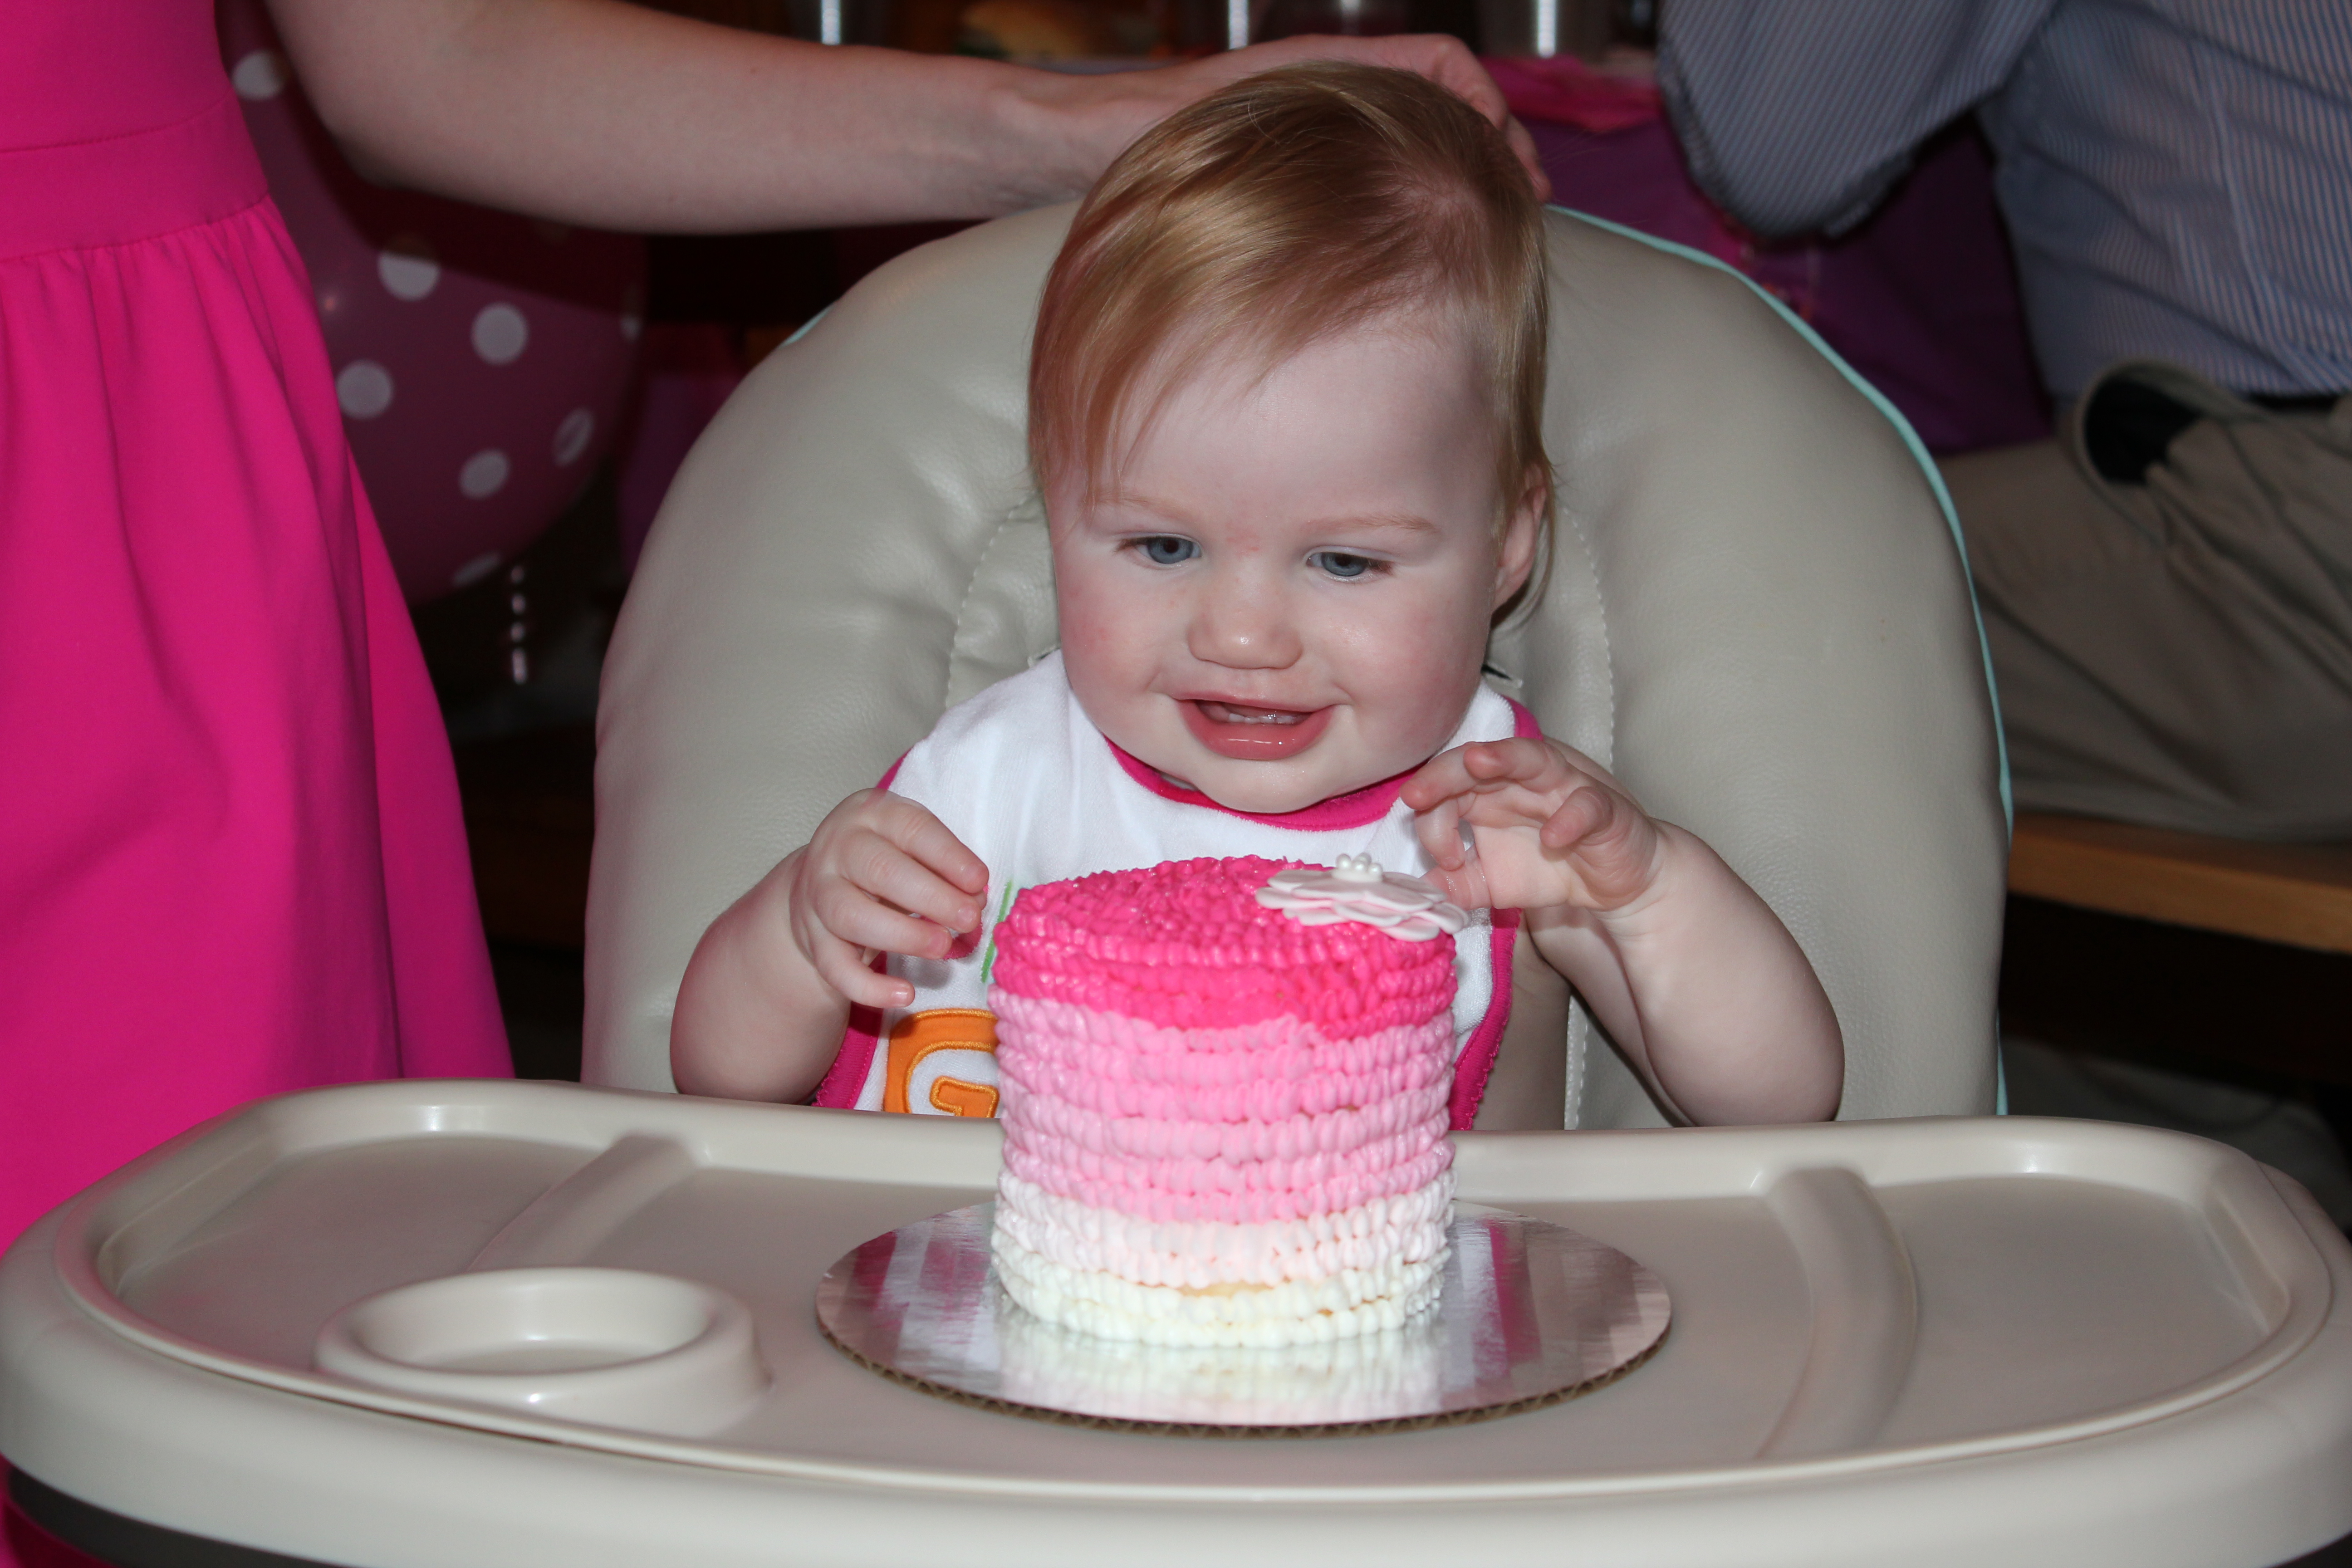
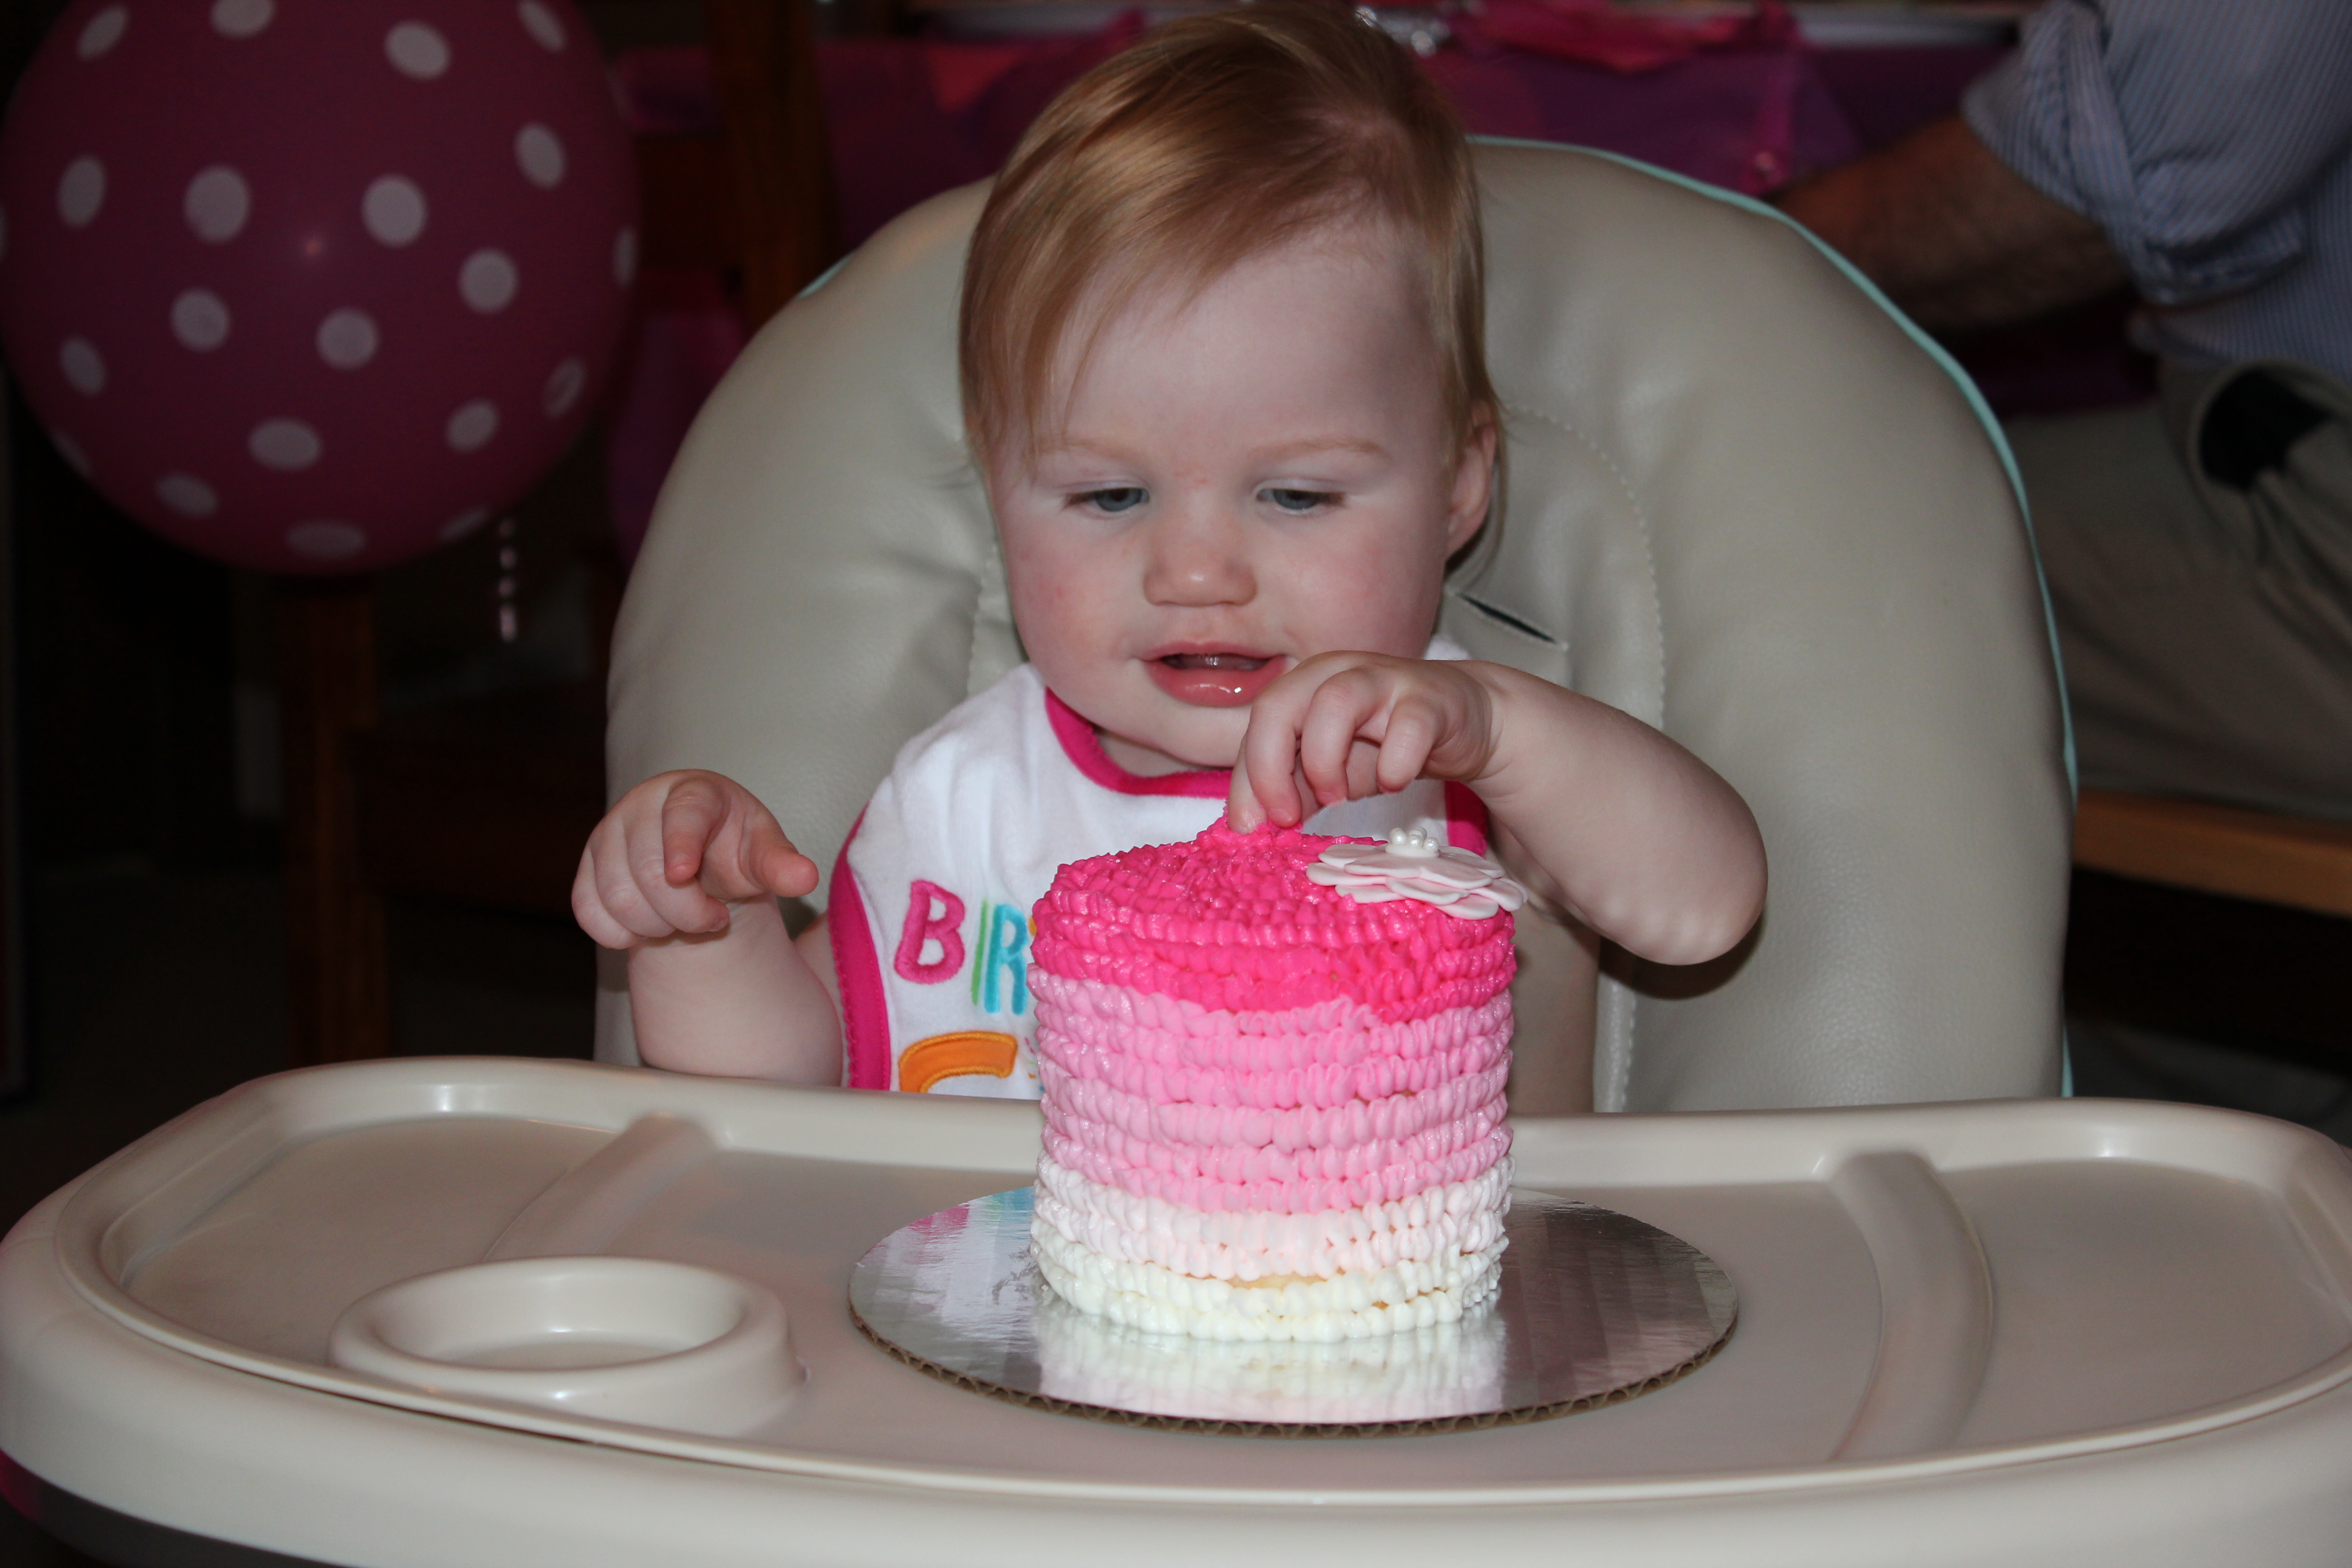
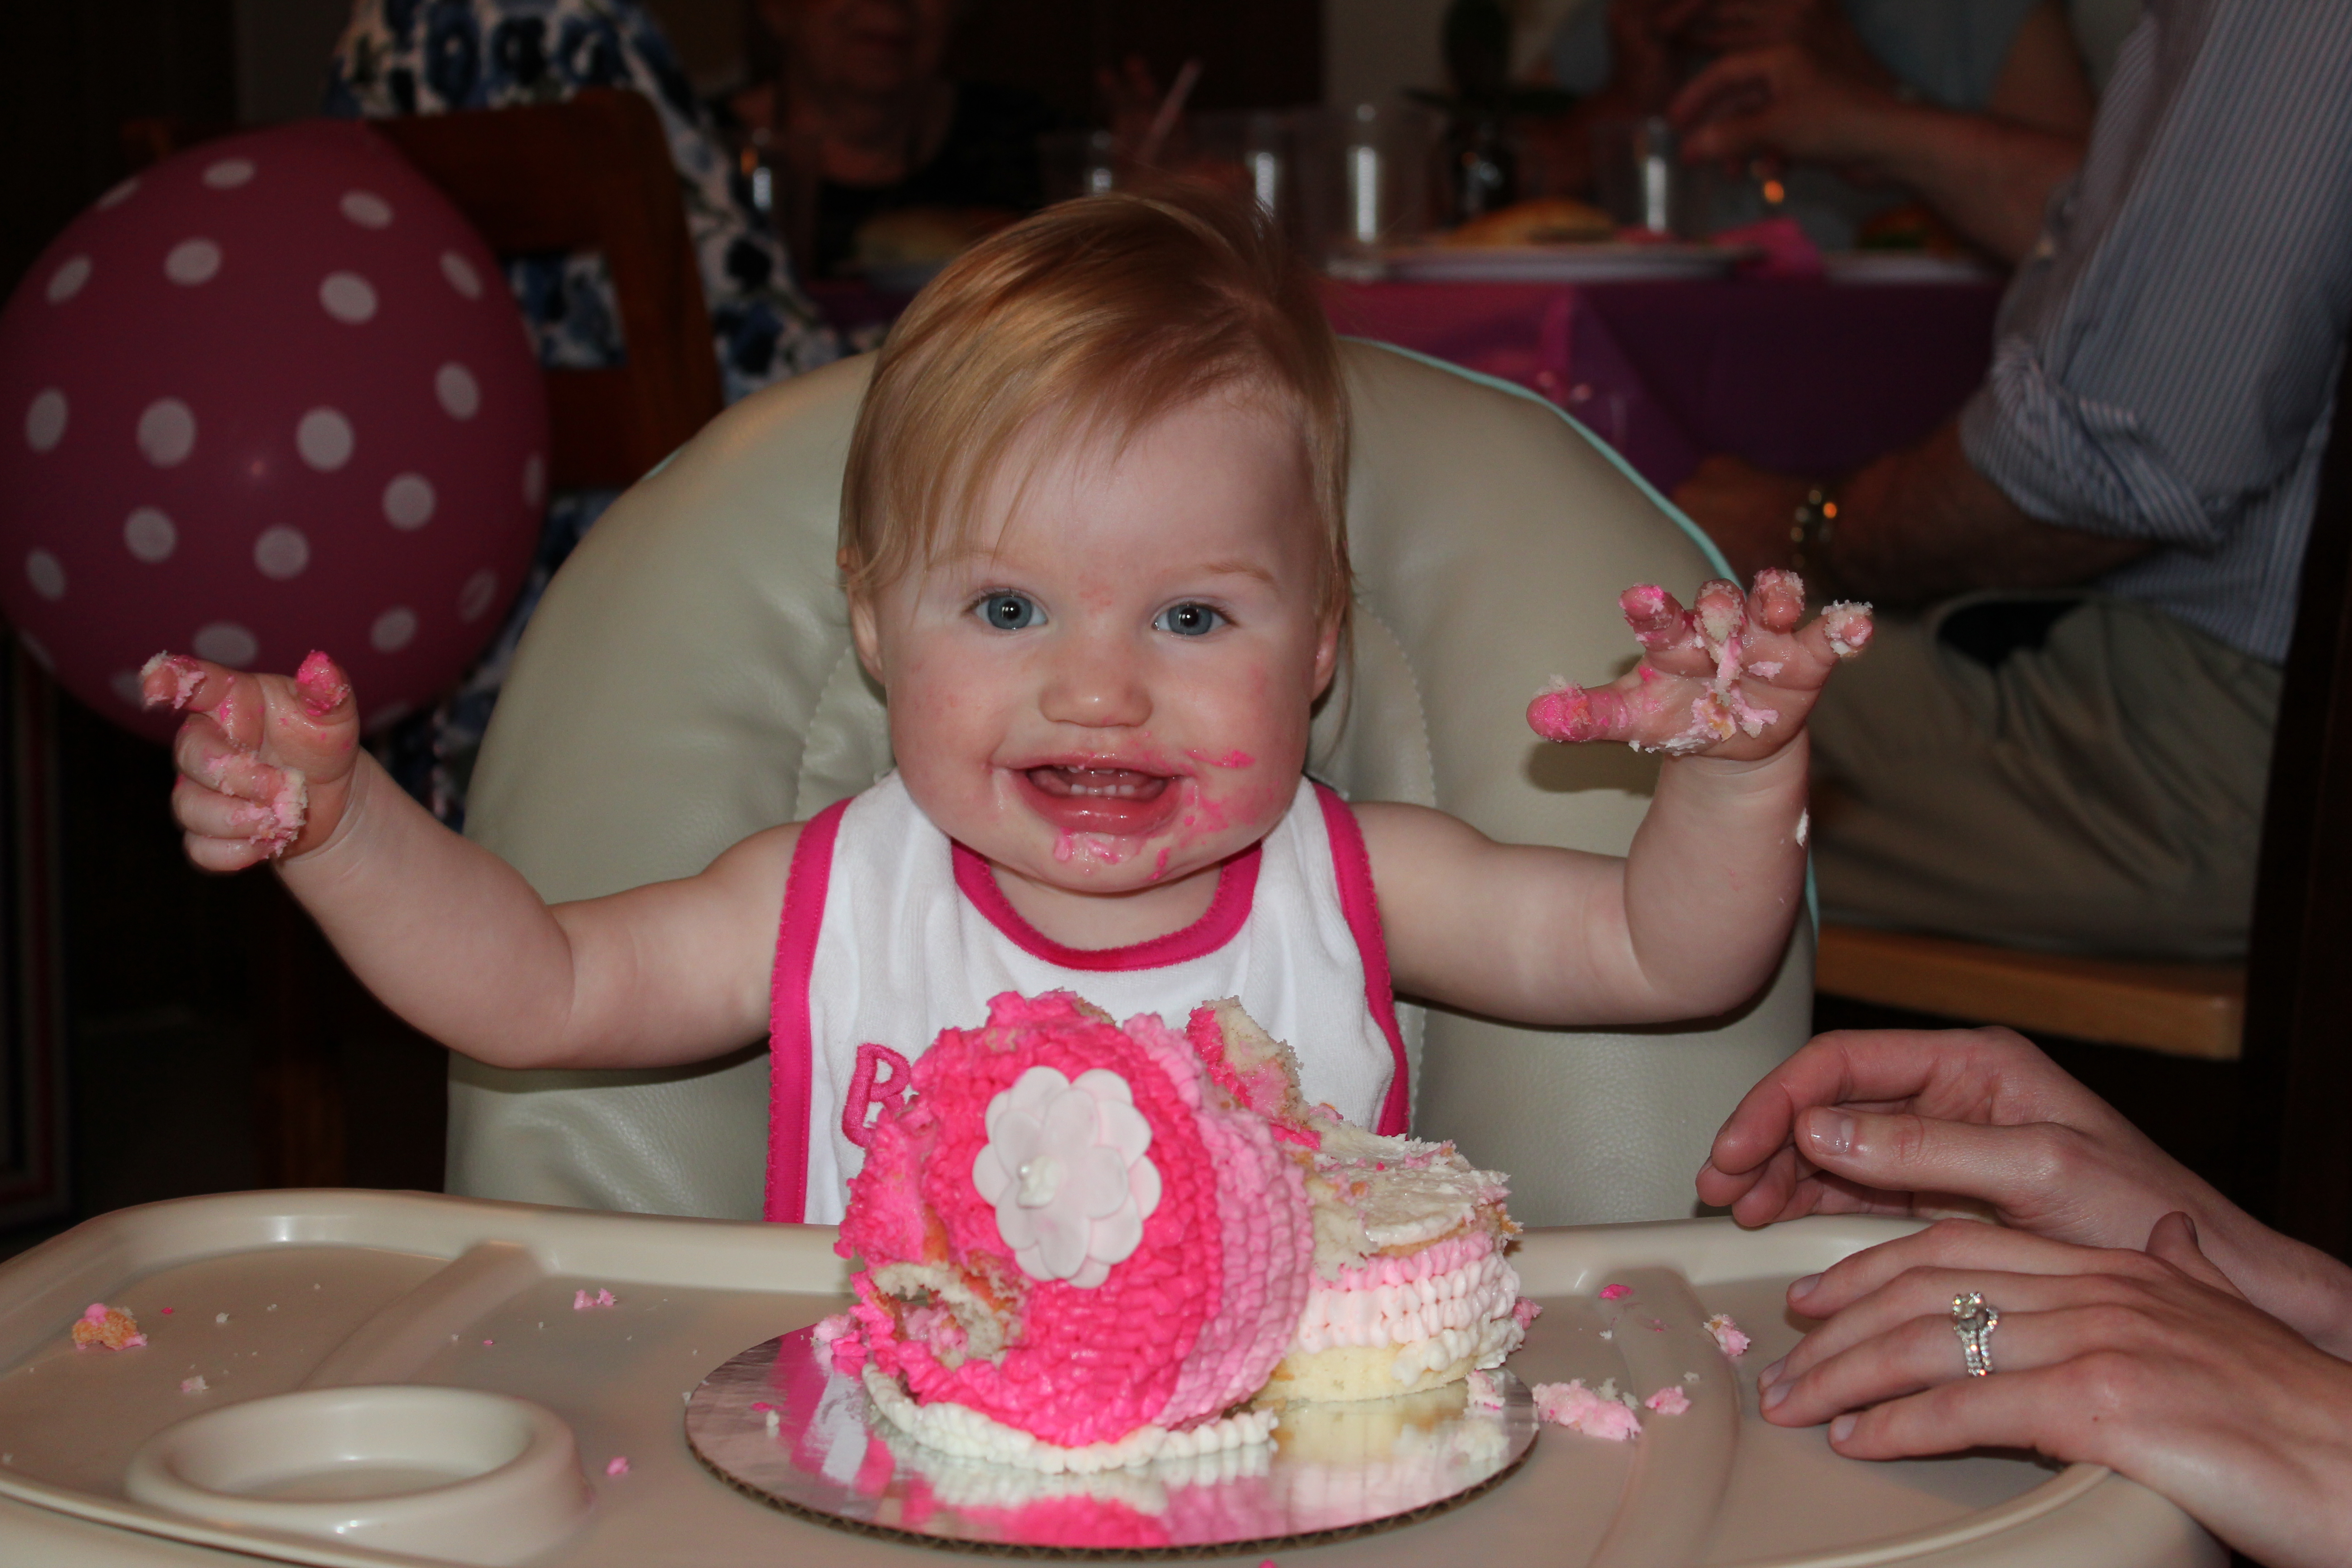
It’s been so fun to watch our little princess grow from baby to toddler! I can only imagine how much more quickly the next year will go by! 🙂

(Note: The 12th month picture is a photo from Maddy’s one year photo-shoot. We had not taken her 12 month pictures yet ourselves, as her party was before her actual first birthday. We had her one-year photos done by Lindsay of CARRstudios and LOVED all of them! If you are in the area and looking for a wonderful family photographer, check Lindsay out! www.carrphotostudios.com)

xo,

Abby


Looking for more?

Turning One: Birthday Cake!

Turning One: Pink Candy Buffet

Turning One: DIY Tissue Number “1” Sign

Turning One: DIY Pink Ruffle Lanterns

Turning One: DIY Tissue Number “1” Sign

Turning One: DIY Tissue Number “1” Sign

IMG_5844

When searching for ideas on how to decorate for Maddy’s pink first birthday party, I found this blog entry on Pinterest that had a tutorial for how to make a tissue number birthday sign. (You can find the blog where I saw this idea here). I thought this would be the perfect, easy-to-do decoration for her party!

This is both a simple, and cost-effective decoration idea, and could be used in any color theme or any age! The options are endless with this one!

What You Need:

  • a blank artist’s canvas
  • fabric
  • tissue paper
  • hot glue
  • scissors

What To Do:

1) Decide on a canvas size to use. I used an 11×14 canvas as I happened to have one sitting in the closet unused.

2) Cover the canvas with fabric. I just hot glued the fabric to the canvas, and it held just fine. It looked neat and tidy, too, without having to do a lot of adjusting. Easy, easy! (As a side note, I purchased fabric from JoAnn’s and it was only $2.99 a yard. I used less than a yard to cover the canvas.)

IMG_5816

3)  To make the tissue paper look “flower-ey”, you will cut individual little flower-liked shapes out of the tissue paper. These are then grouped together to form the number for your sign. To begin, cut approximately 5″ squares out of tissue paper.

IMG_5824

You will end up with a stack of squares. You can cut as through as many squares at a time as your scissors will allow!

IMG_5825

Fold the squares in half, as shown below.

IMG_5826

Continue to fold the squares until they resemble an ice cream cone (see below)!

IMG_5829

Cut through this cone-shape to create the round edges of the petal. (Note: The rounder you make this cut, the more distinct your flower petals will be.)

IMG_5830

IMG_5831

Unfold the cut pieces and you should have something that resembles a flower!

IMG_5832 IMG_5835

4) Trace, with a pencil, the number you want to make on your canvas. I started with just a single line and then boxed around it to make a fuller number “1”.

5) Take an individual flower from your pile of tissue paper flowers and ‘cinch’ up the bottom so you are able to hot glue it to the canvas.

IMG_5839

6) Begin gluing the flowers to the canvas, in the shape of the number you are creating. The closer you make the flowers, the fuller your number will look. Just make sure that the fabric isn’t showing through the tissue paper.

IMG_5843

That’s it! Just keep gluing down the tissue paper flowers until the number is complete!

I think from start to finish this project took me a little less than an hour! It was inexpensive and easy and I really liked how it turned out — it added the perfect touch to a blank wall!

IMG_5958

Cute!

xo,

Abby


Looking for more?

Turning One: Birthday Cake!

Turning One: Pink Candy Buffet

Turning One: Growing Month-By-Month

Turning One: DIY Pink Ruffle Lanterns

Turning One: Pink Candy Buffet

Turning One: Pink Candy Buffet

Bryan and I had a candy buffet at our wedding and it was a great success! I wanted to have some other sweet treats at Madalyn’s birthday party to go along with her yummy cupcakes and thought that candy would be perfect!  I already had the jars from our wedding to use, which made the candy buffet a no-brainer!

IMG_5941

The hardest part of this idea, was coming up with PINK candy. As I began my search, I was beginning to wish that we had chosen red as the theme — there are so many red candy options! But, between Google and checking a bunch of stores, this is what we came up with:

  • Cotton Candy Jelly Bellies: Purchased in bulk at Woodman’s
  • Pomegranate Cosmo Jelly Bellies: Purchased in bulk at Woodman’s
  • Whoppers: Strawberry Milkshake: Purchased at Woodman’s
  • Starburst: Fave Reds (I removed all the red ones and used the three remaining colors!): Purchased at Woodman’s
  • Strawberry Frooties: Purchased at Woodman’s
  • Pink Bubblegum: Purchased at Party City
  • Sixlets: (These were pearlized pink in color!) Purchased at JoAnn’s

IMG_6089

Because some of these candies weren’t the “normal” types you might see, I thought that labels would be a fun idea. That way, there would be no surprises! To make labels, I used scrapbook paper that I already had, cut it into rectangles that would fit the names of the candy, punched a hole in each end, and finally used a ribbon to attach it around the jar. They turned out better than I thought they would as this was one of the last-minute decorations I decided to try!

IMG_6096

Candy buffets are really popular right now, and I can totally see why as they add some fun to the dessert table! I am definitely not disappointed that we have some candy left over 🙂

xo,

Abby


Looking for more?

Turning One: Birthday Cake!

Turning One: DIY Tissue Number “1” Sign

Turning One: Growing Month-By-Month

Turning One: DIY Pink Ruffle Lanterns

Turning One: Birthday Cake!

Turning One: Birthday Cake!

IMG_5937

Madalyn Joy is officially ONE year old! It’s truly unbelievable how quickly a year can pass. I love her so, so much and can not imagine our family without her in it!

When I began to plan Madalyn’s birthday party back in January (yes, seriously, I started planning when she was six months old…can’t be too prepared!), I could not figure out what kind of theme to use. Maddy is only one, and while there are certain things she likes, she’s still really pretty flexible still at this age. The fun thing about that, is that the theme could really be anything!

Ever since I found out we were going to have a baby girl, I was ecstatic! Don’t get me wrong, I would have been just as happy had we had a boy, but growing up with only two sisters made me excited that our first baby was going to be a girl! She could play with my Barbies and dolls and best of all, she could love the color pink just like her mama. And that is what I decided to do for a theme…pink! I officially called the theme, “Pretty in Pink.”

I had a LOT of ideas once I picked the theme! I used Pinterest and my own creativity, to come up with decorations and everything else for the party!

I thought the best place to start the blogging about Maddy’s 1st birthday party, would be the highlight of a 1st birthday party…the cake! I wanted Madalyn to have her own smash cake, and decided to do cupcakes for the rest of the guests. I was able to incorporate the pink theme into the cupcakes and cake, which were delicious! We ordered everything from Miss Kari’s Bakery (www.karisbakery.com).

IMG_5954

Look at the excitement in the birthday girl’s eyes!

IMG_5995

Yum, frosting!

IMG_5997

IMG_6014

The cake smash was a success! Maddy enjoyed her cake, and everyone else enjoyed their cupcakes!

More posts to come on this little girl’s very first birthday party!

xo,

Abby


Looking for more?

Turning One: Pink Candy Buffet

Turning One: DIY Tissue Number “1” Sign

Turning One: Growing Month-By-Month

Turning One: DIY Pink Ruffle Lanterns