I couldn’t let the months keep passing by without doing a quick blog post about Gavyn’s 2nd Birthday Party! We chose a train themed party for Gavyn this year, and we kept it simple, but it was still fun to plan! I actually love planning and organizing parties, but with our move being around the corner, I knew I needed to scale back on Gavyn’s party this year as compared to his 1st Birthday Party.
I, of course, started my search for ideas on Pinterest, and definitely came up with a few good ones on there. I even got adventurous and made my own cupcakes and cupcake toppers for this party, and they turned out super cute! I wanted to just highlight some of the things we did, in case you are looking for some ideas for your own train party.
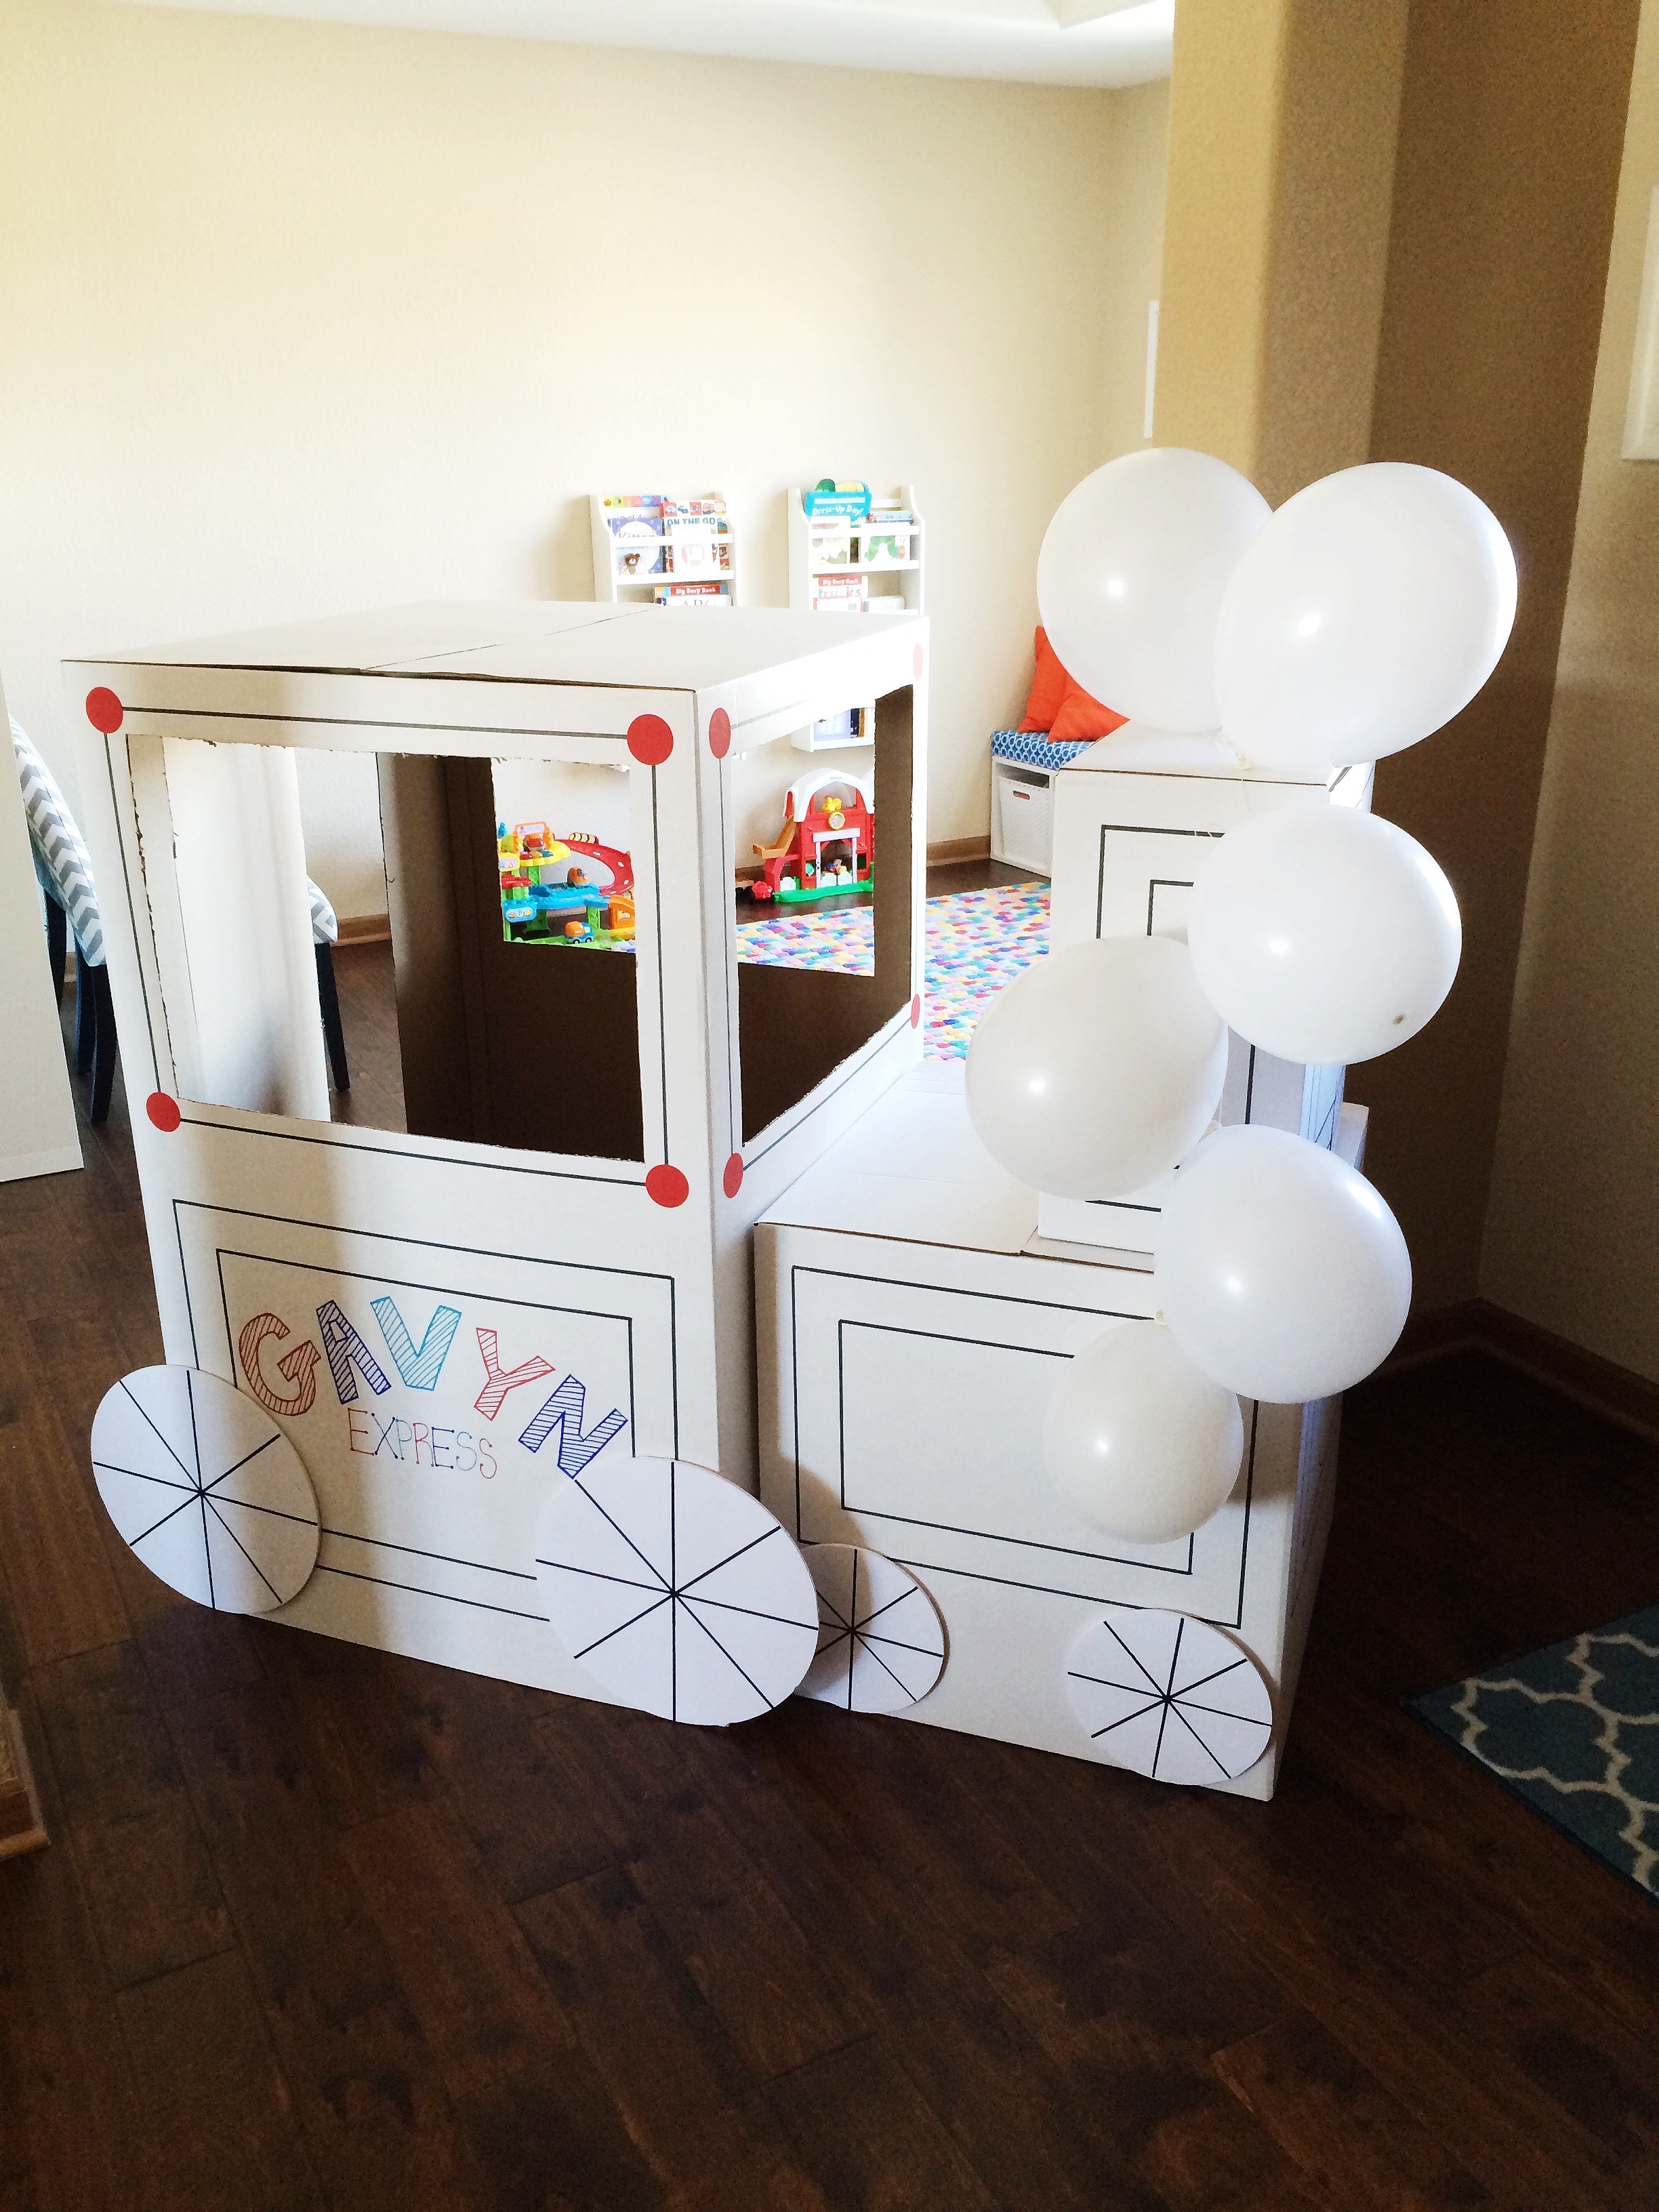
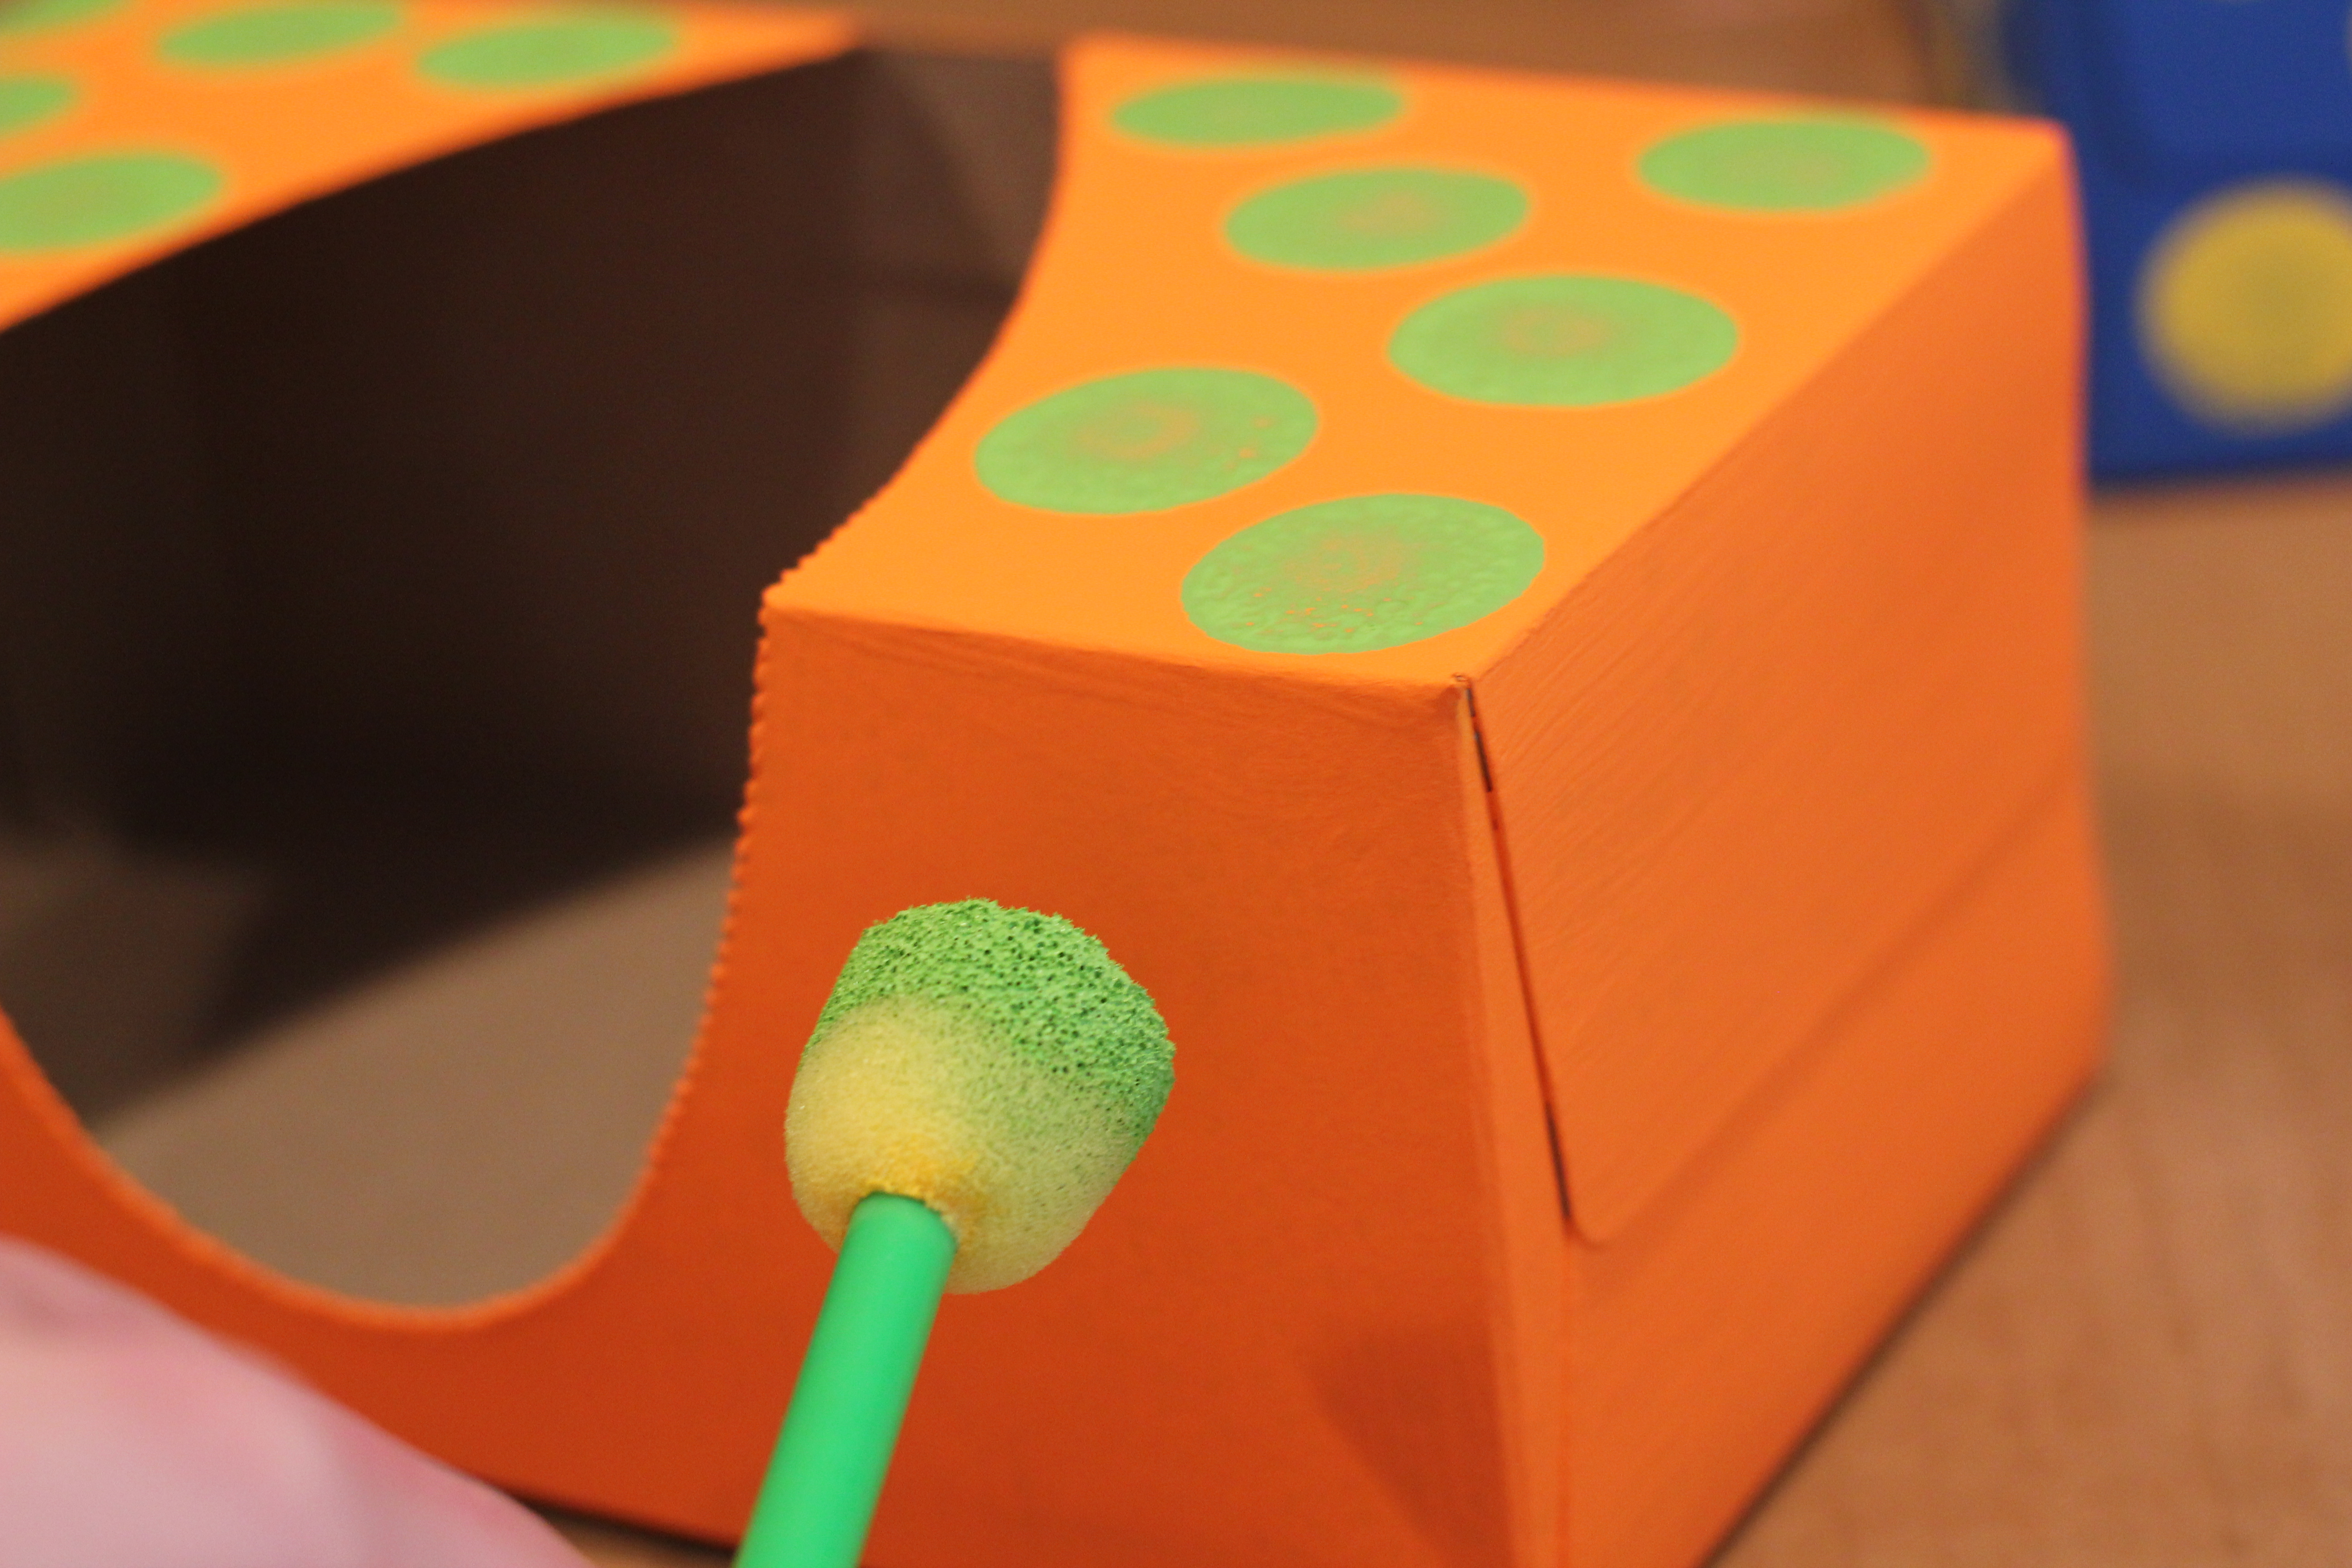
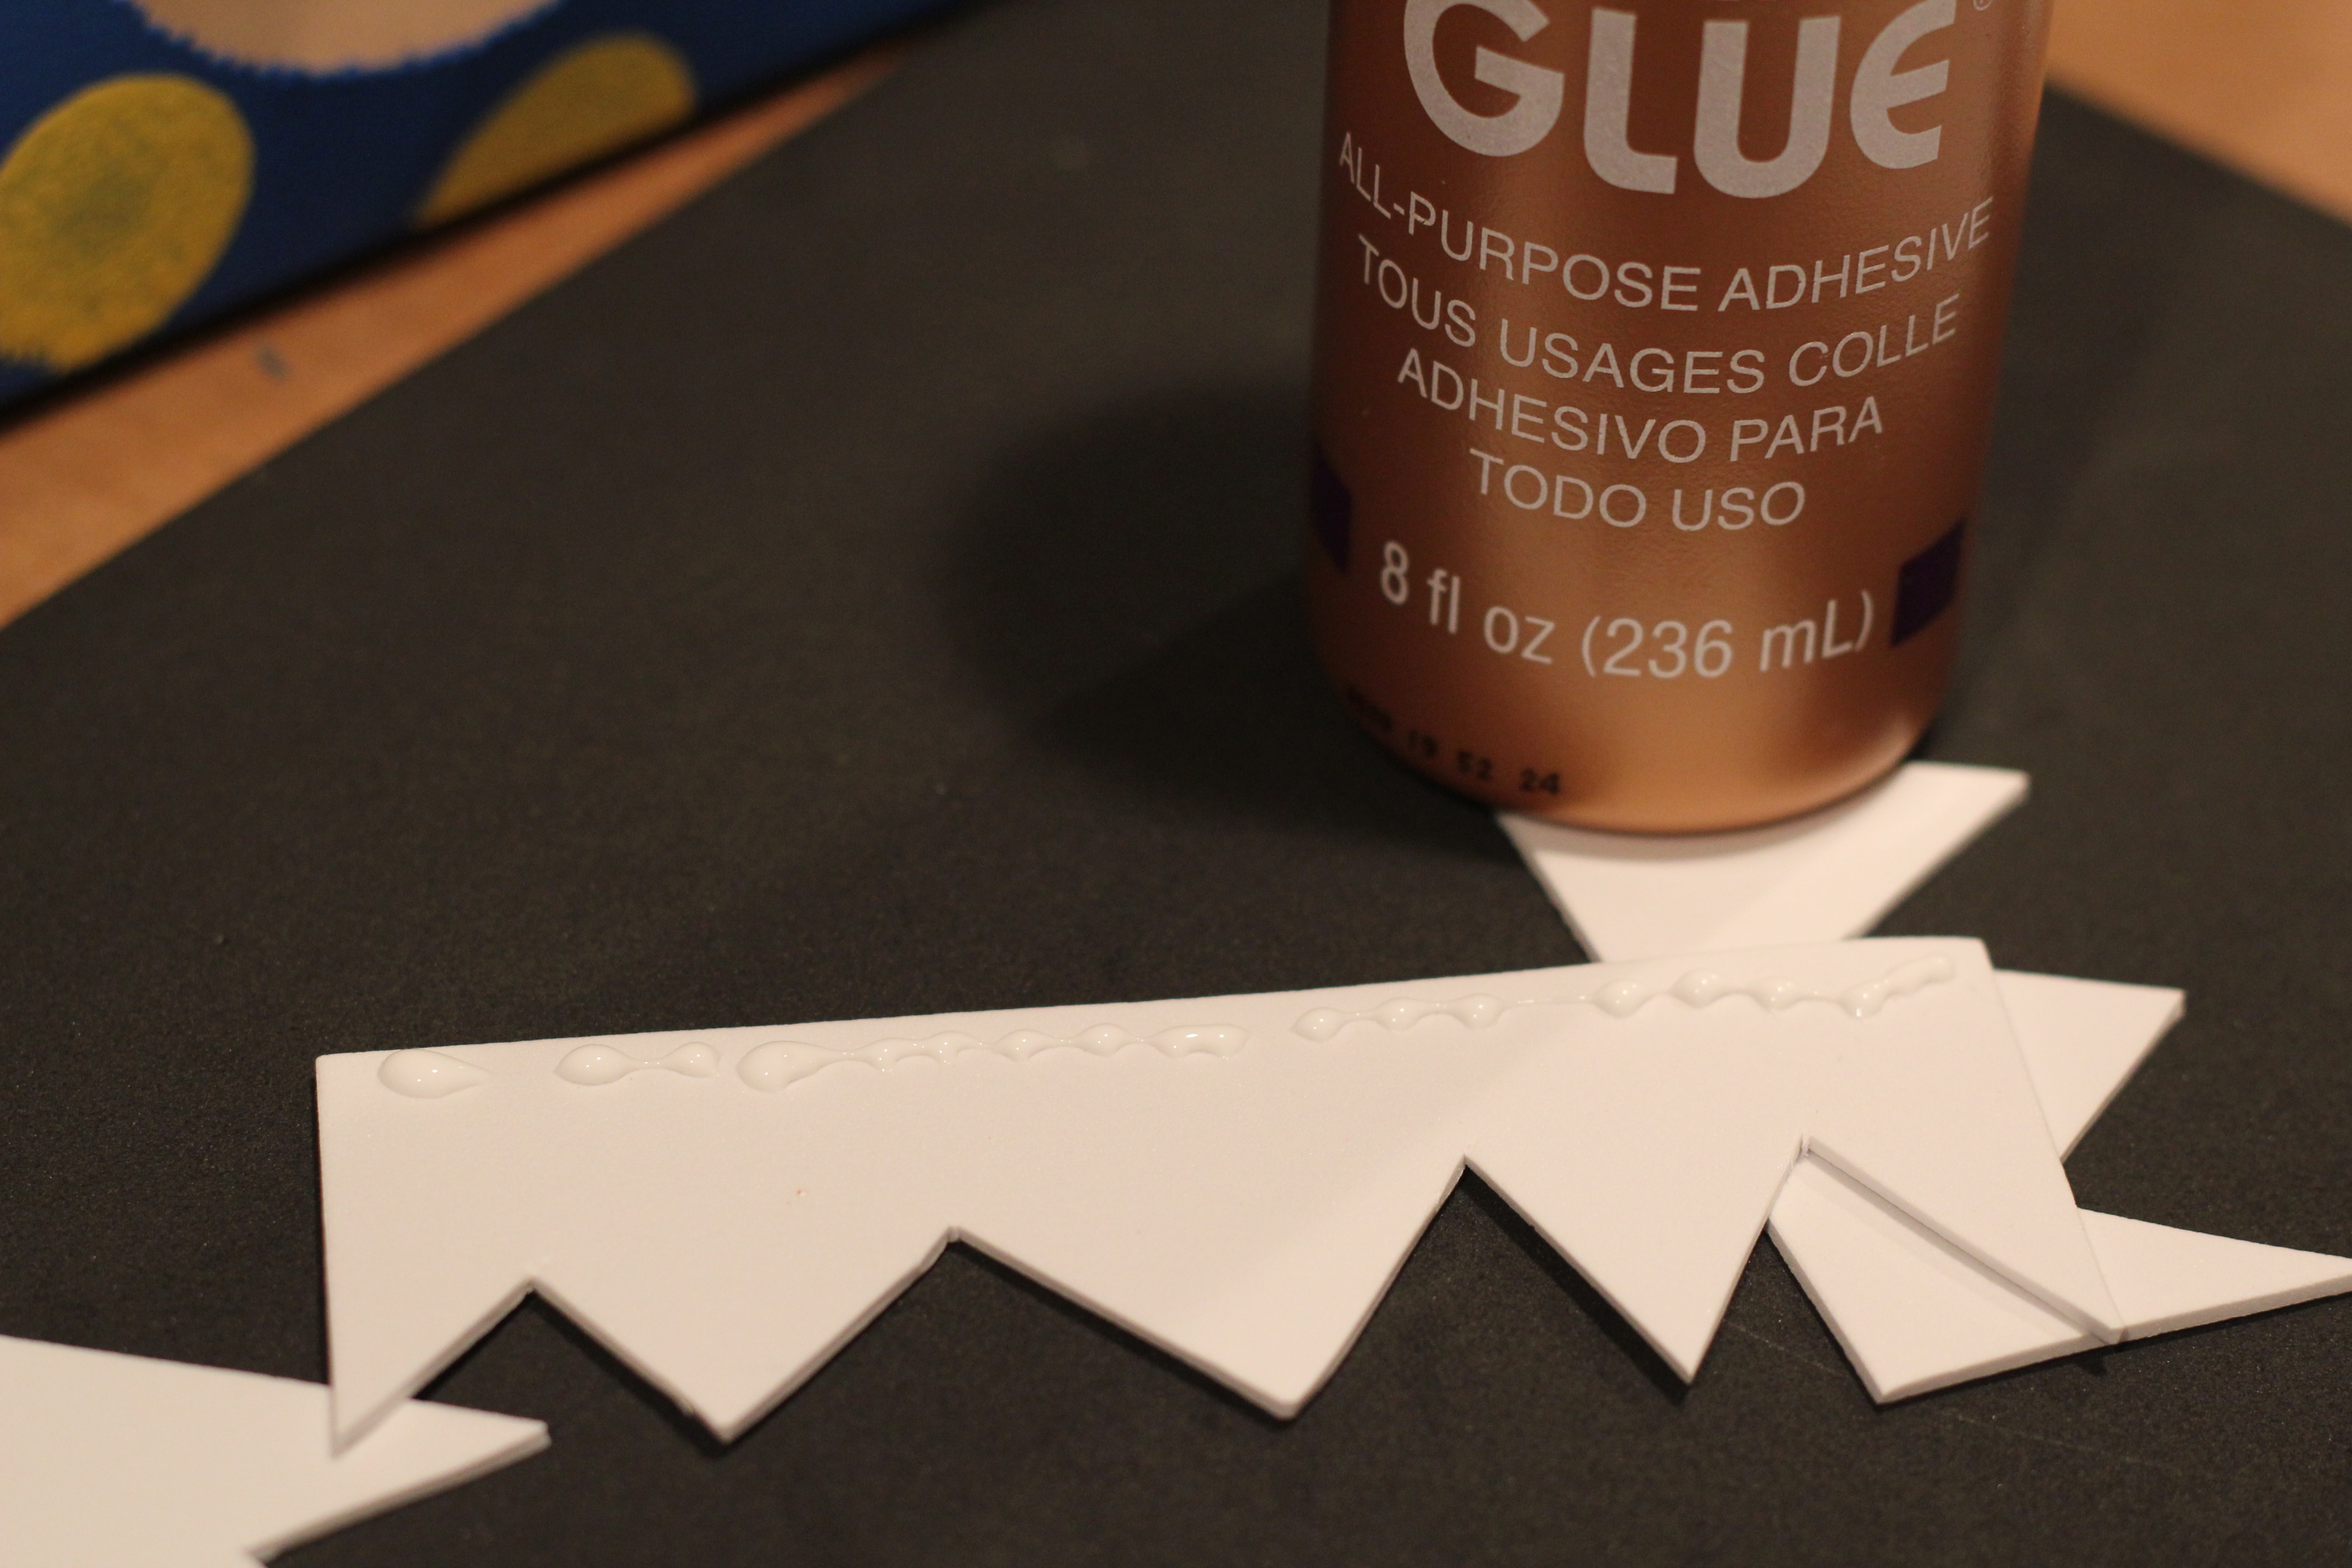
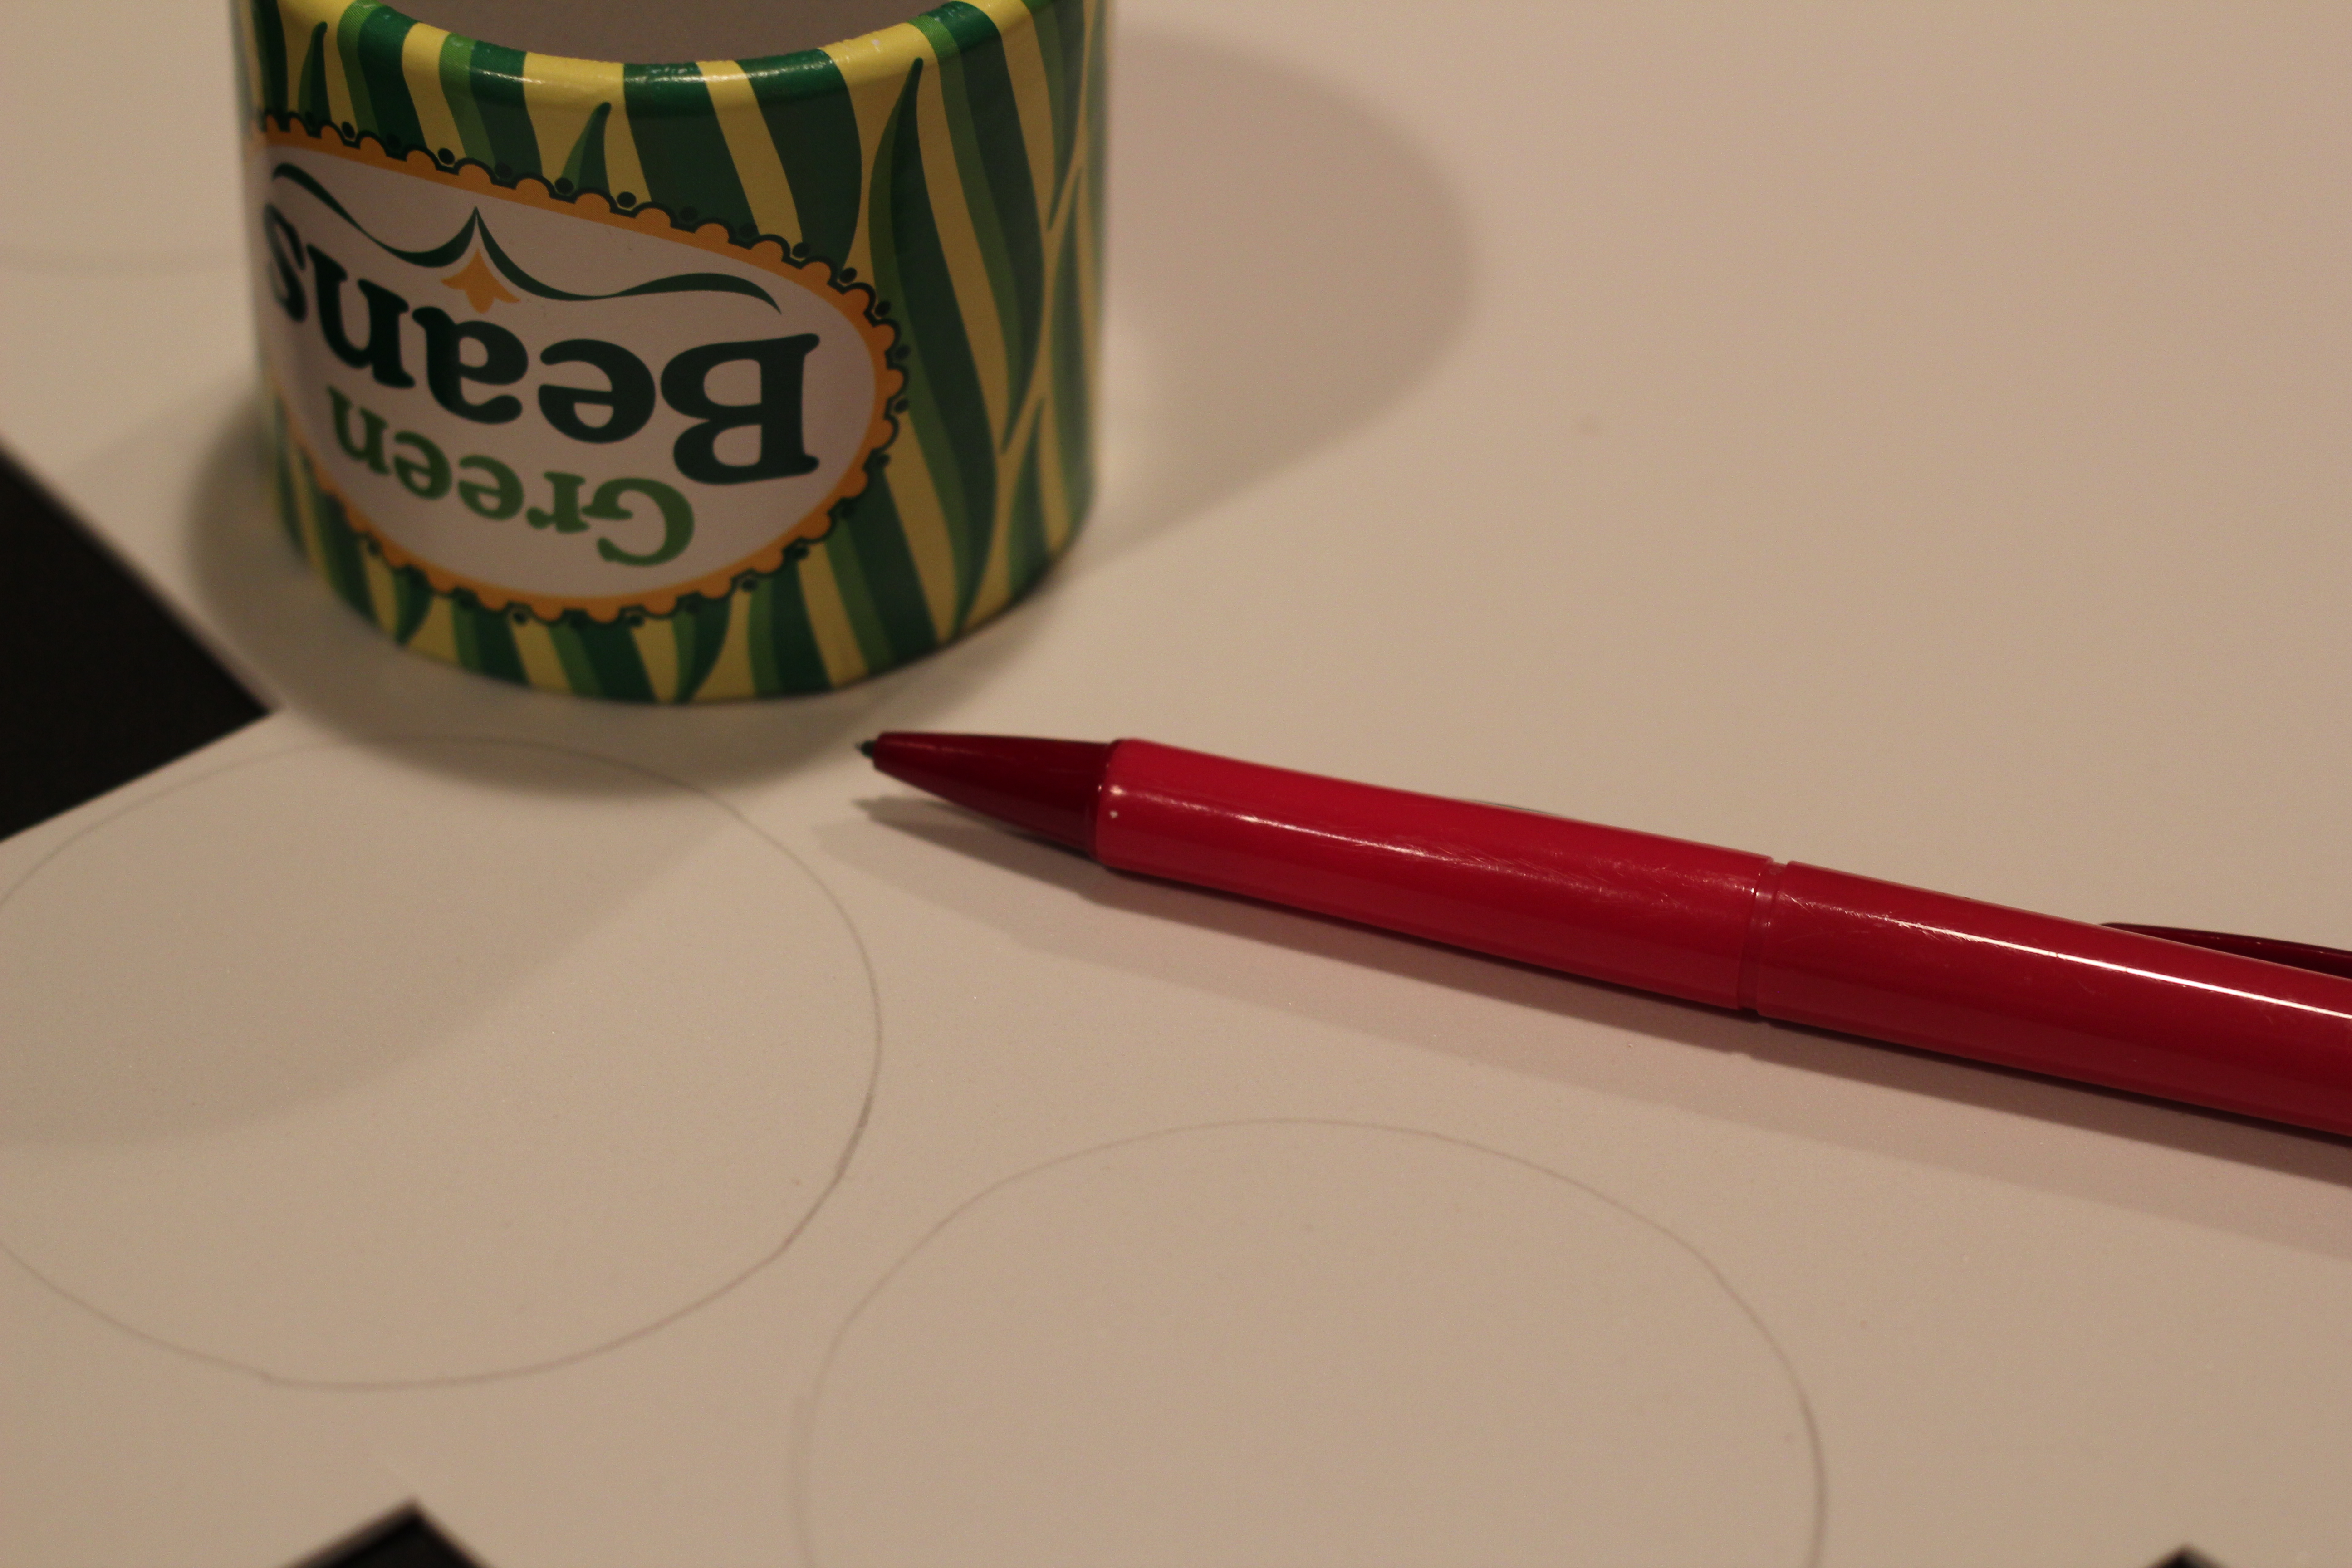
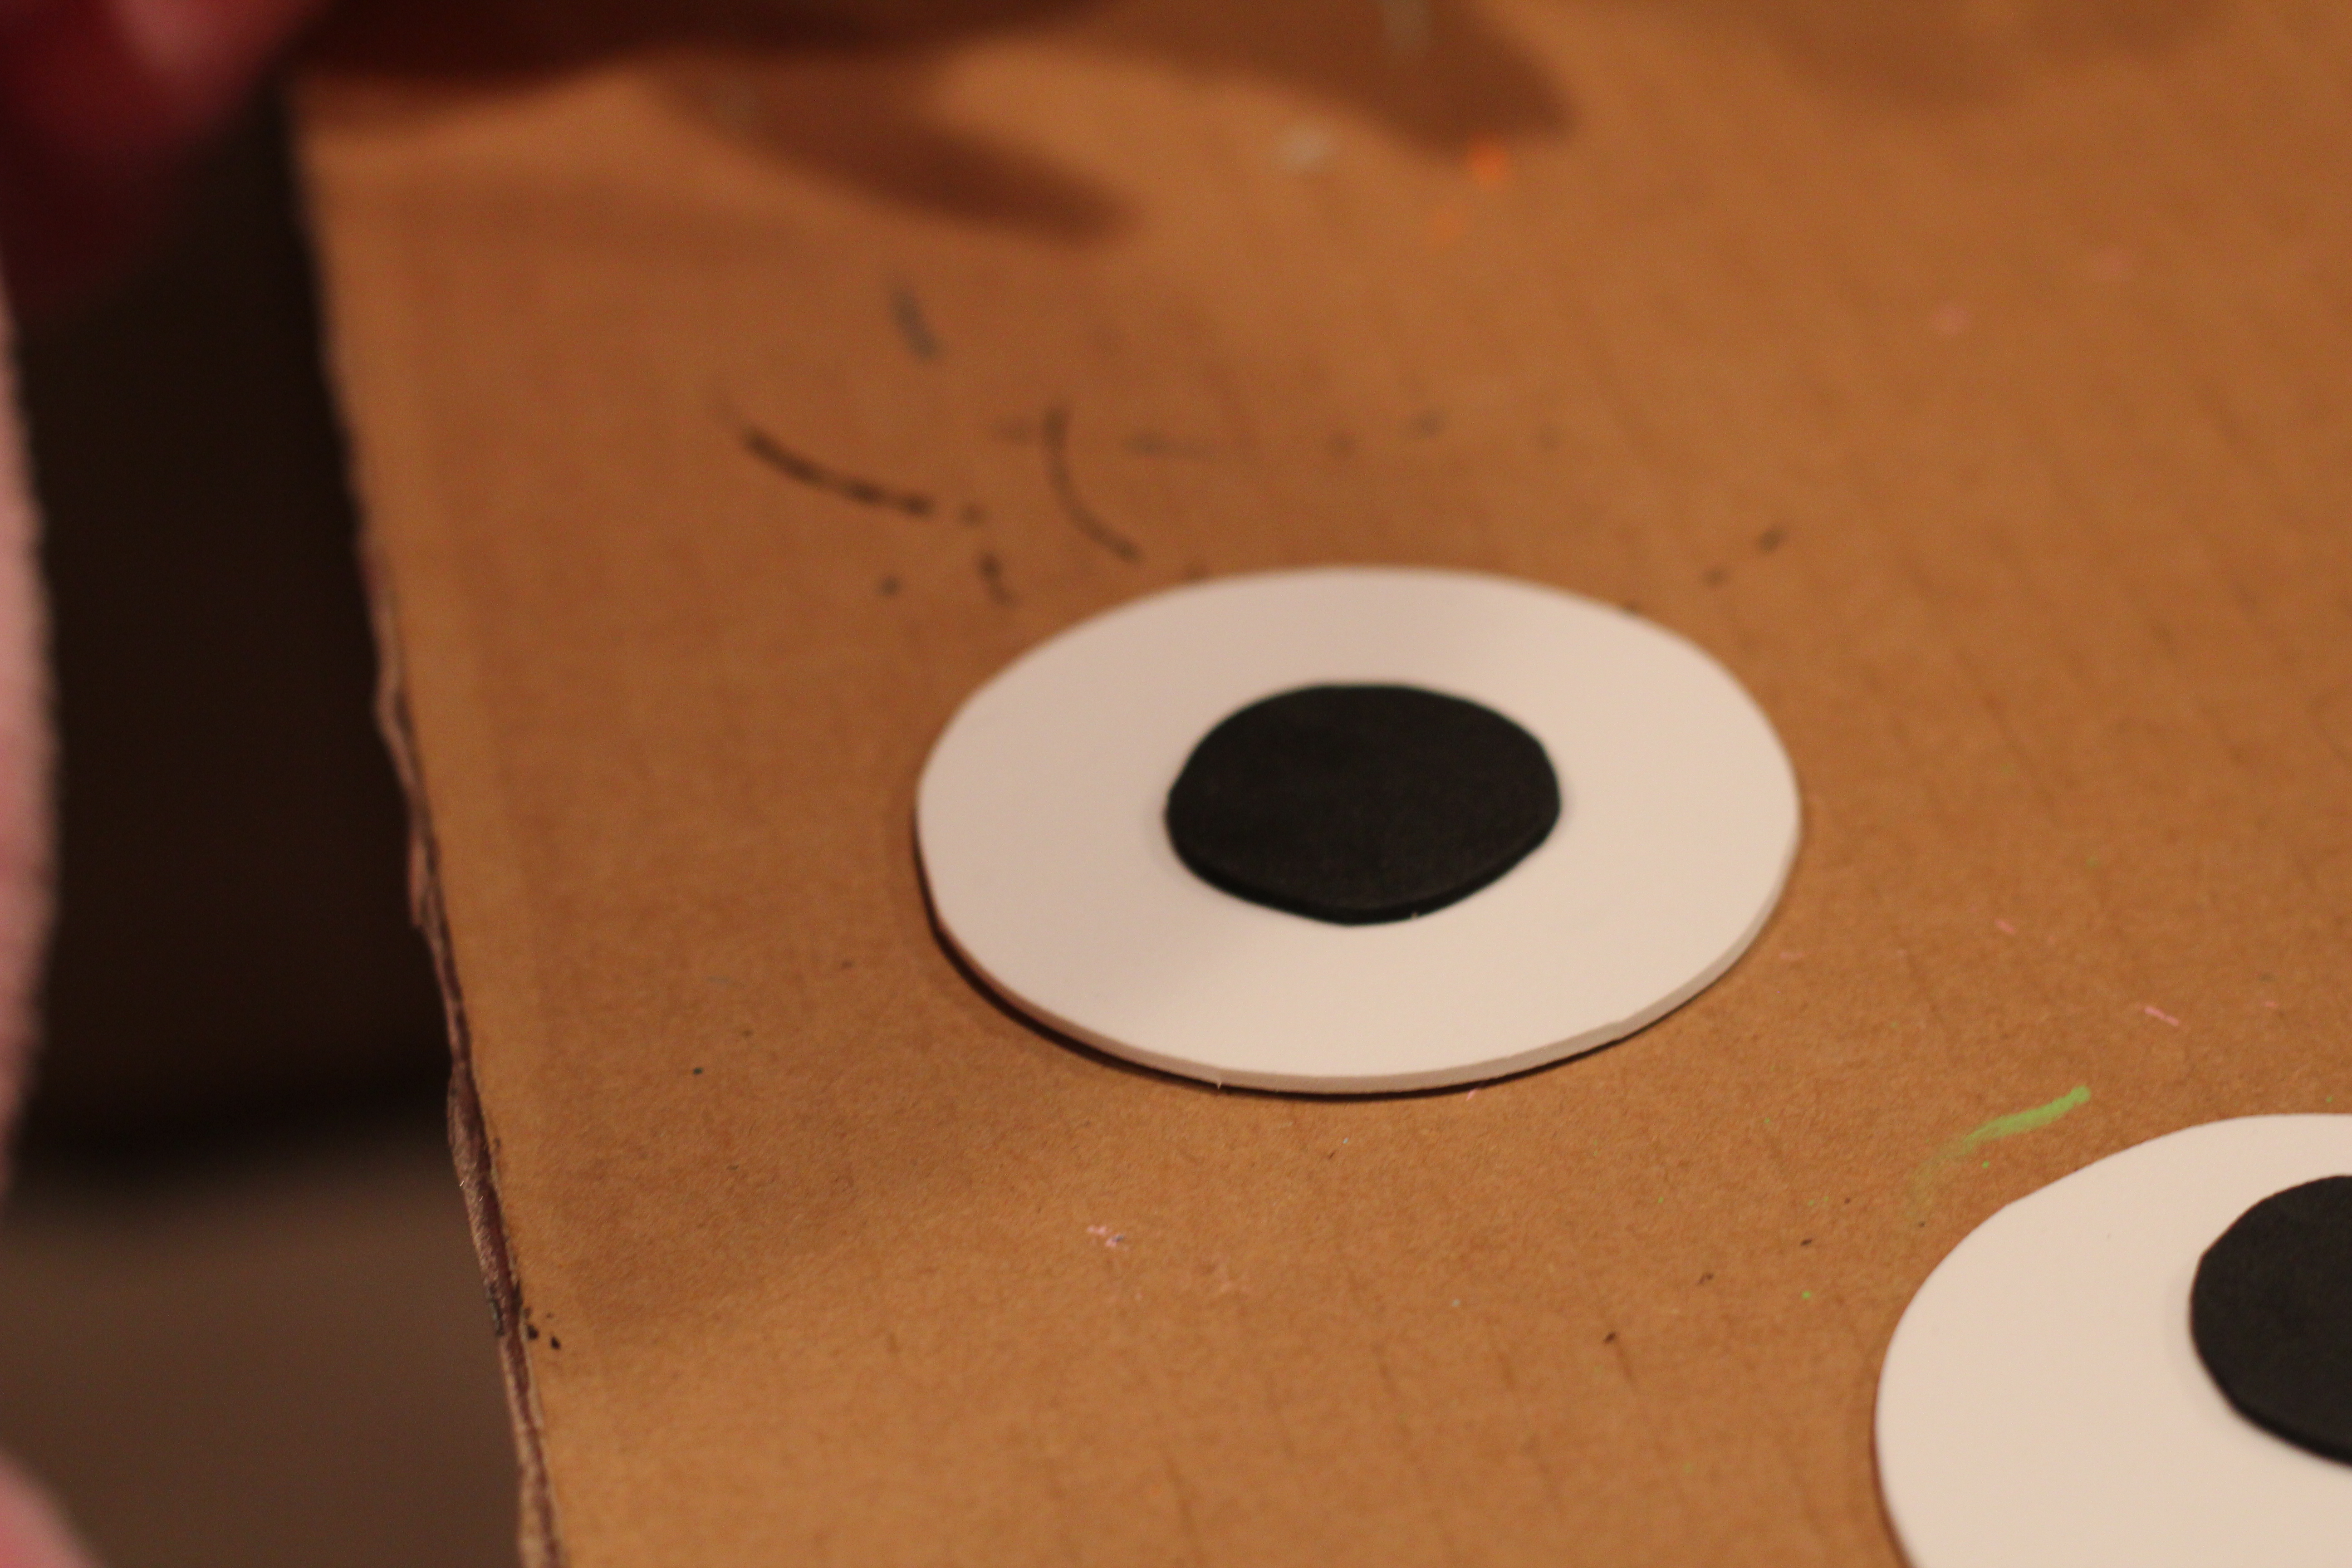
DIY Cardboard Train: My handy father-in-law was able to make us custom-sized boxes and wheels that attached with velcro, and Bryan and I just had to cut out the windows and decorate the train! The train was a hit at the party, and we have gotten great use out of it since. If you can’t have boxes made for you, any type of box would work — just decorate it however you would like! We used string and white balloons to create the engine “steam”.
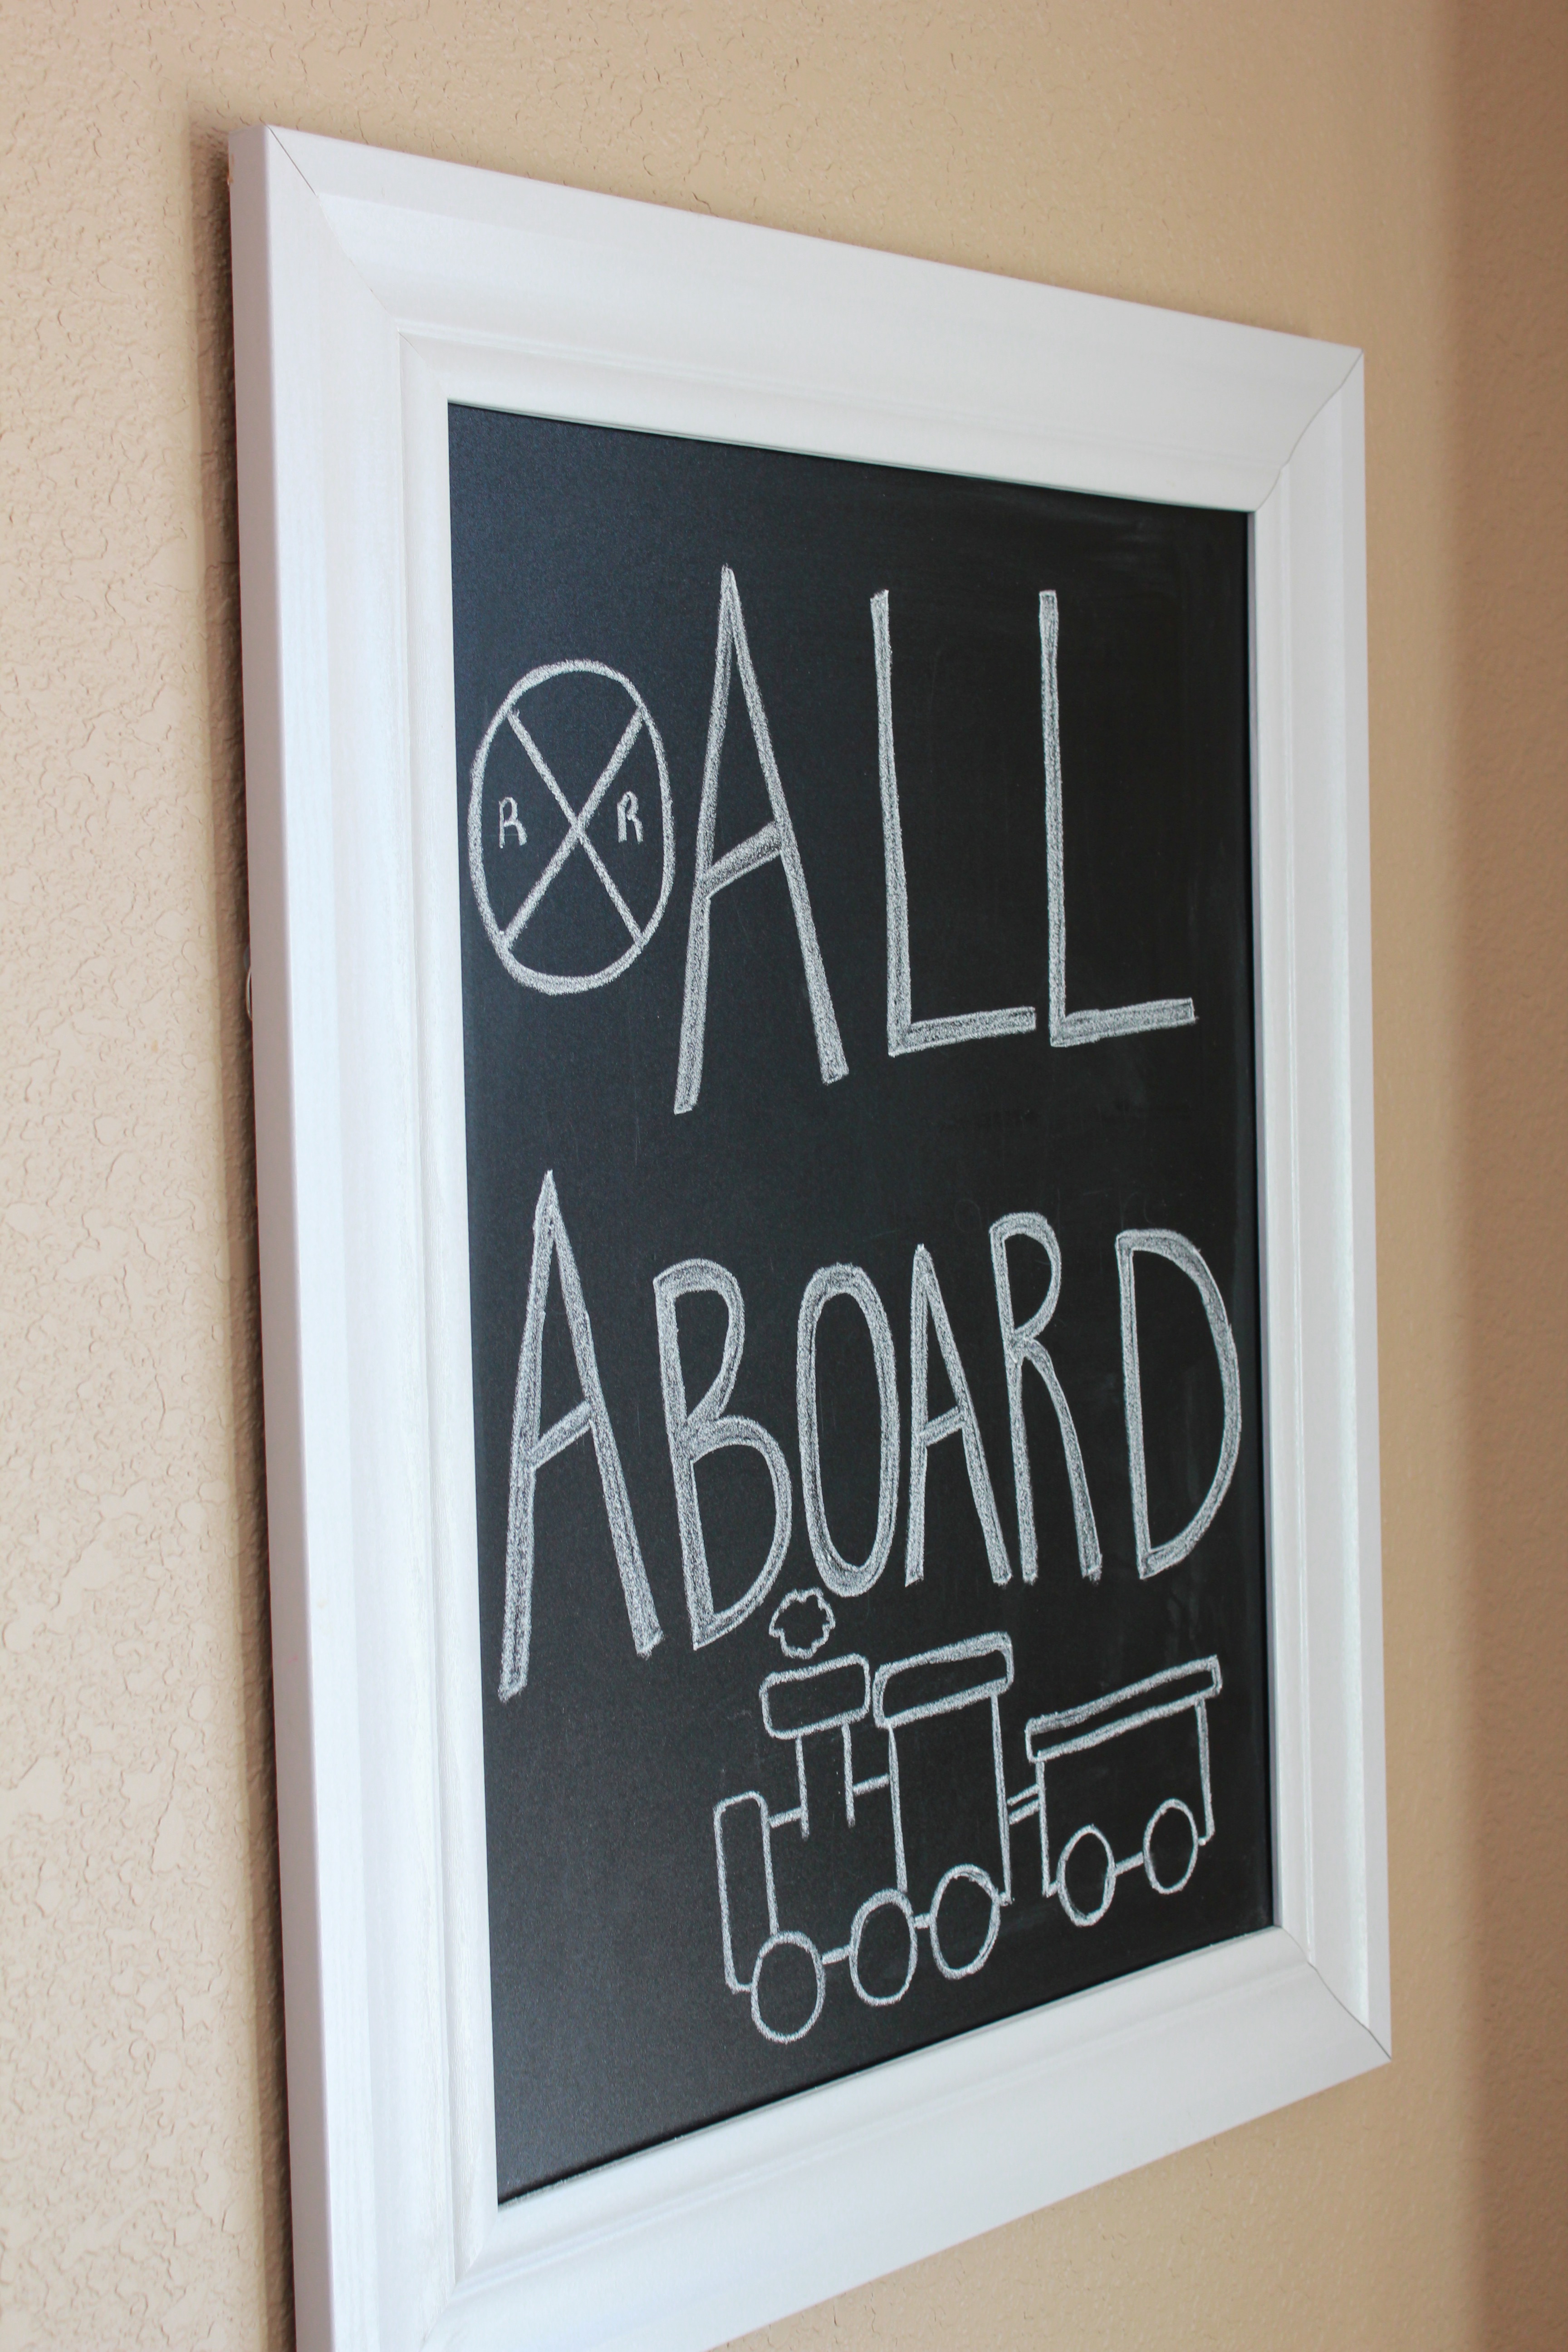
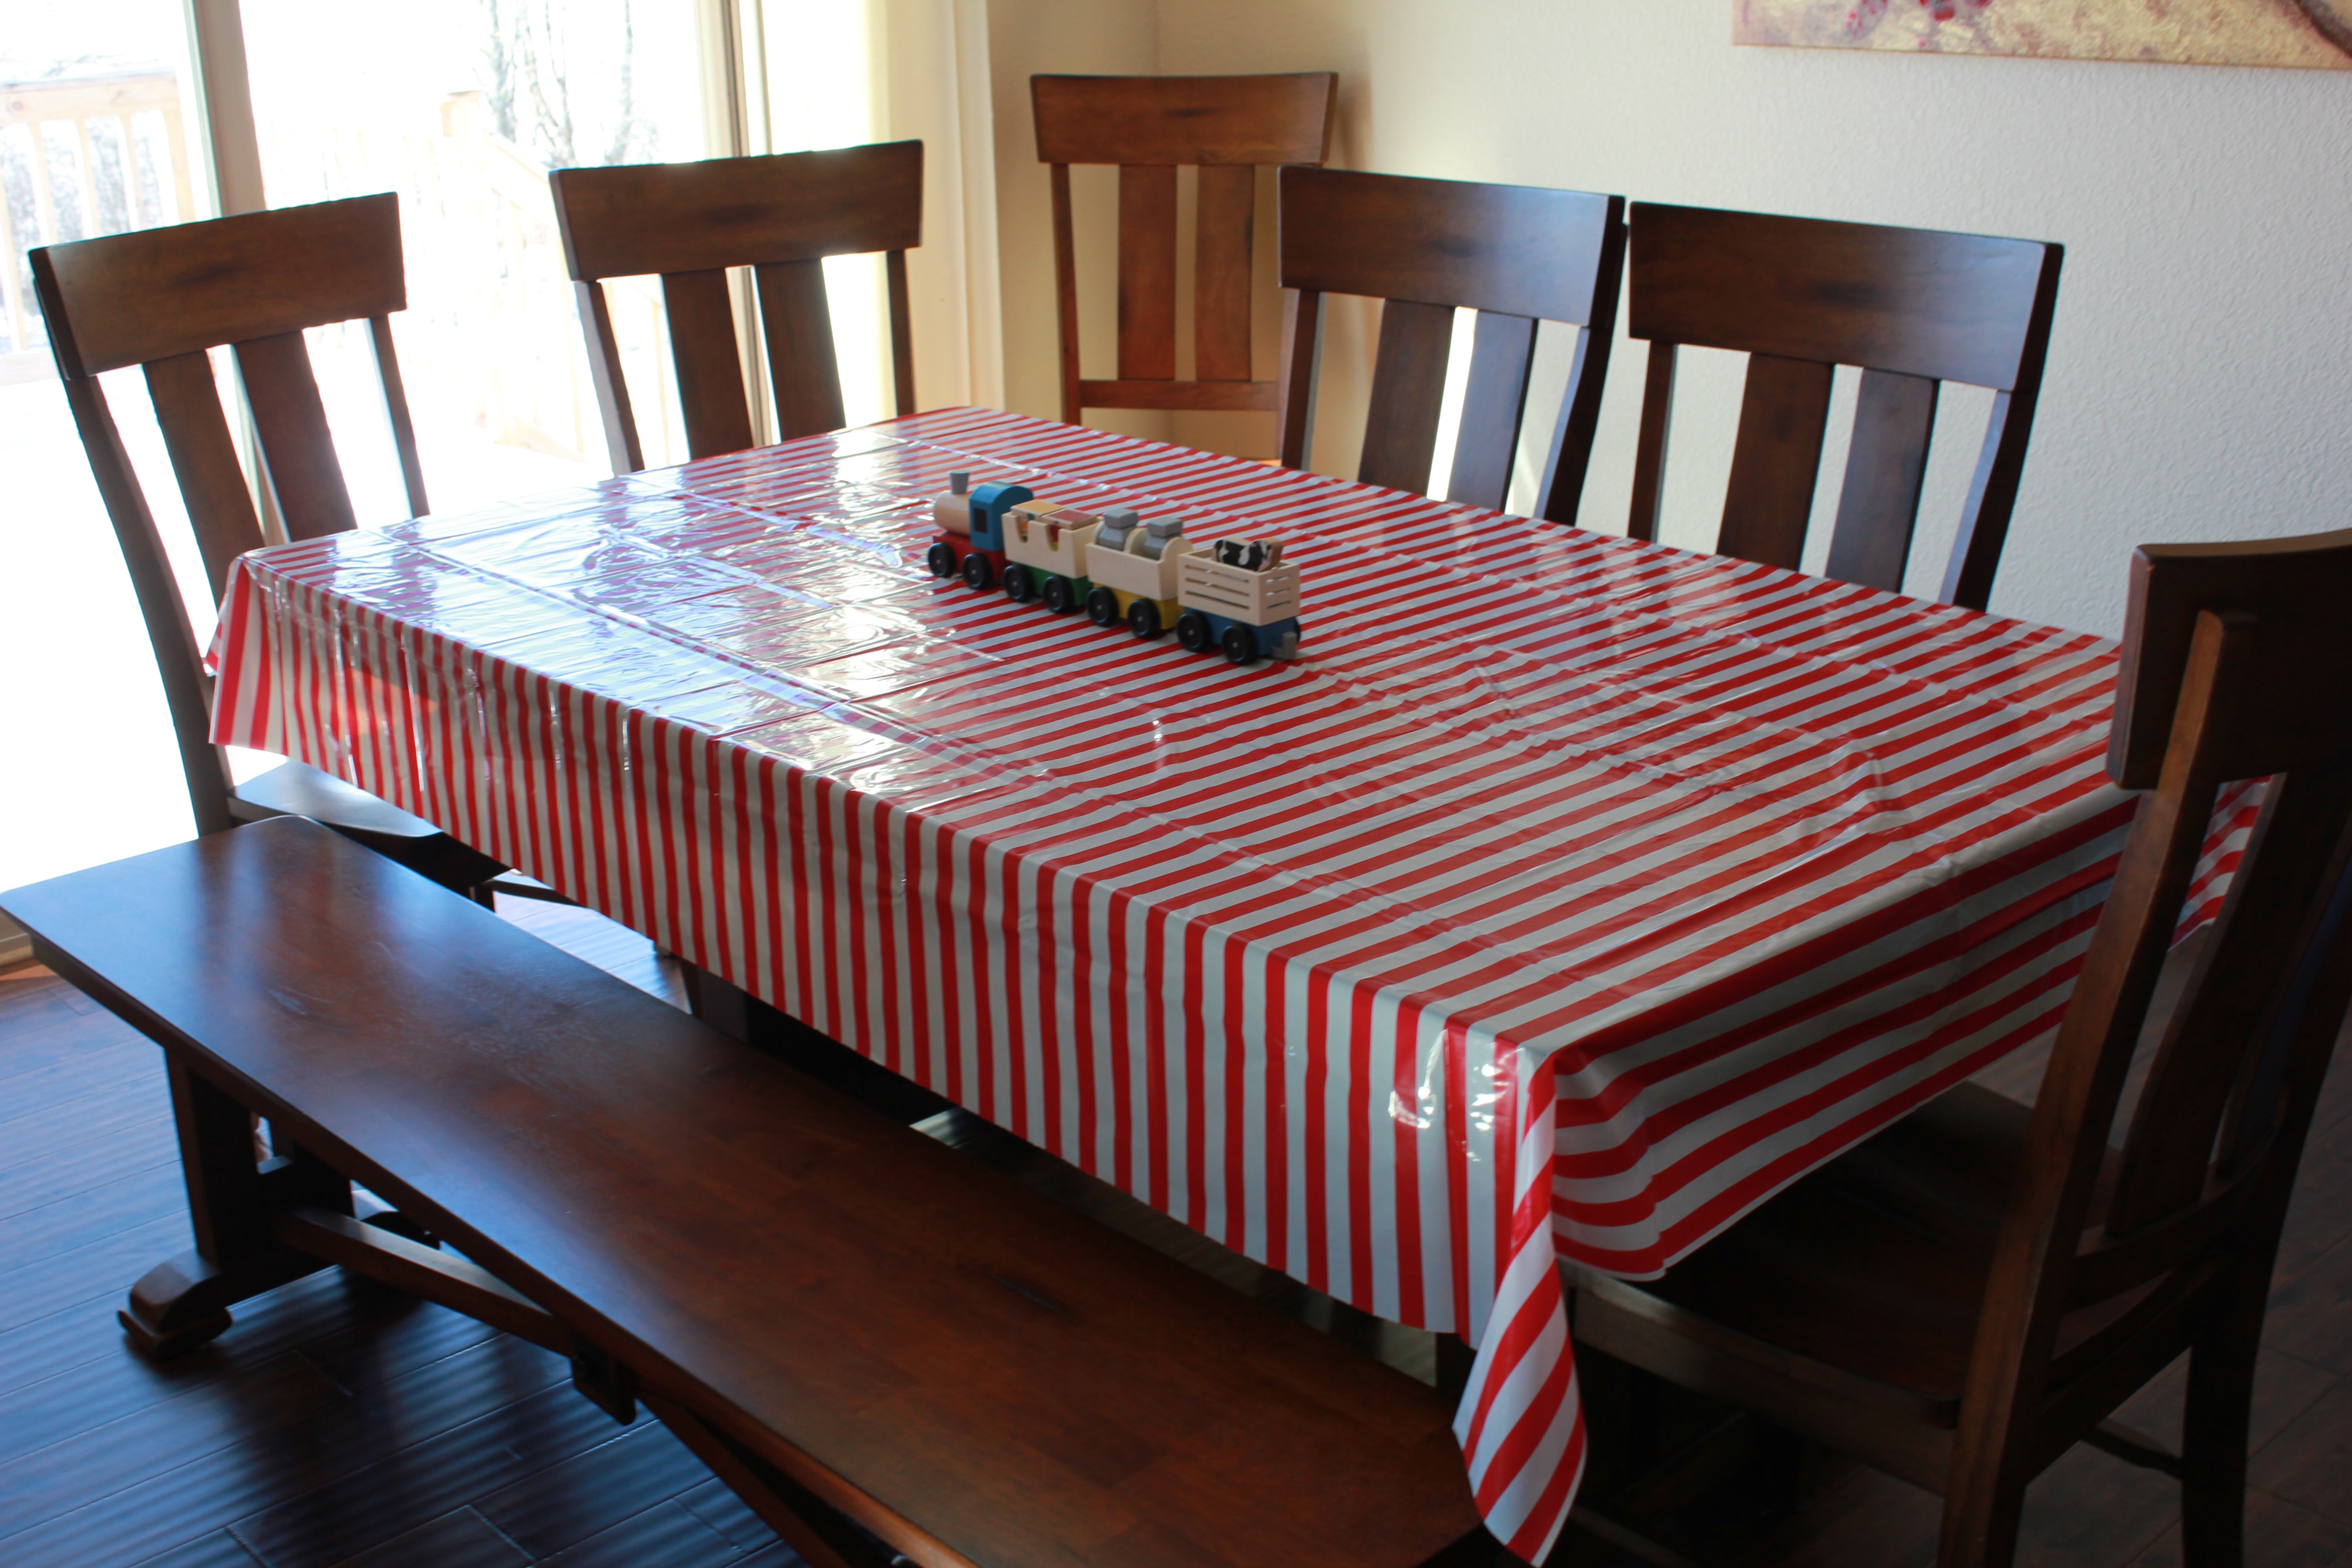
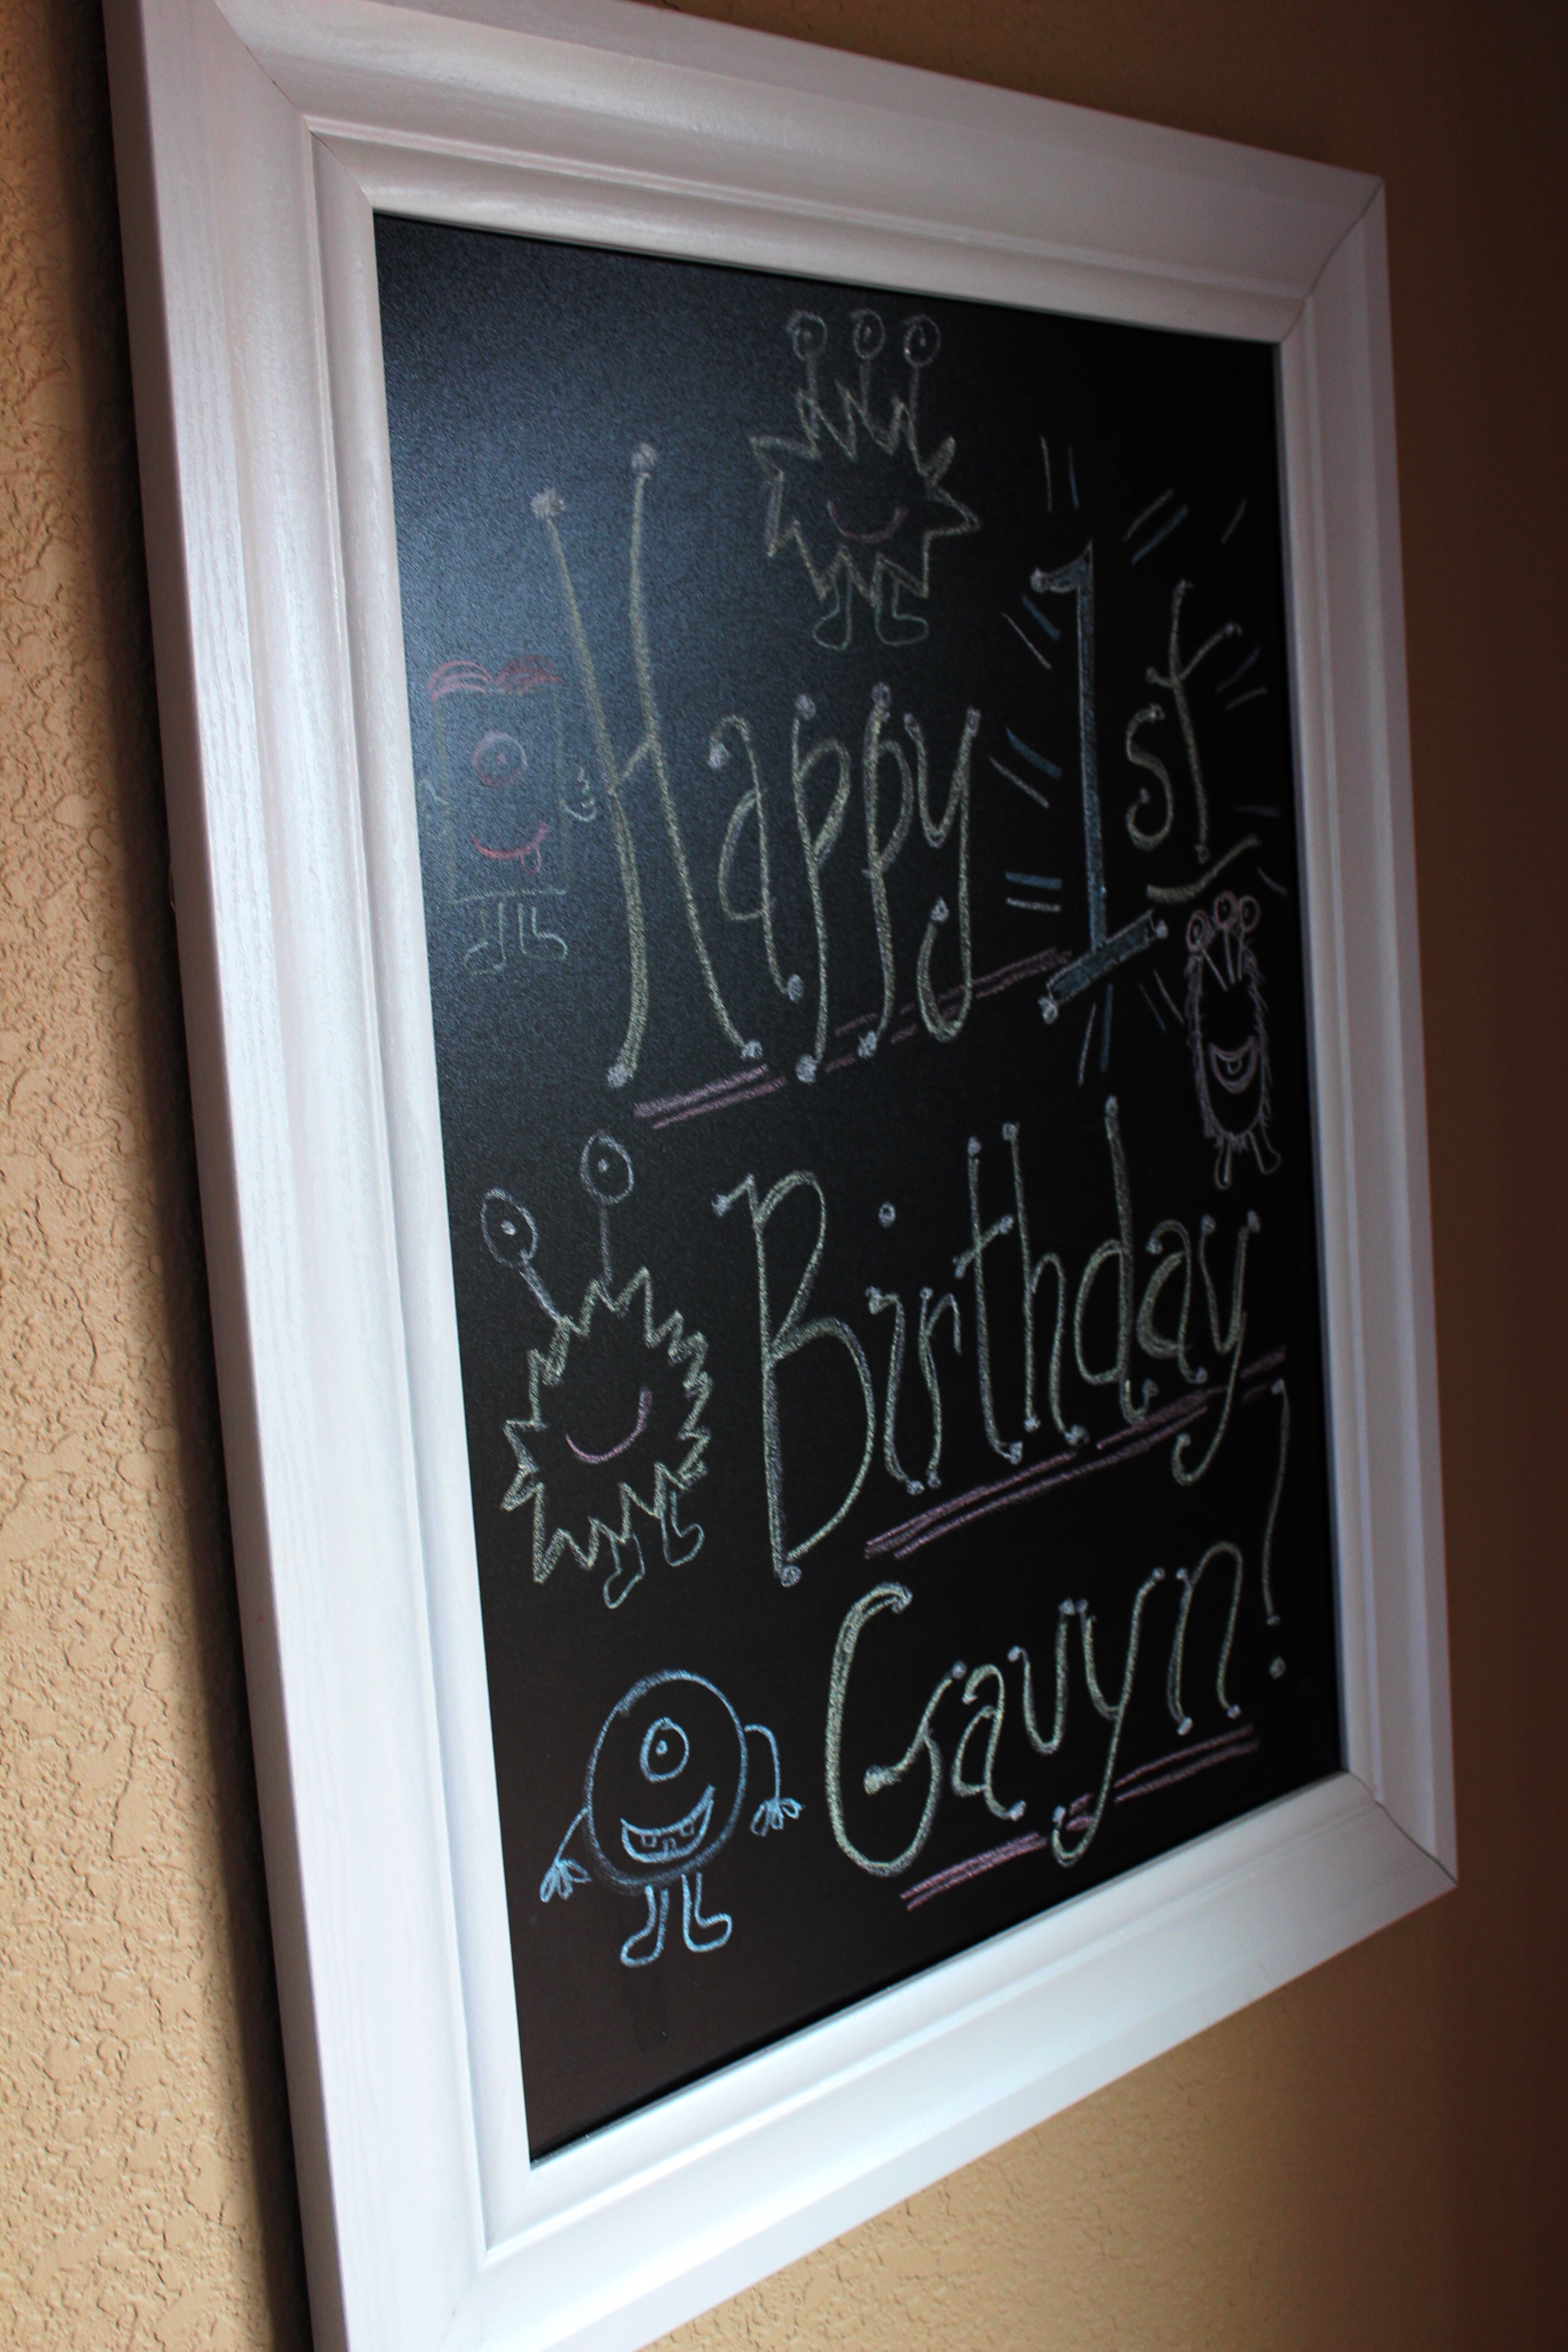
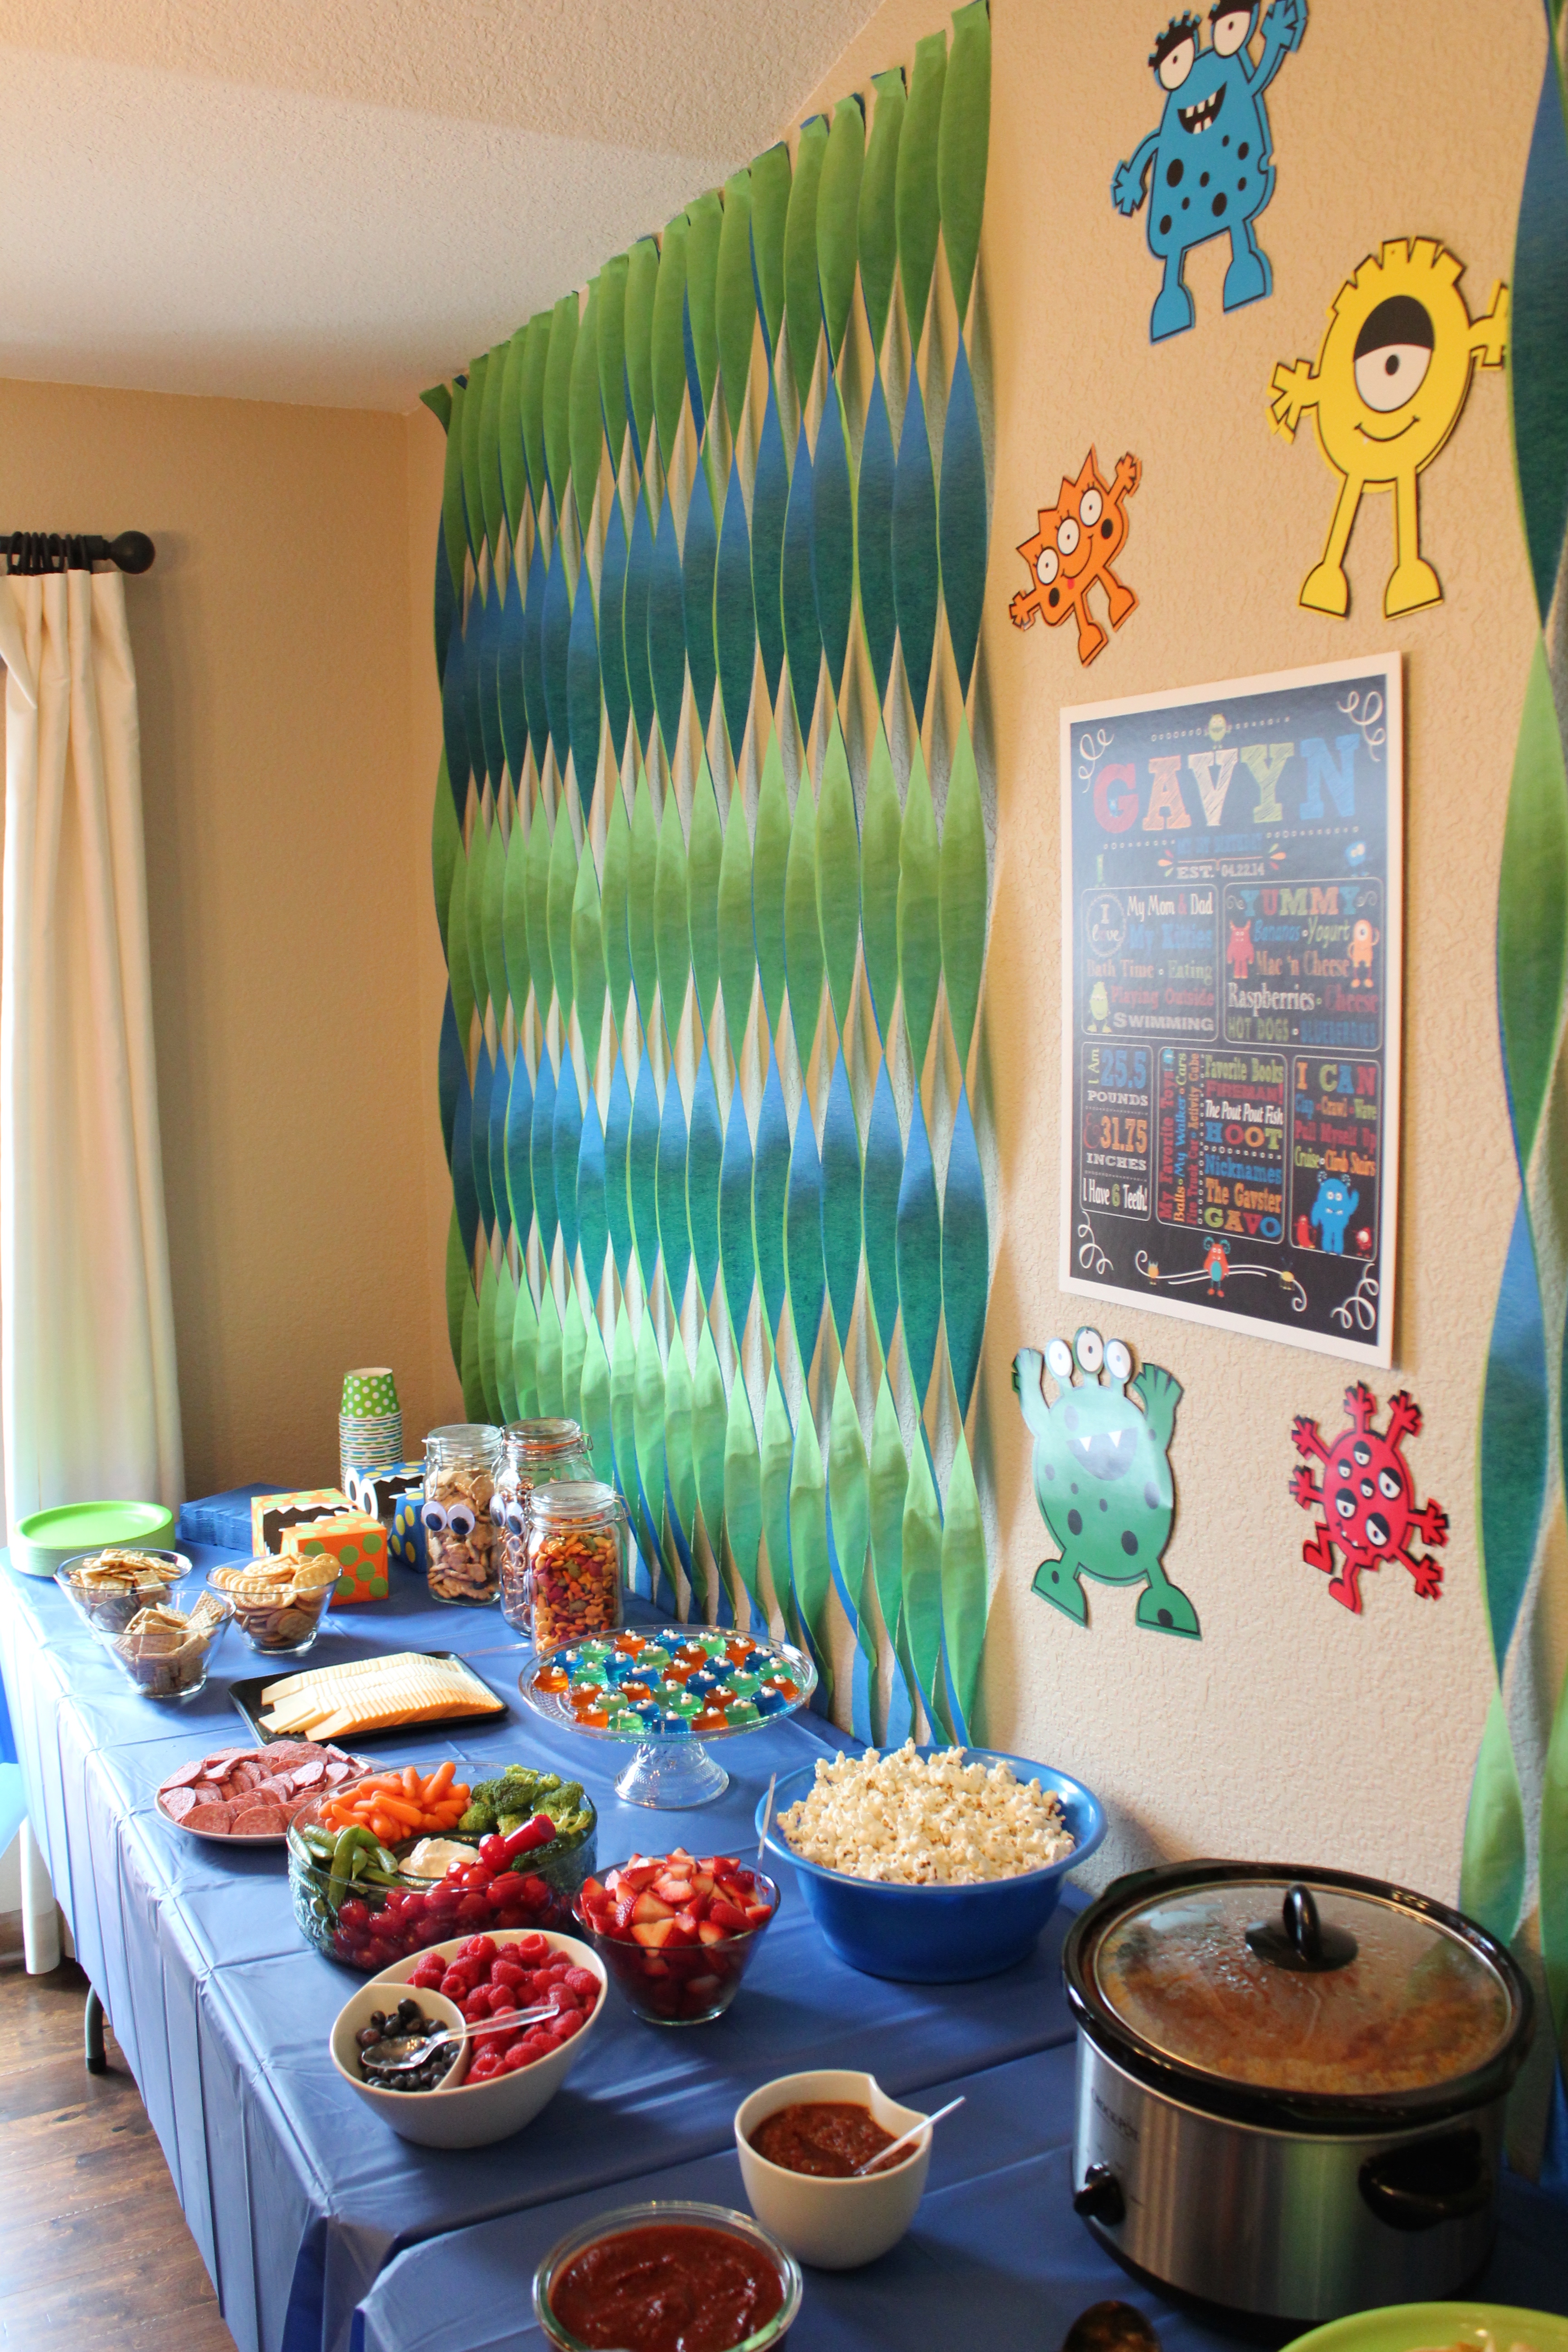
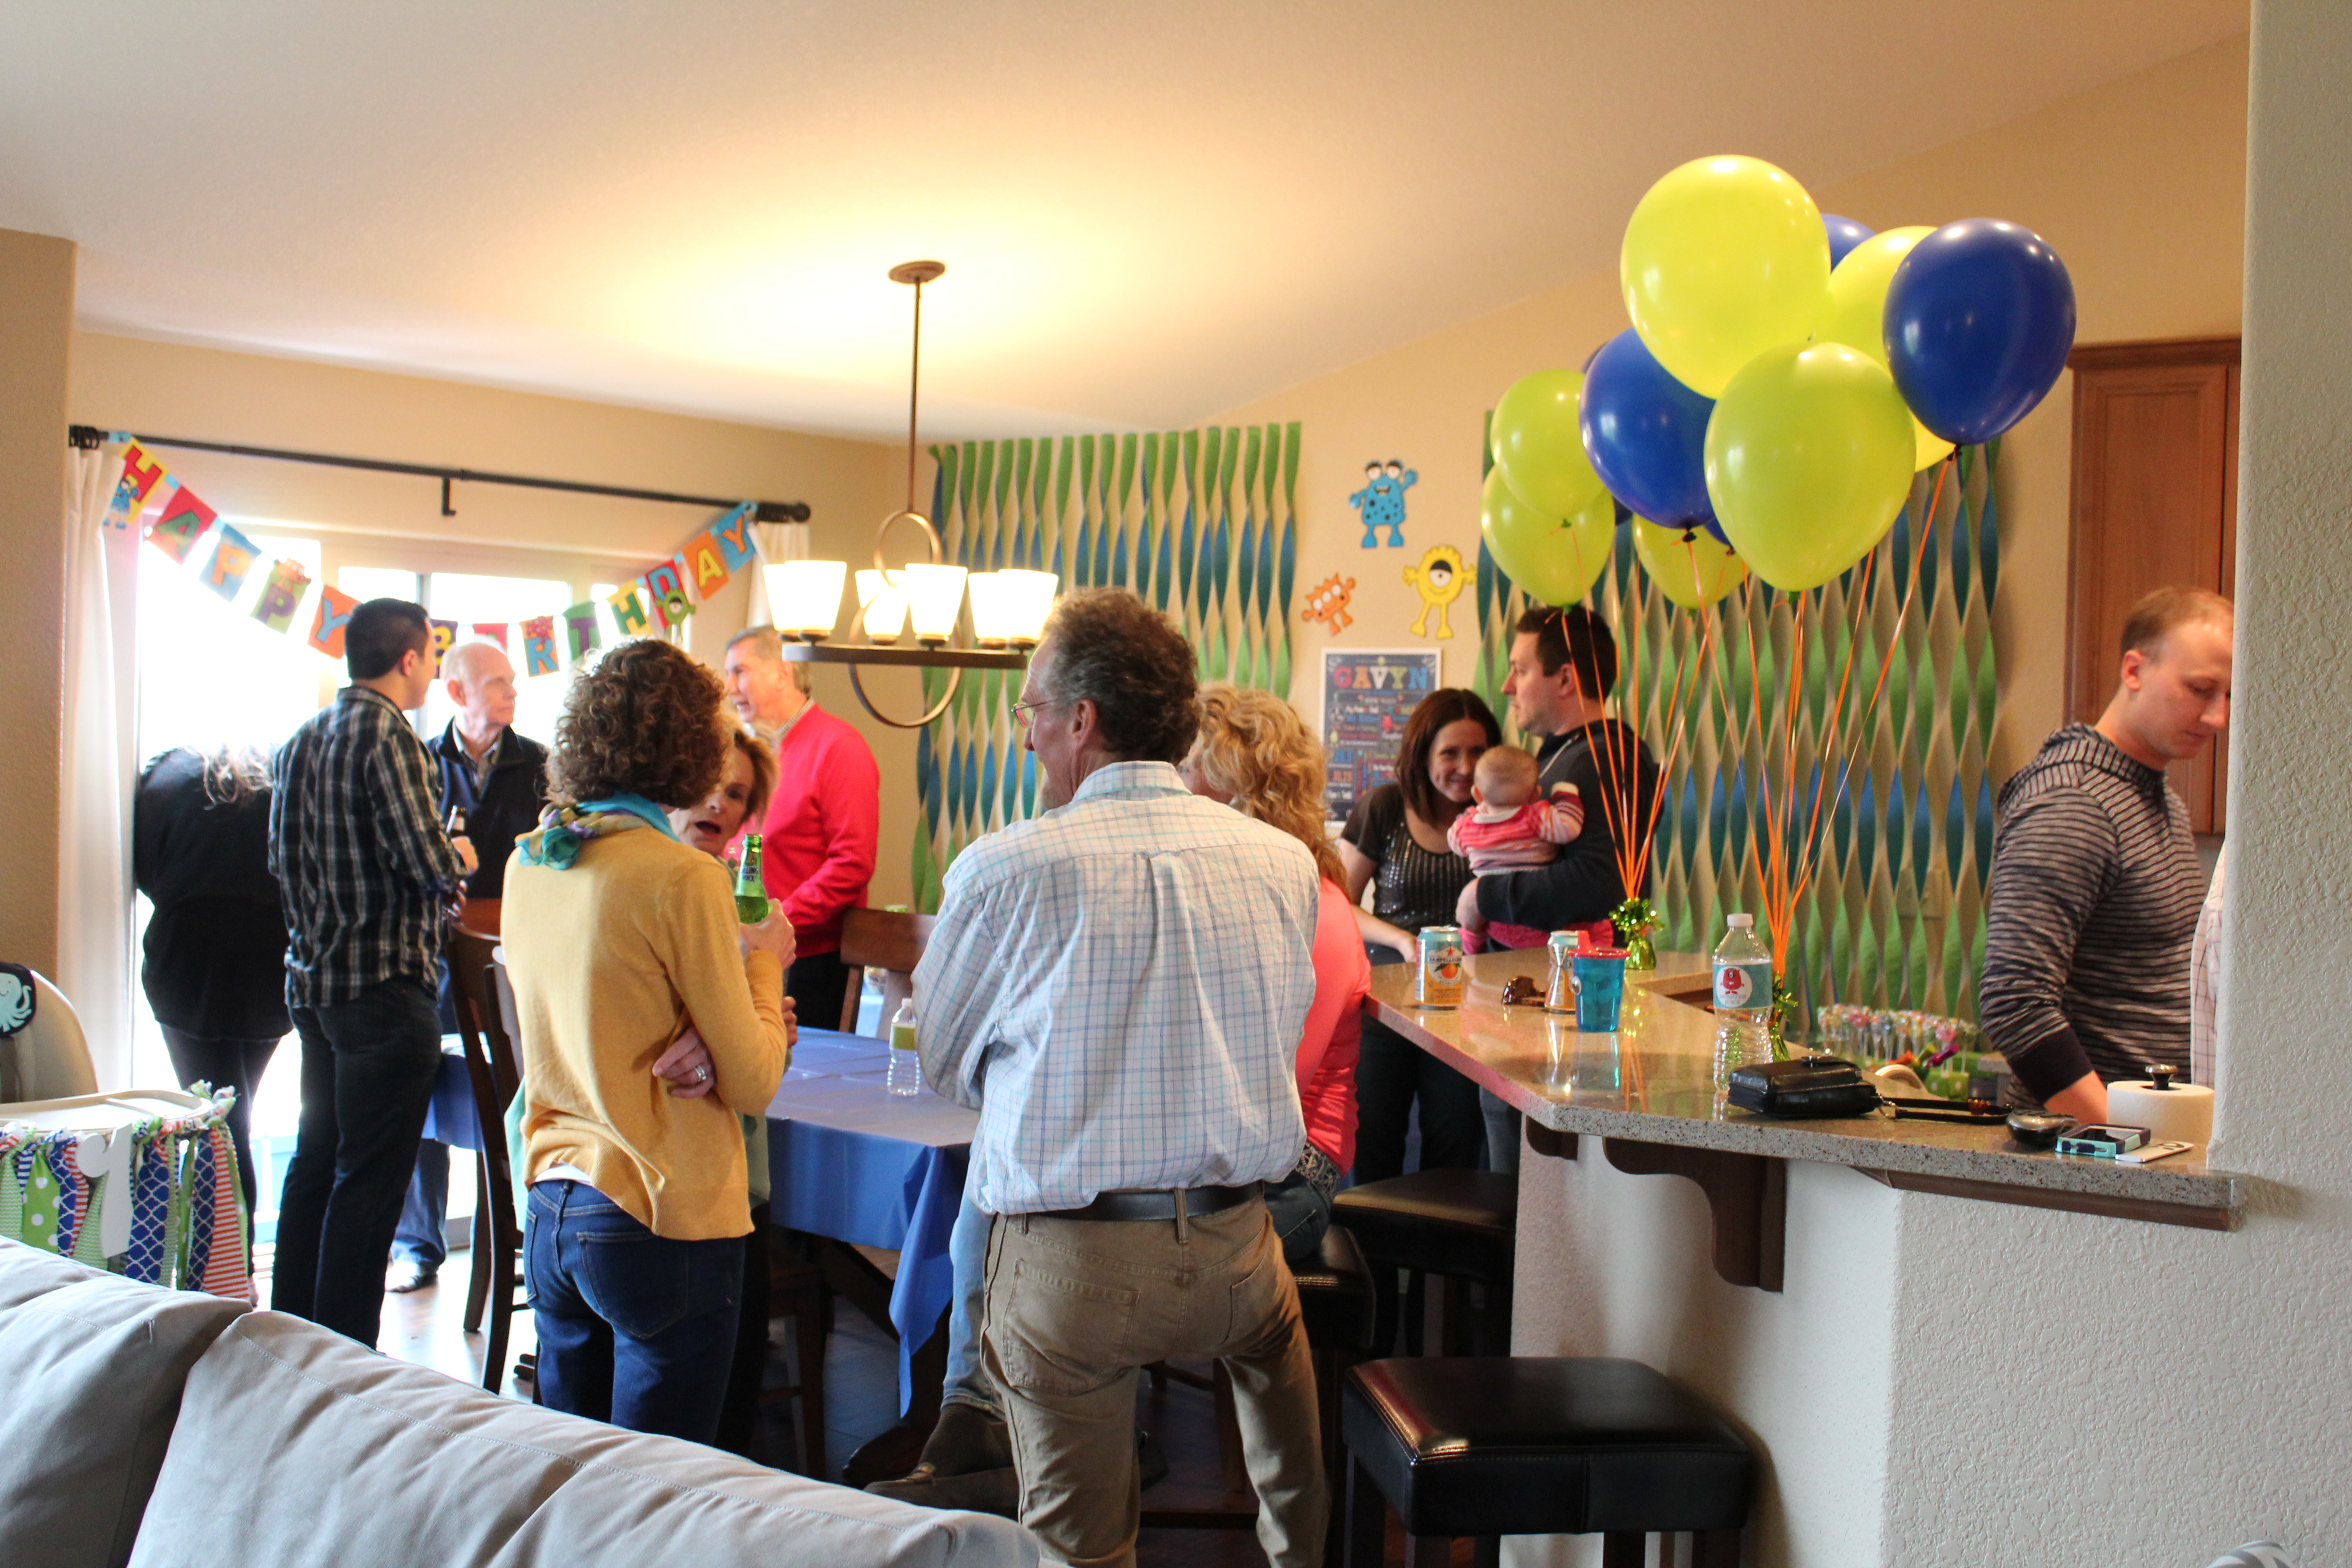
Other Decorations: I used our chalkboard to make a little sign, and then I searched through all the kids’ toys to find a few trains to use as centerpieces and such. We blew up a few red and blue balloons, too. The tablecloth is from Target.
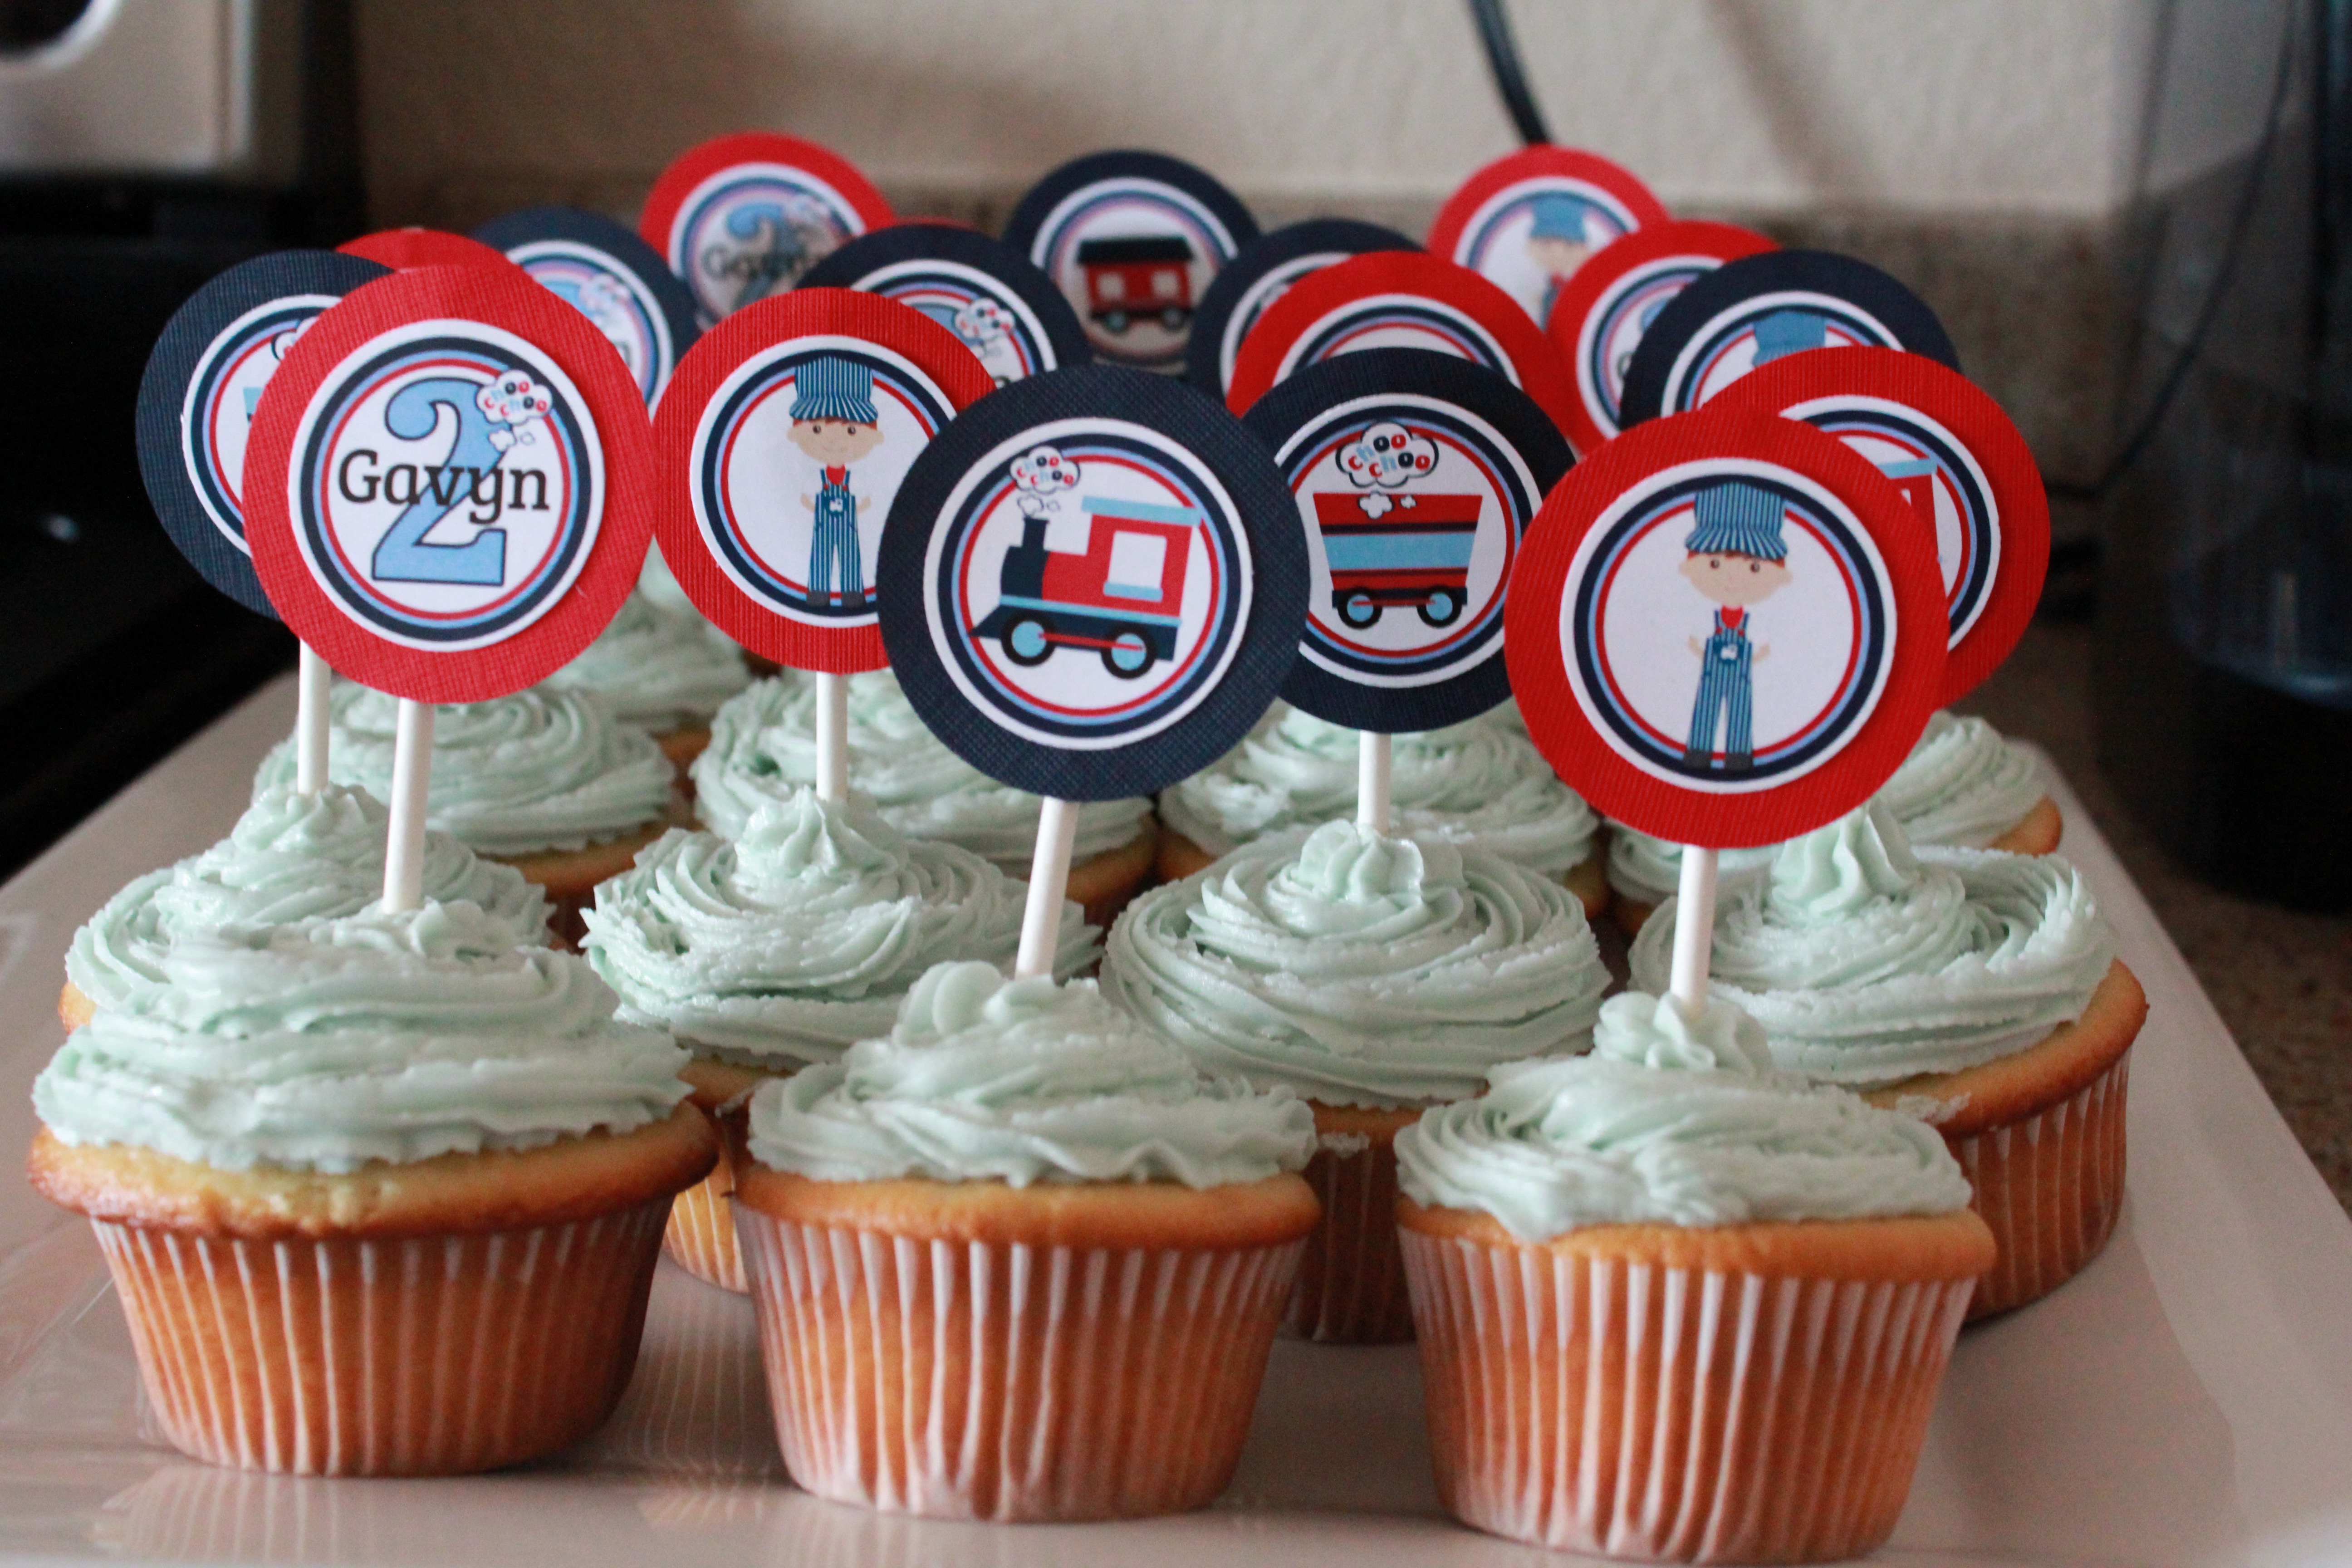

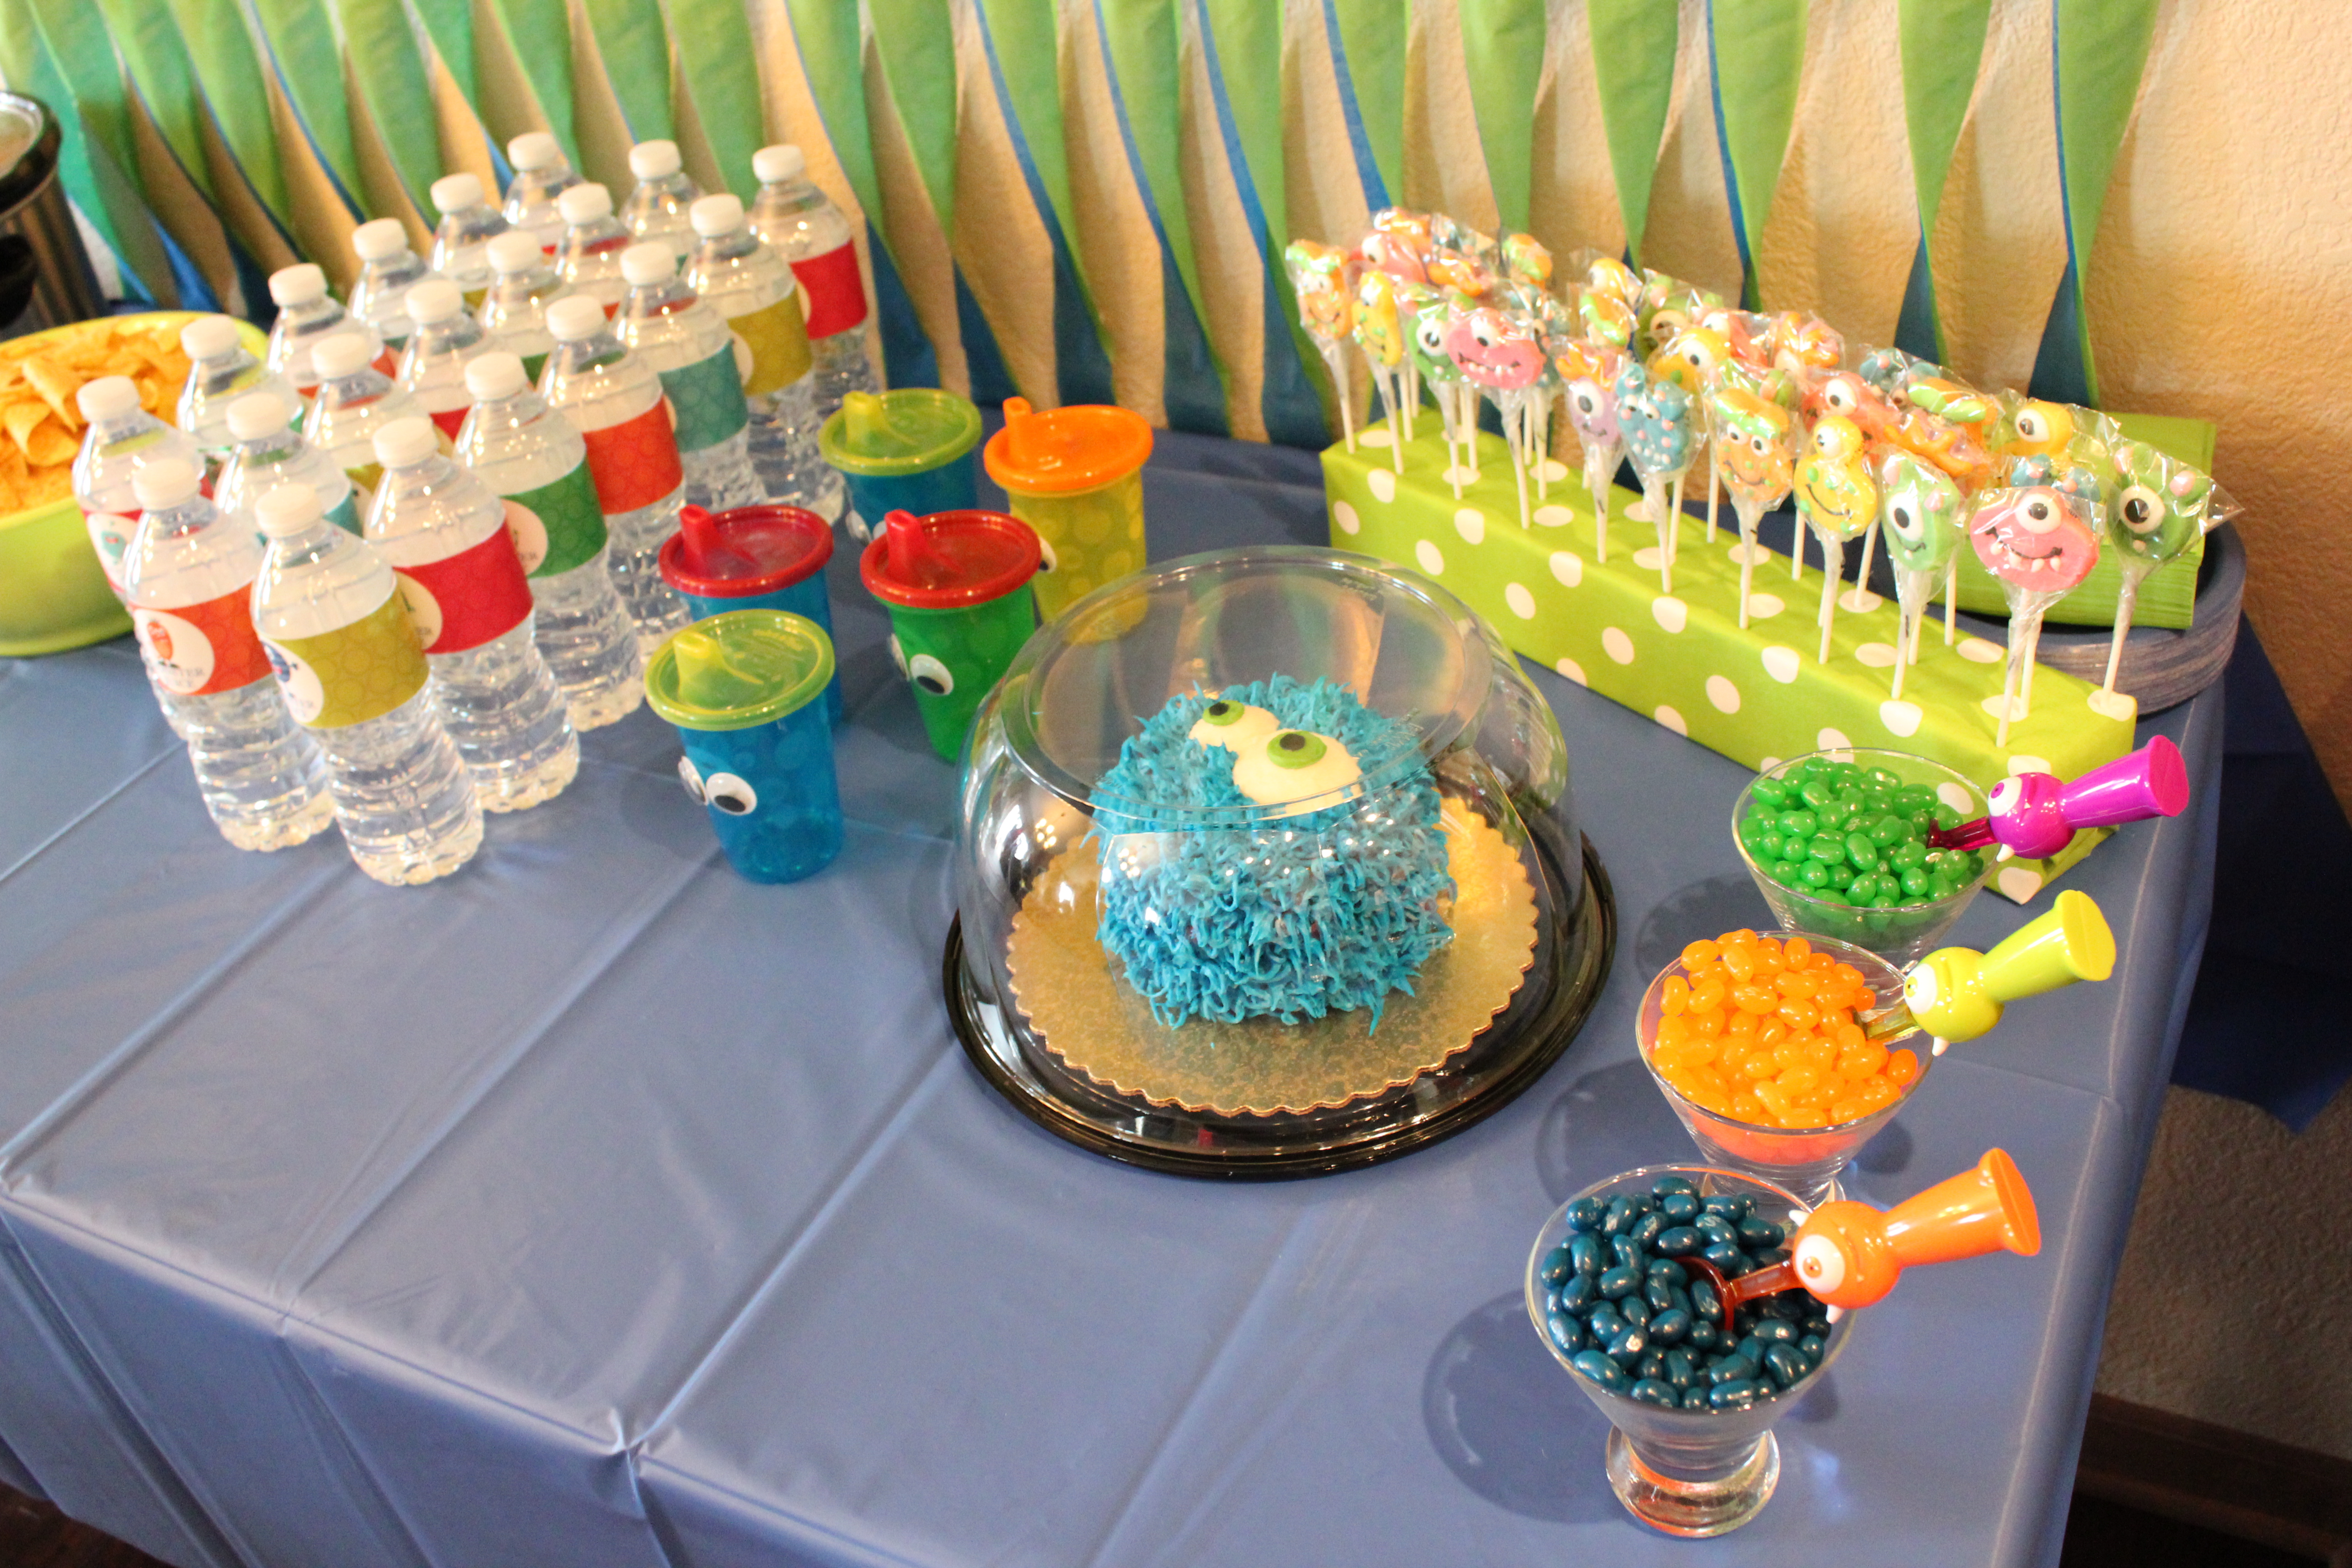
Cupcakes: I altered a box cake mix to make the cupcakes and made homemade frosting, as well. The toppers were ordered from Ciao Bambino Designs, and I then attached them to blue and red card stock circles. I made the circles using a circle punch. I used hot glue to attach the circles to mini sucker sticks (from Hobby Lobby). This whole project was fun and easy and it made the cupcakes seem a little more fancy!
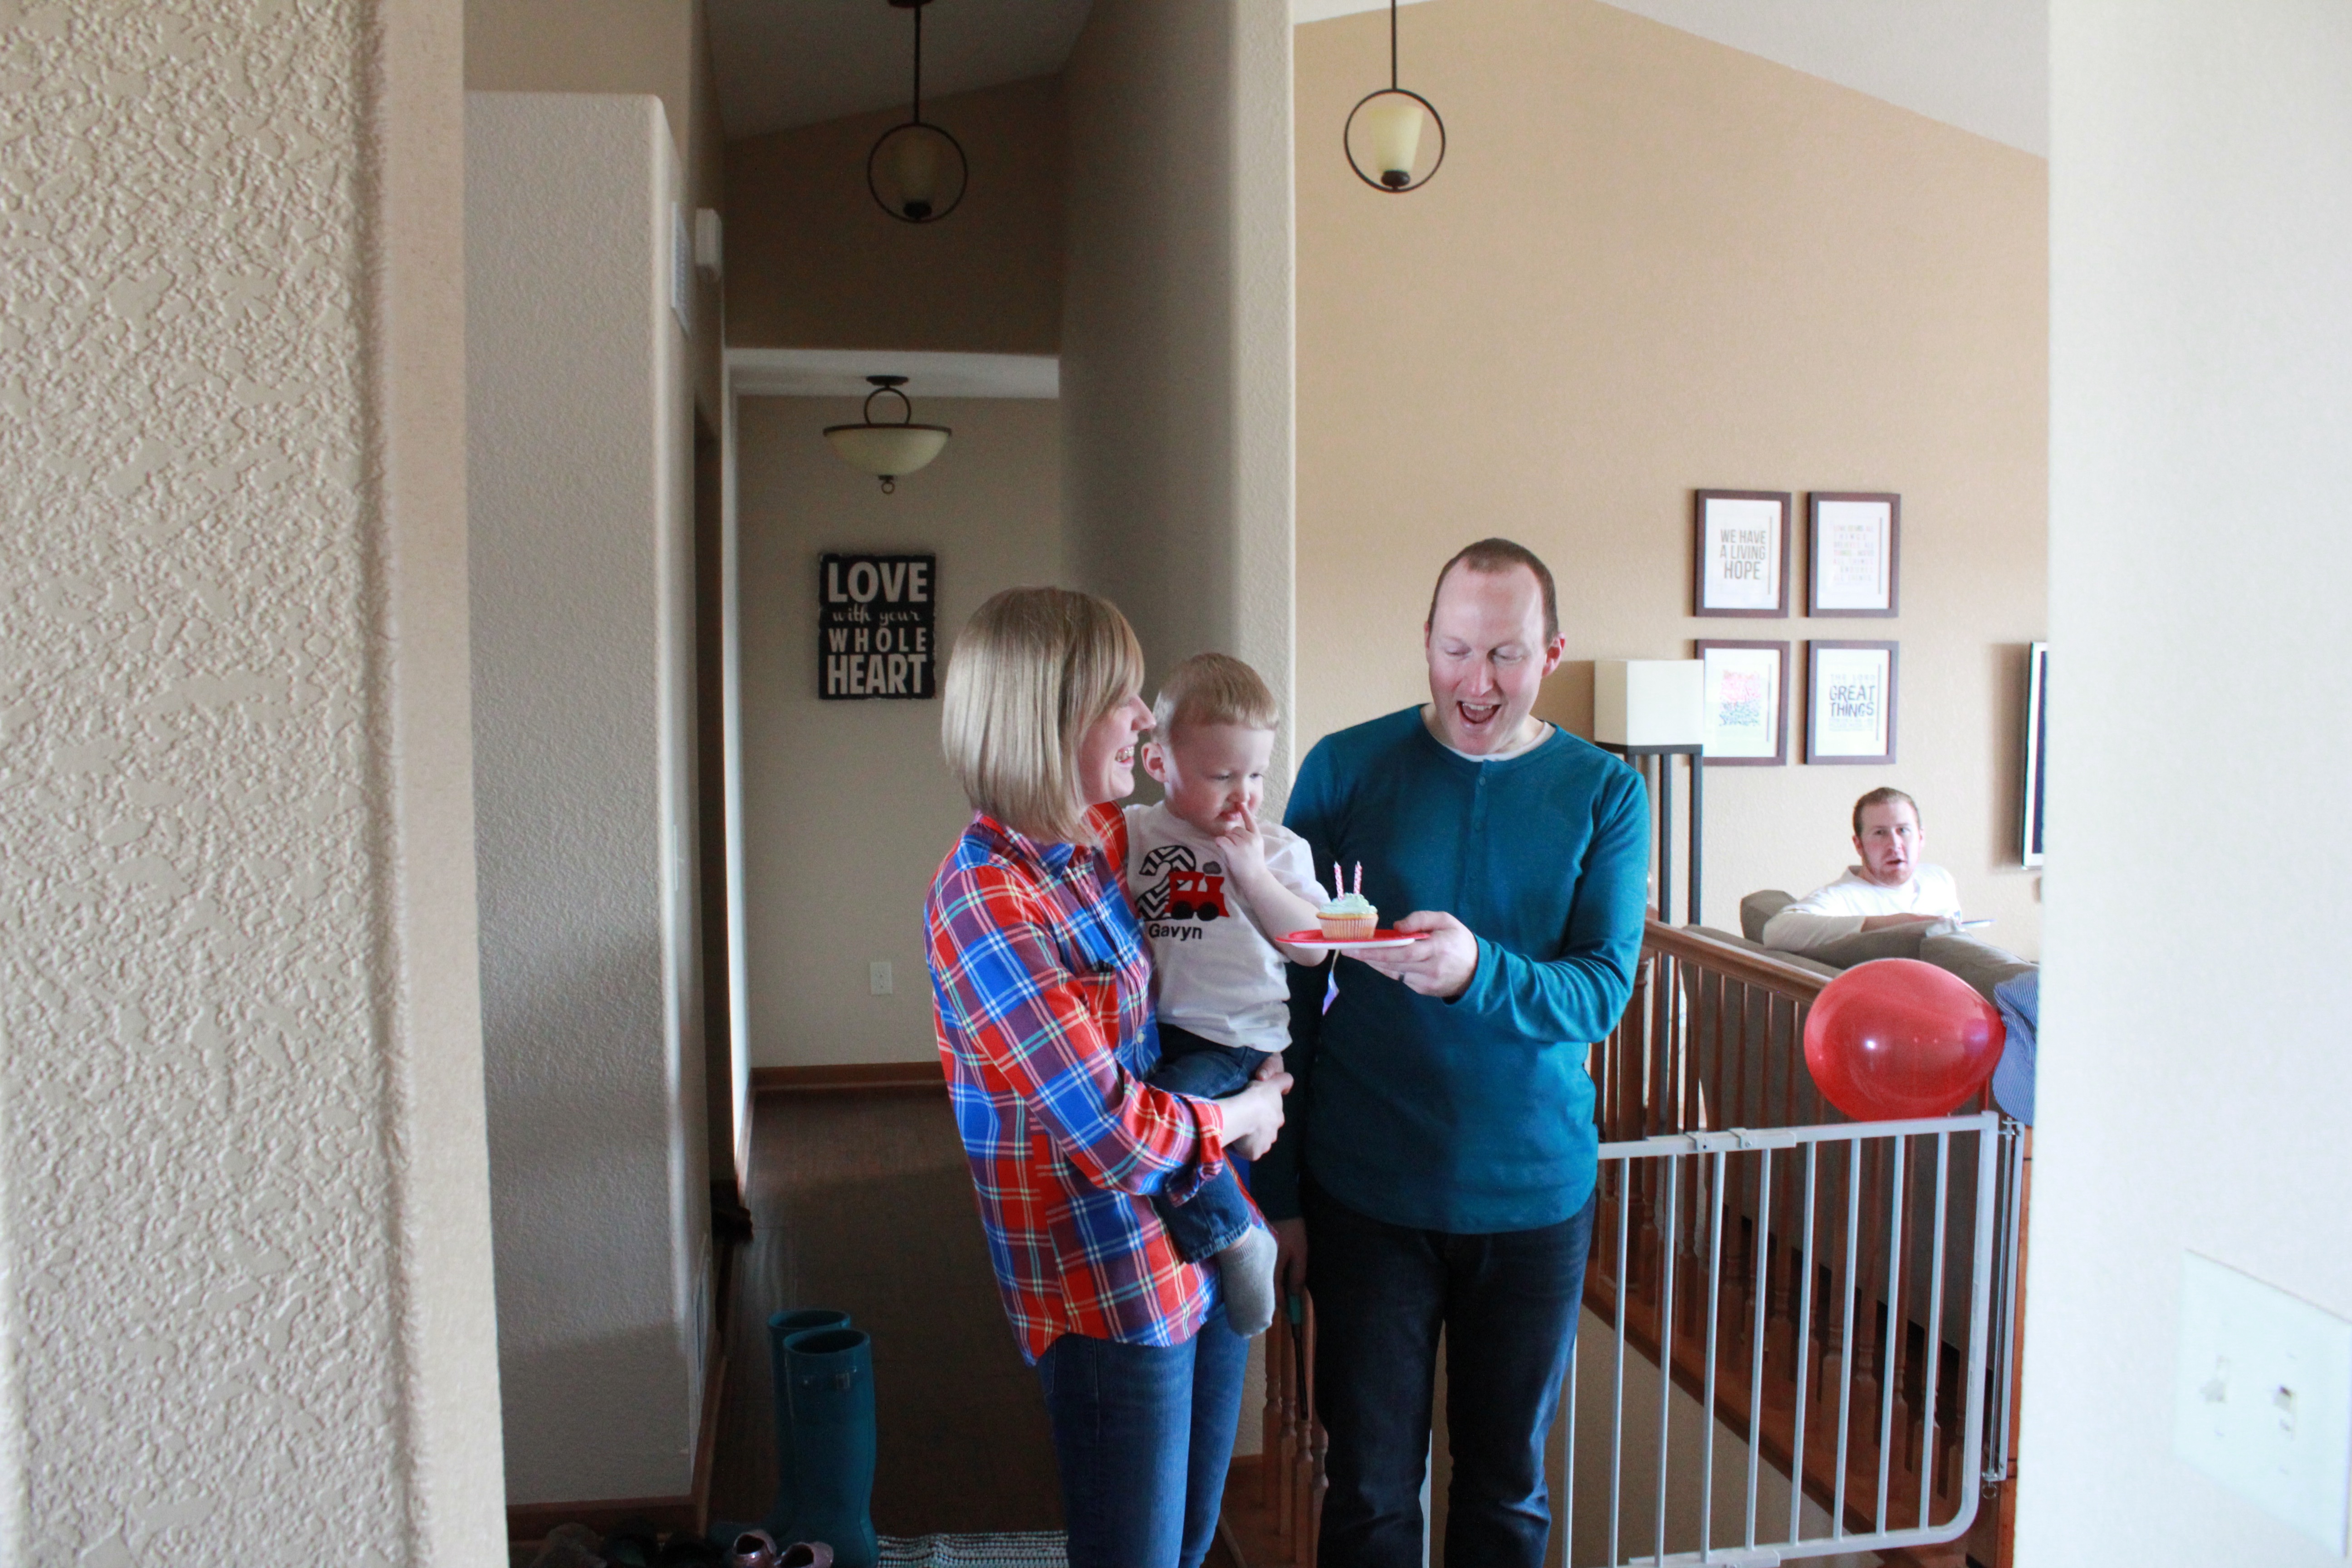

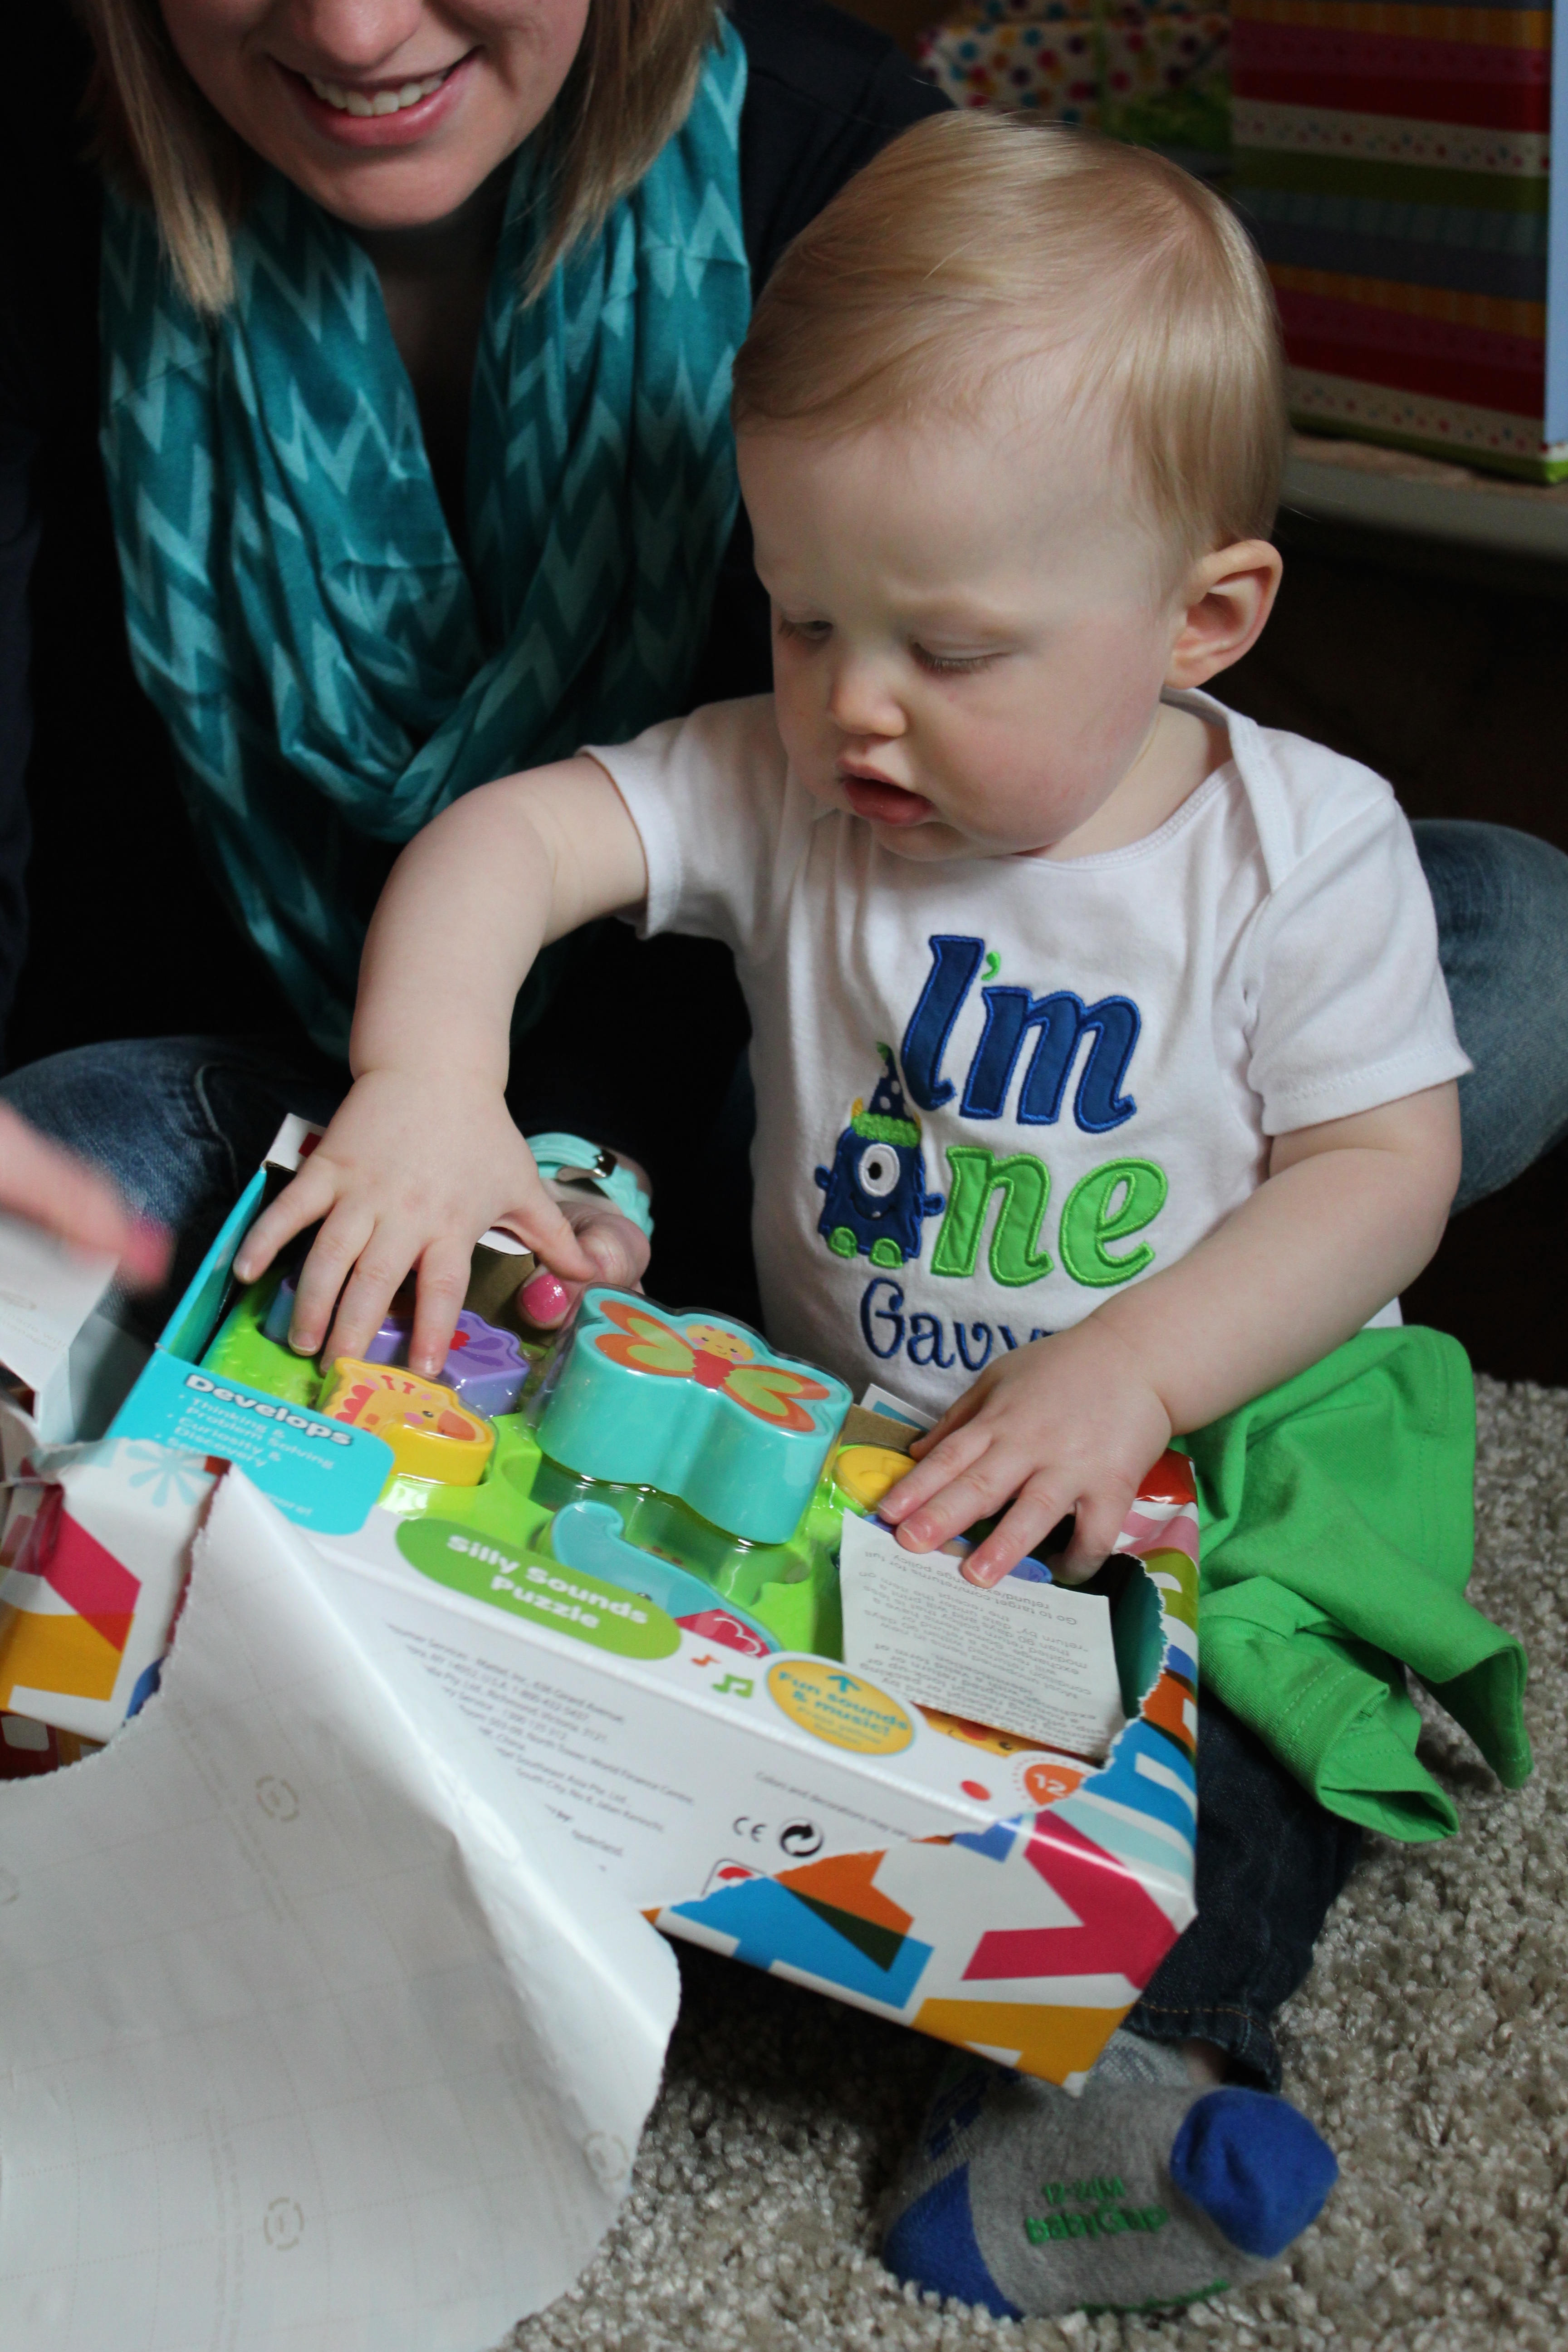
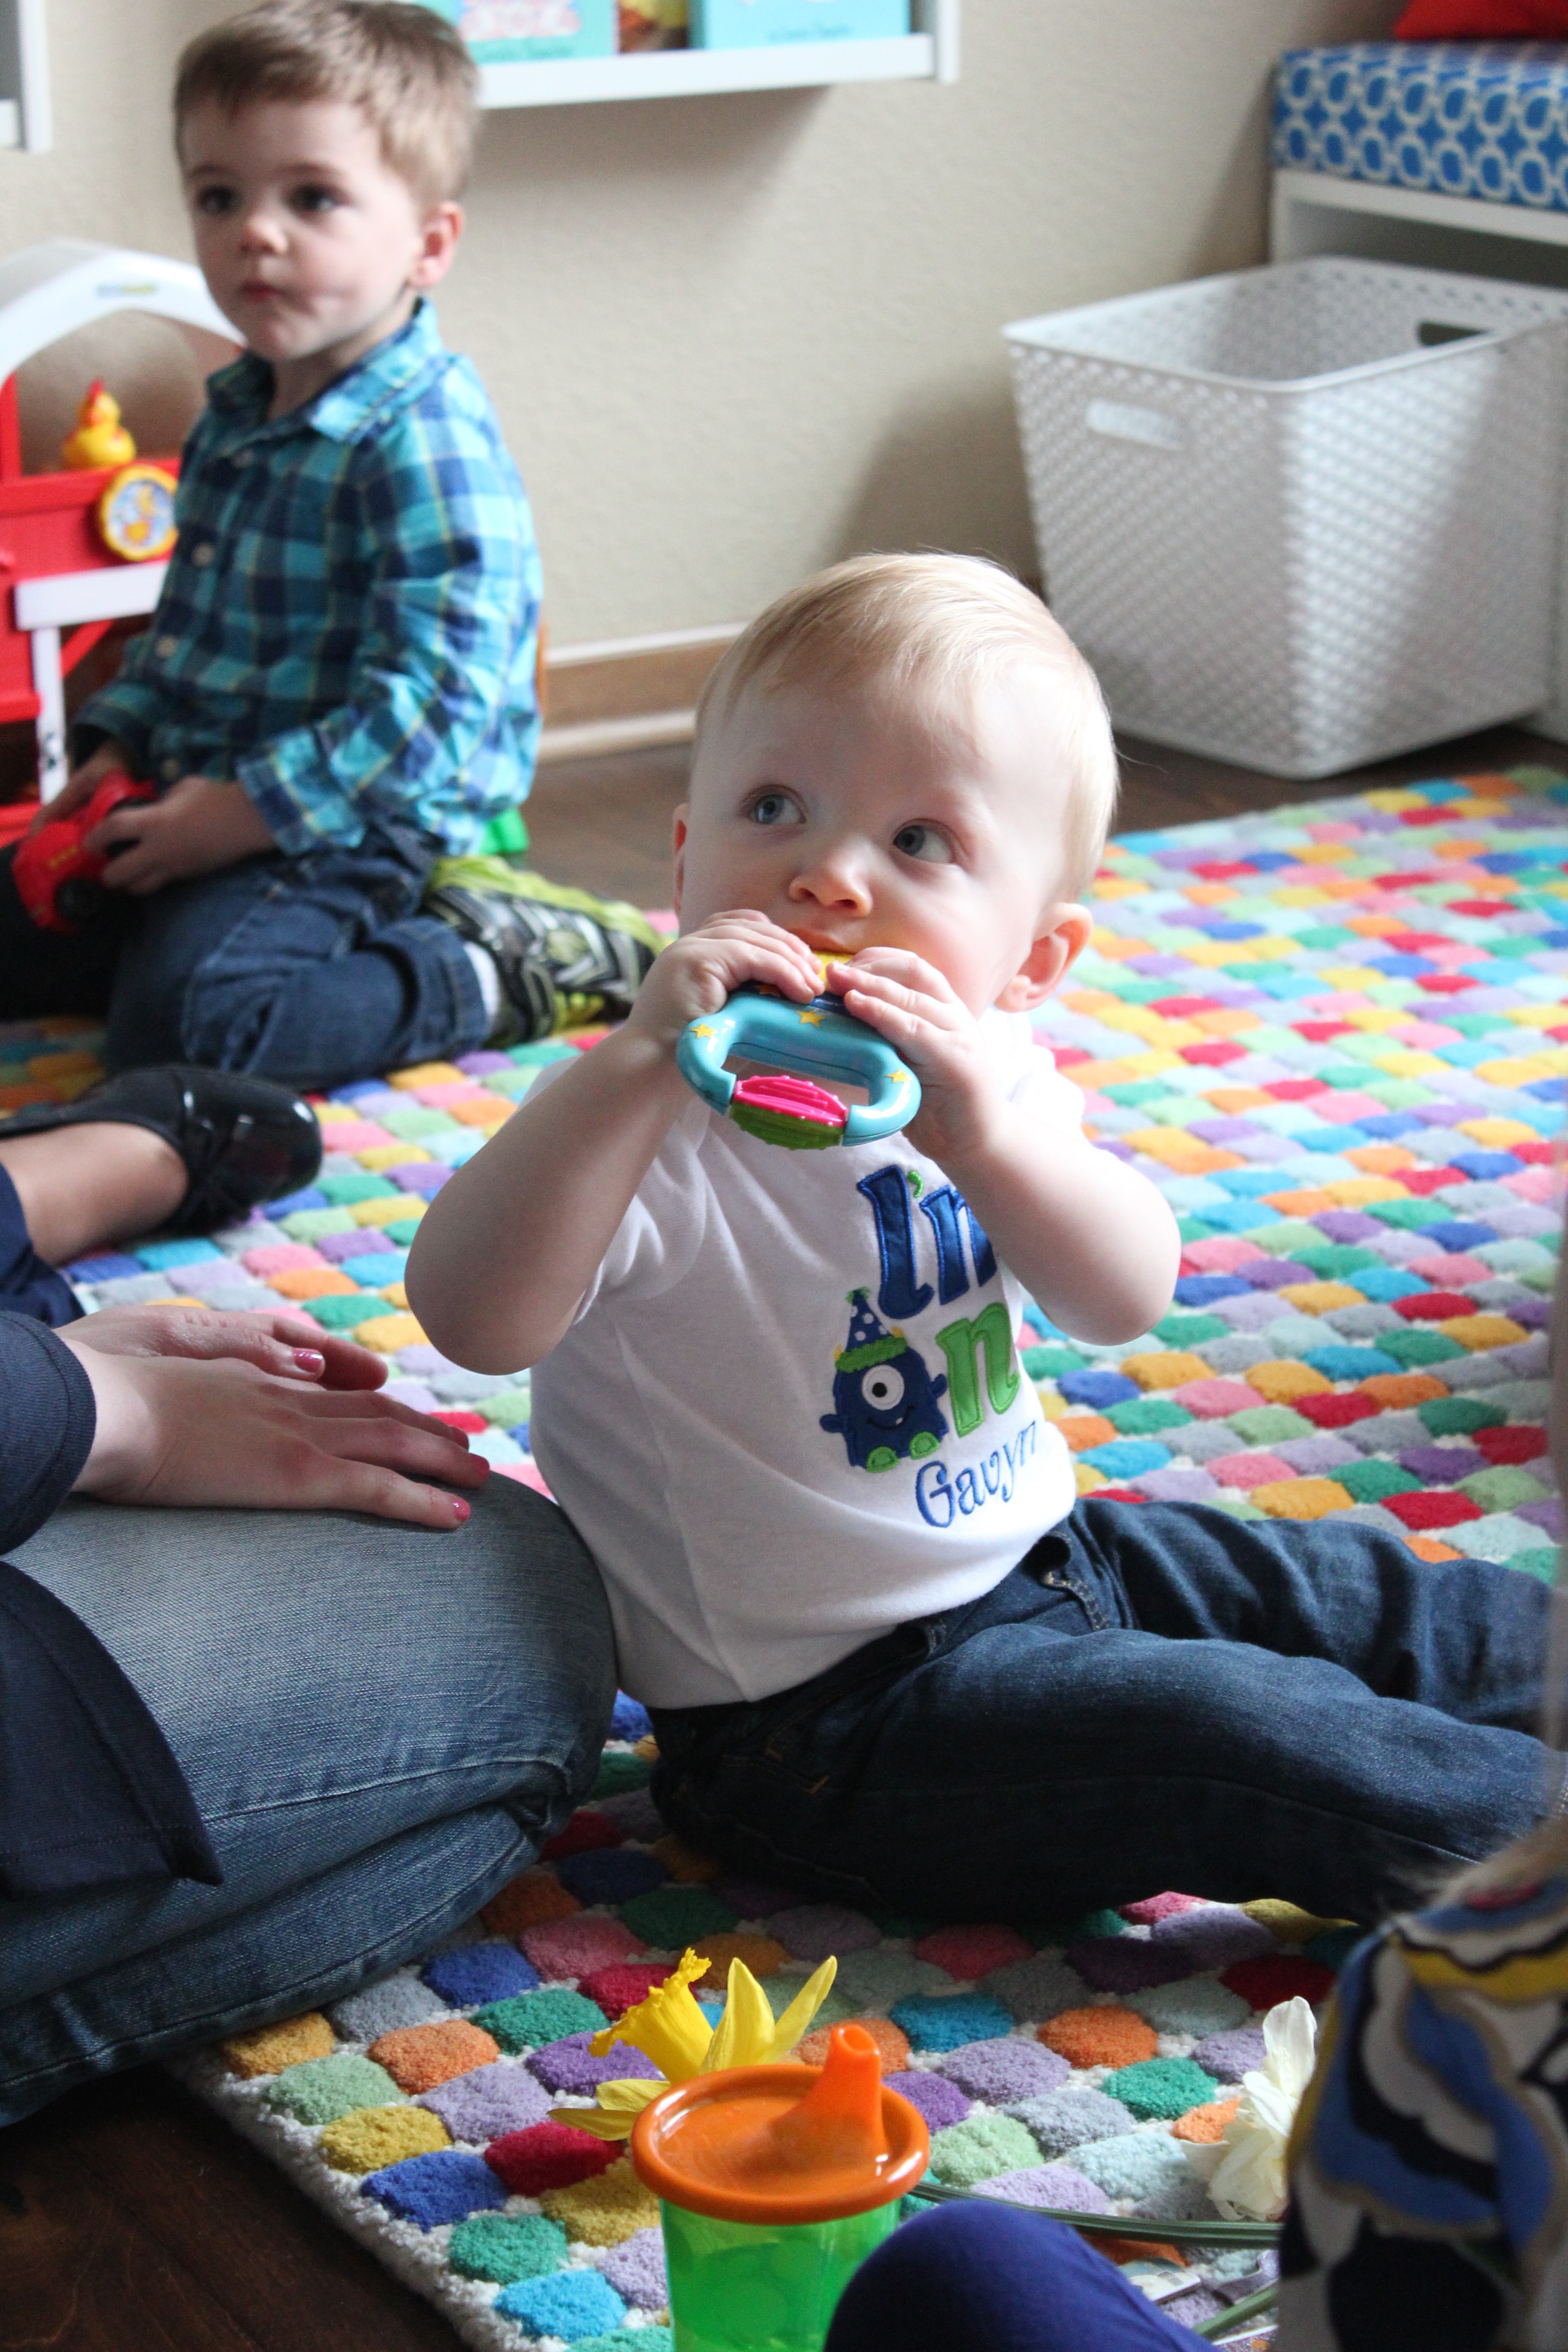
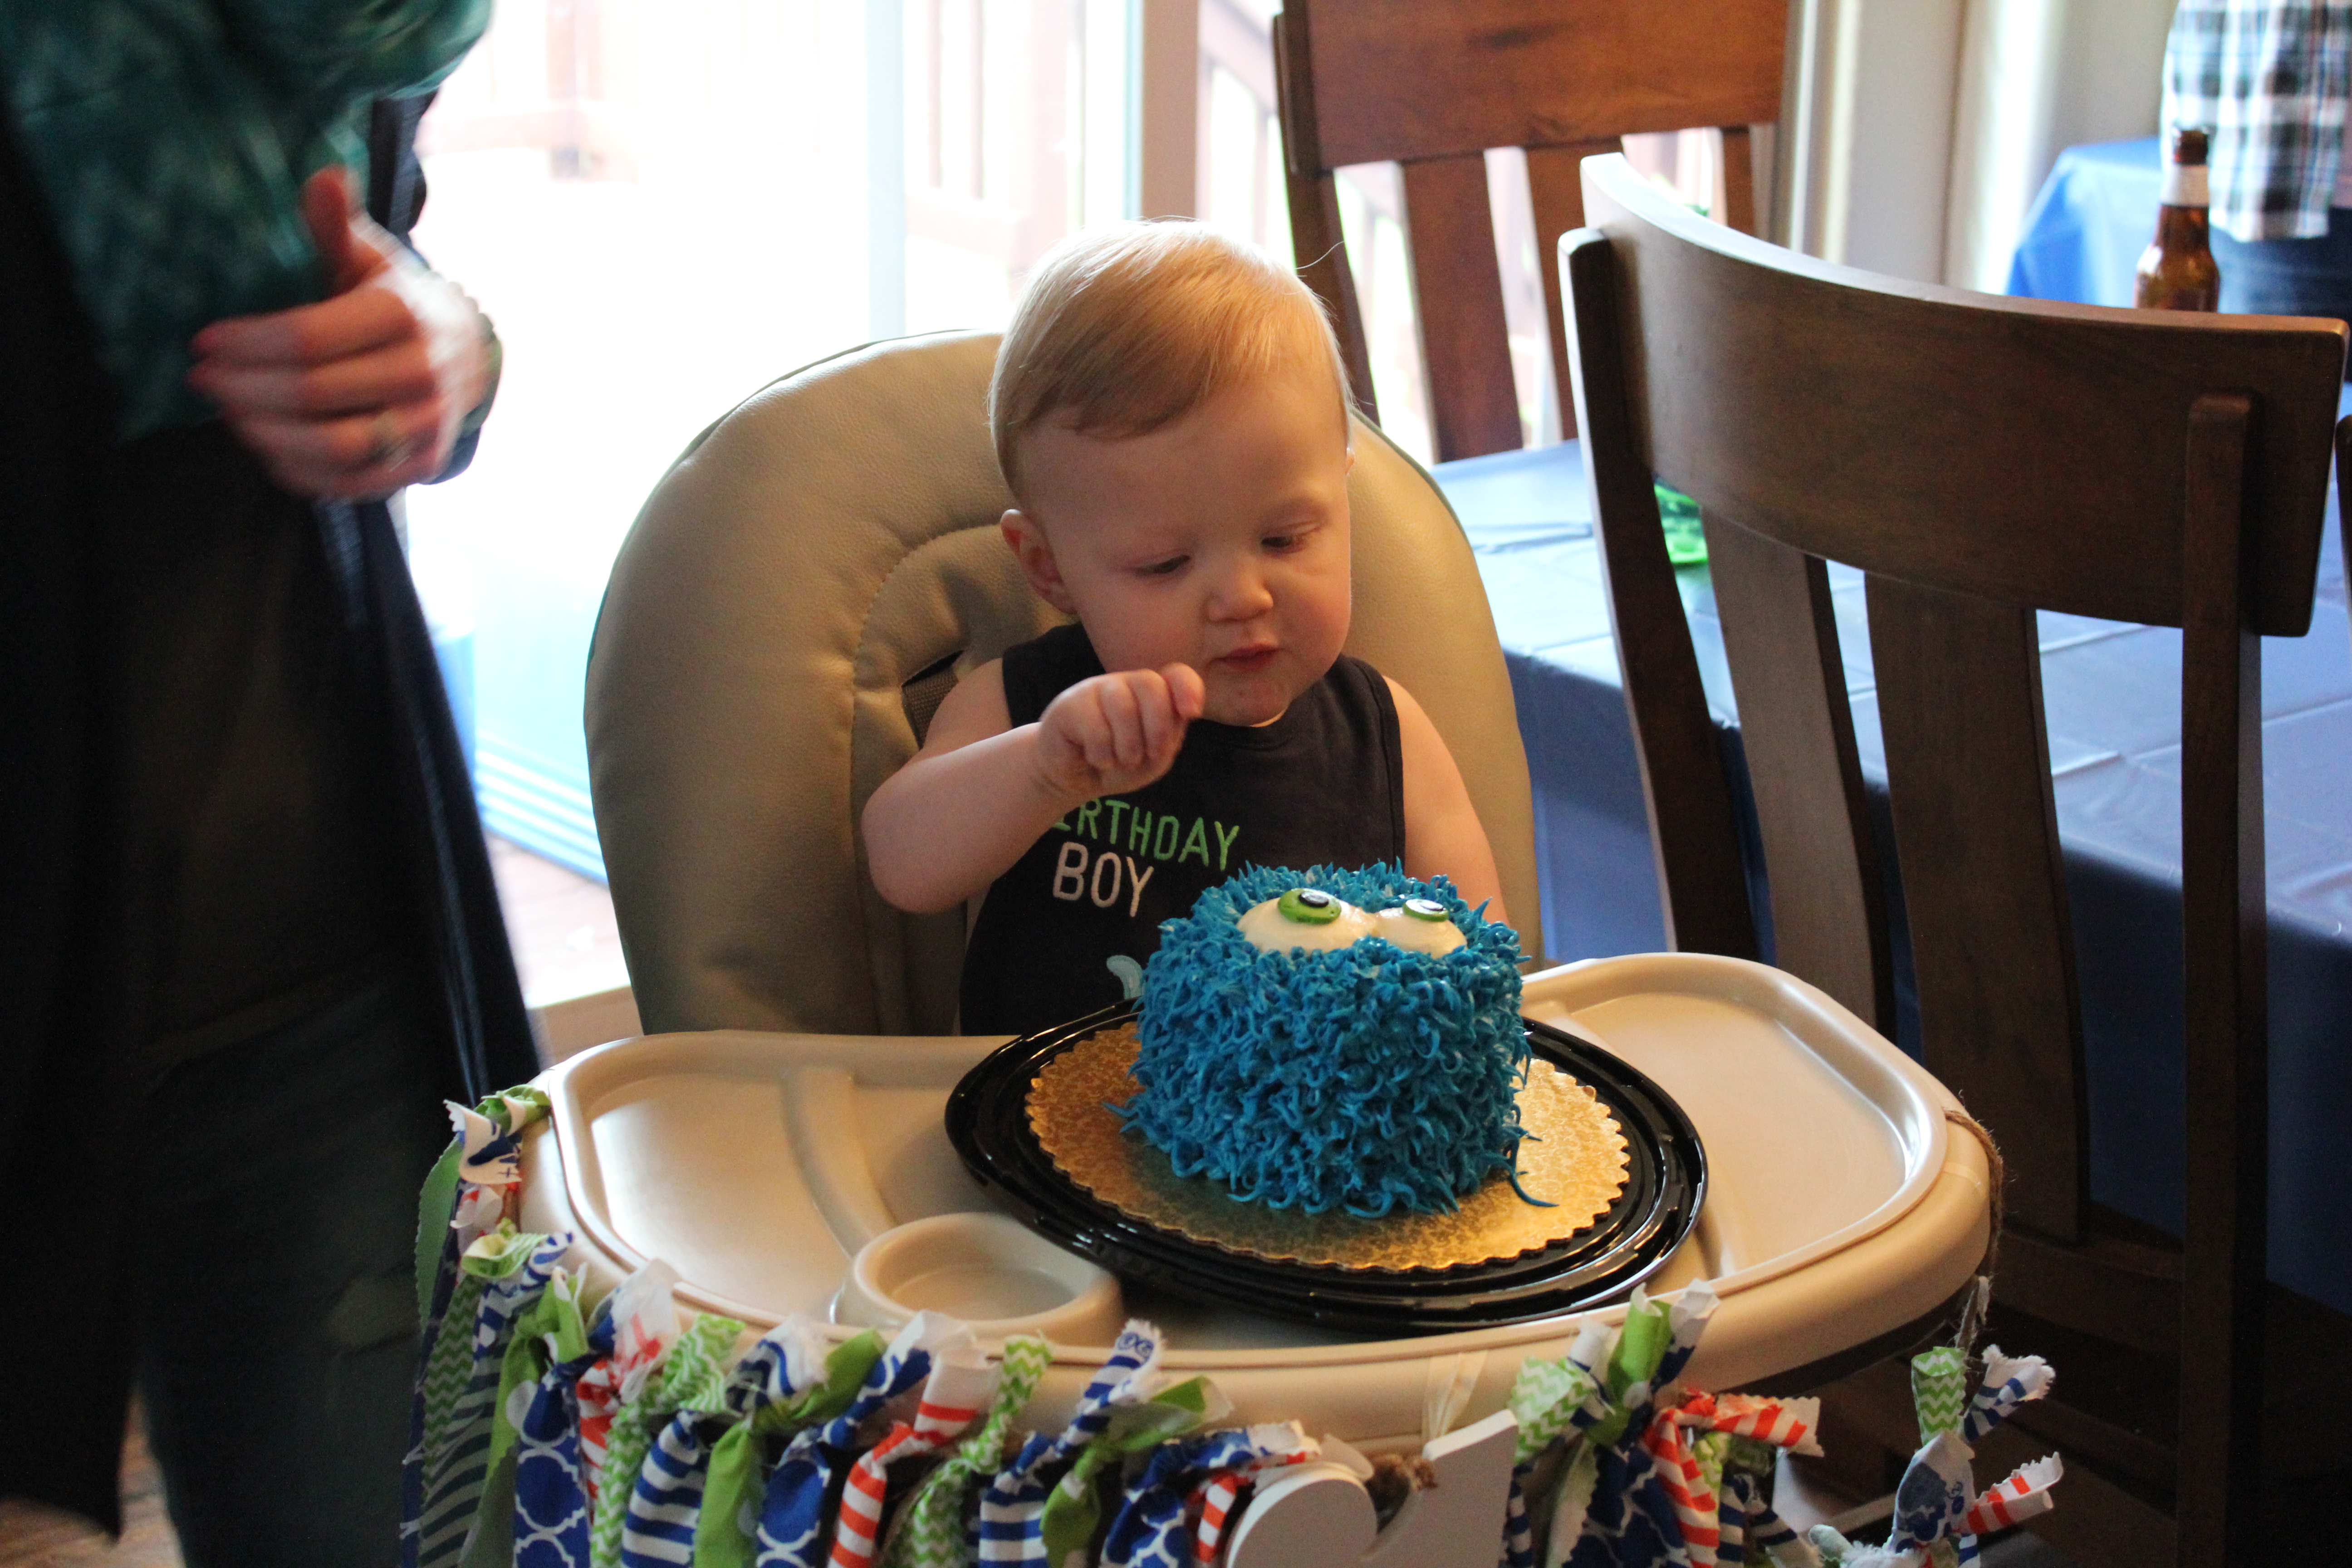
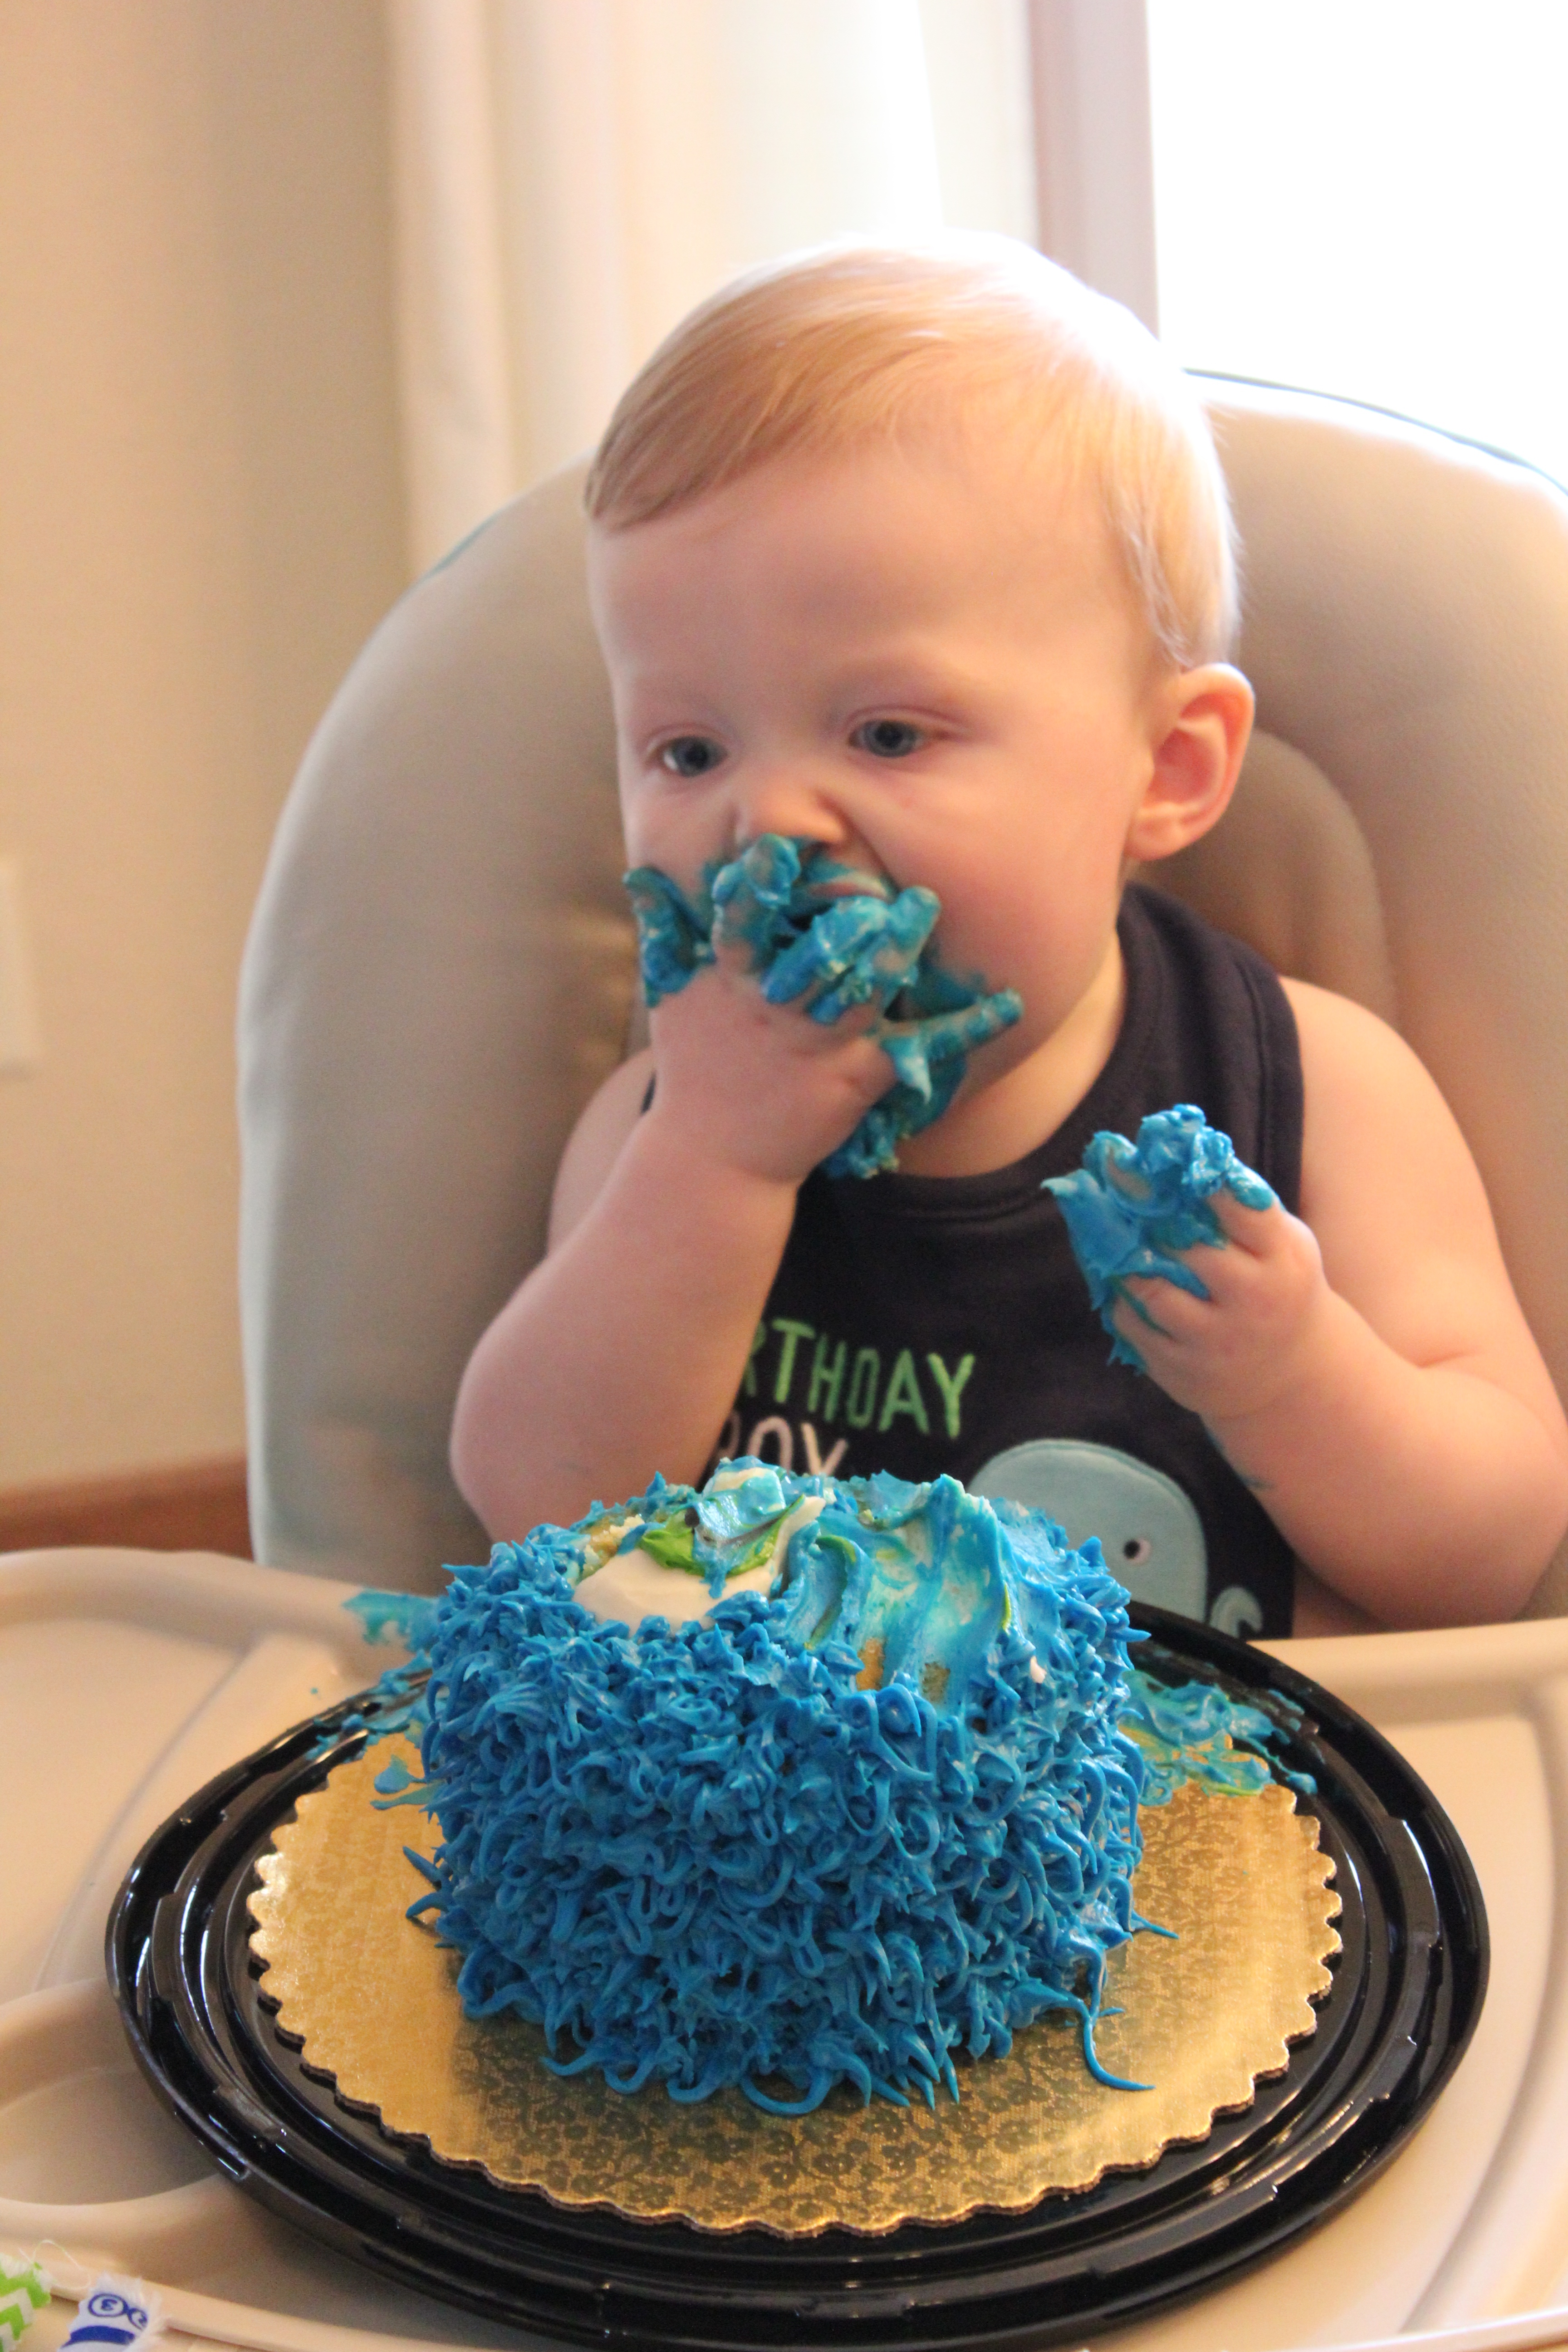
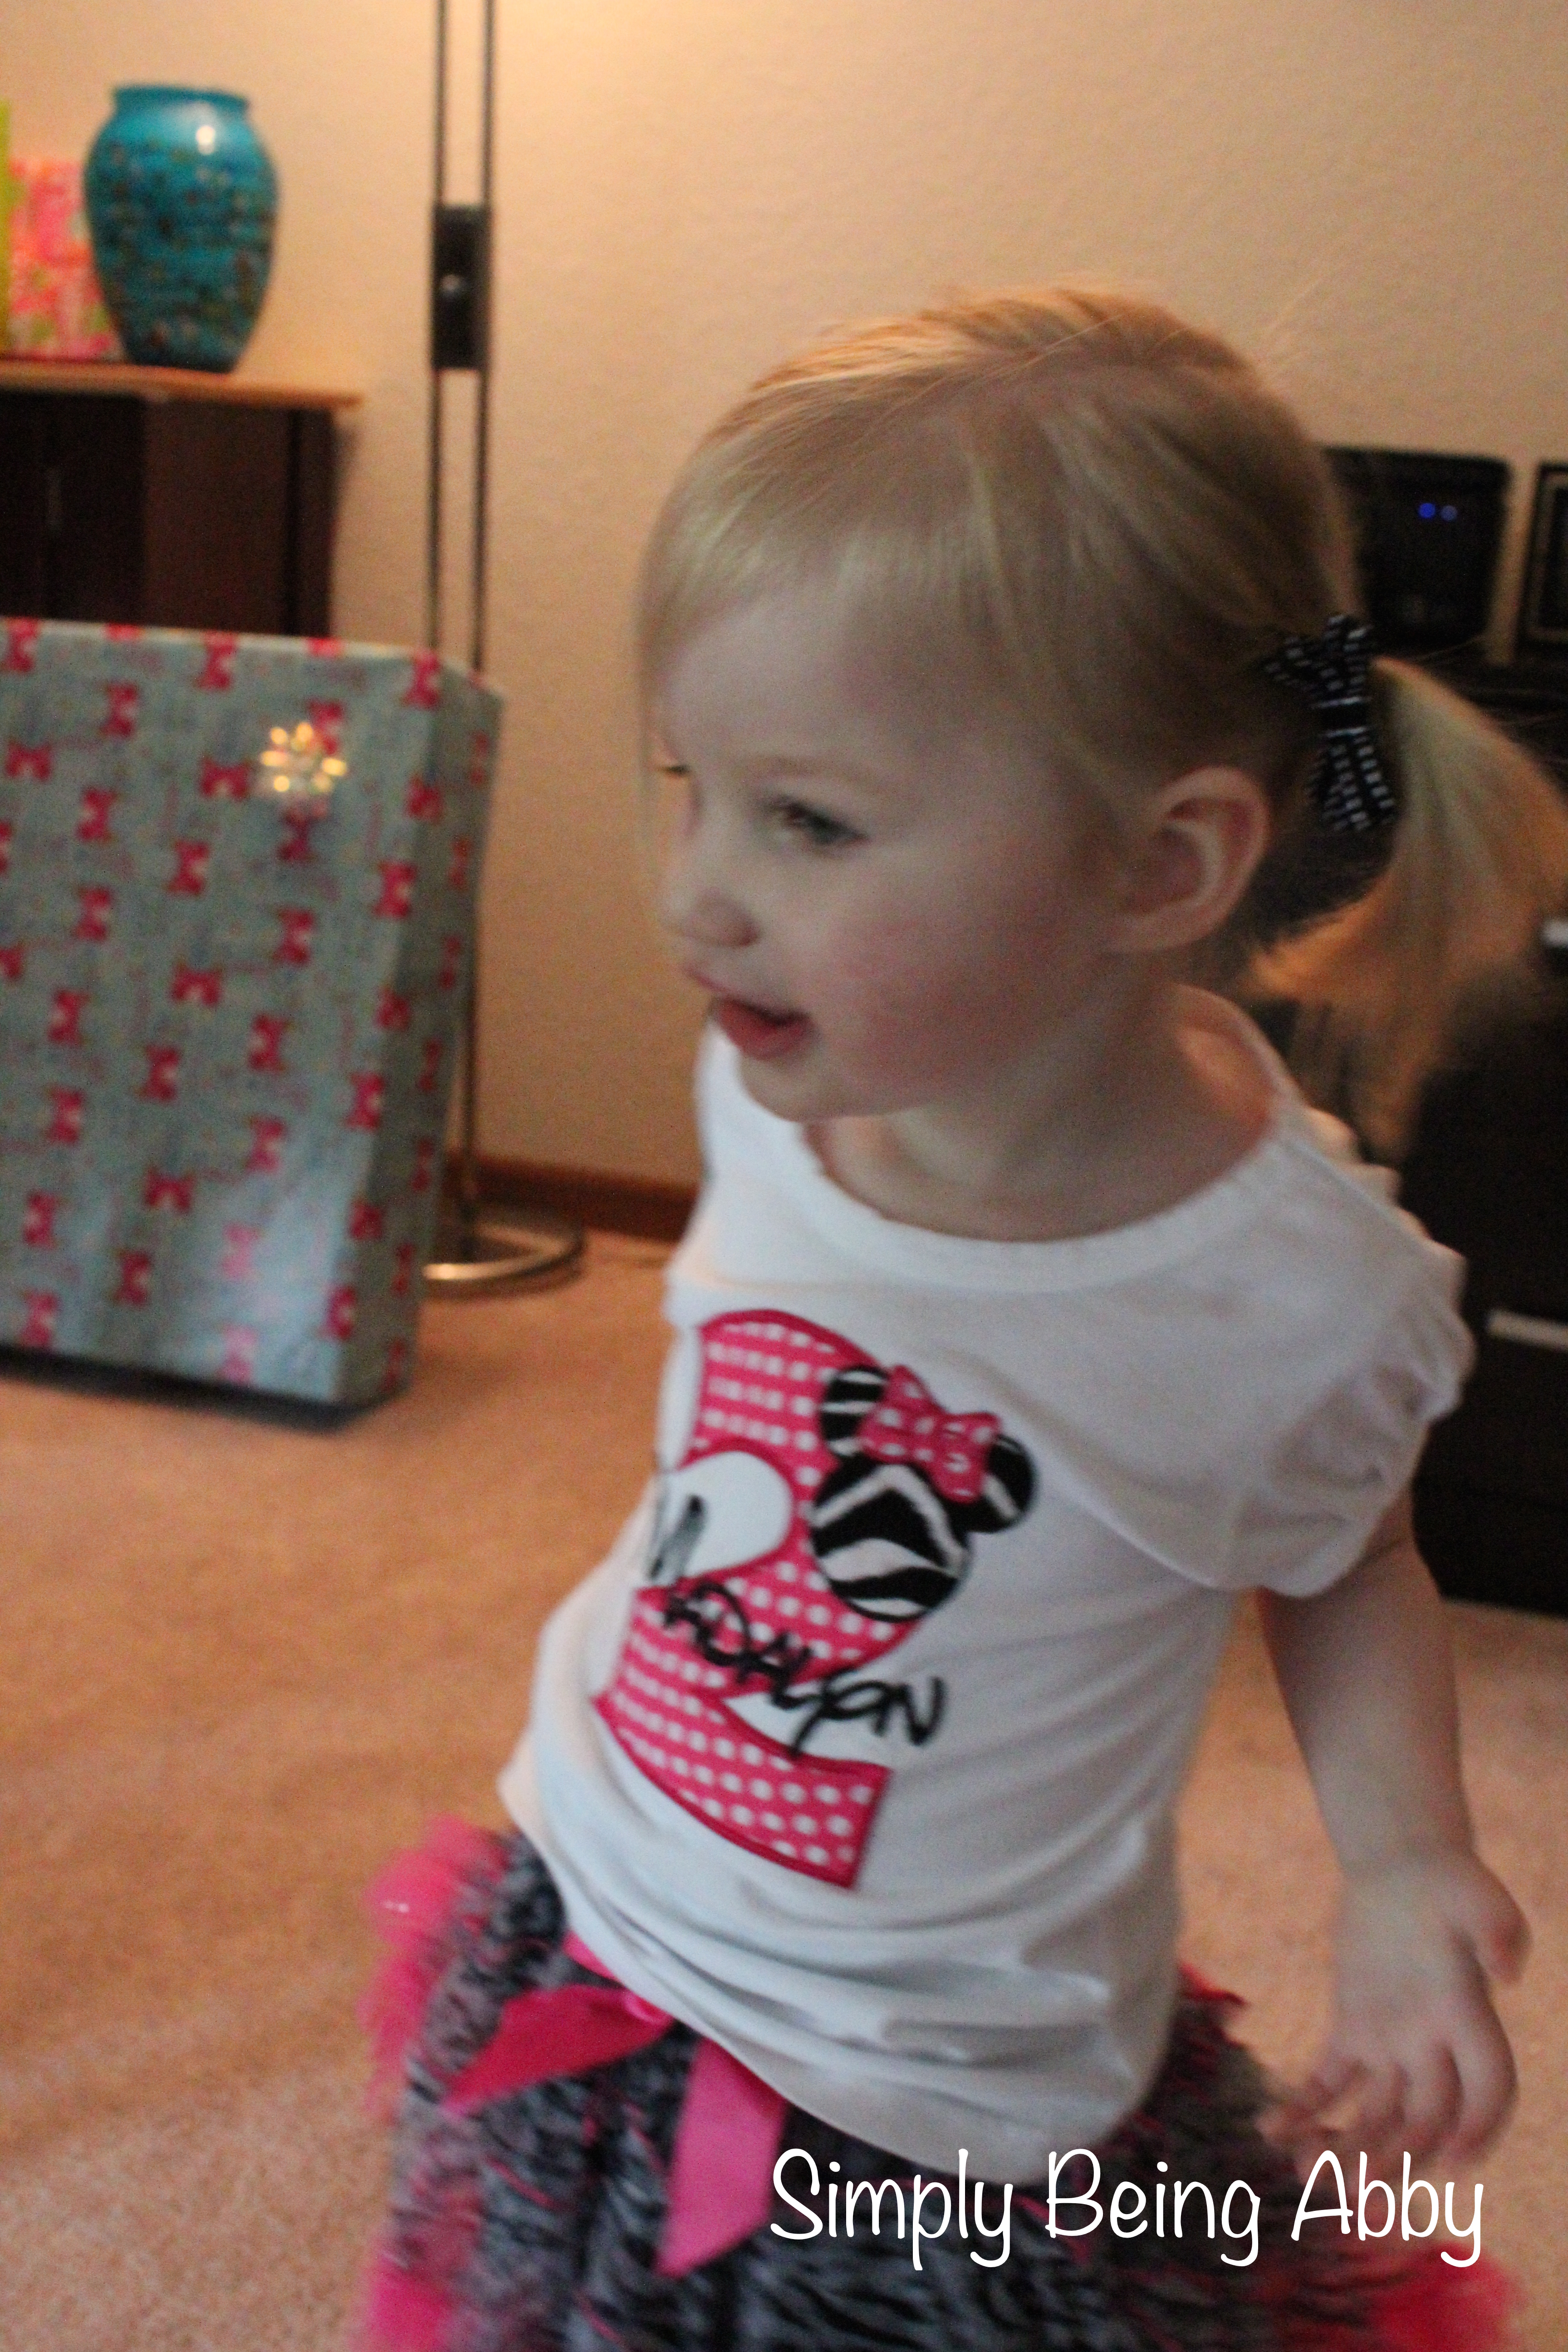
Birthday T-Shirt: I ordered Gavyn’s shirt from Ruffled Rose Boutique on Etsy. It was fun to watch Gavyn be so much more interactive during his birthday party this year! He loved blowing out his candles and opening presents.
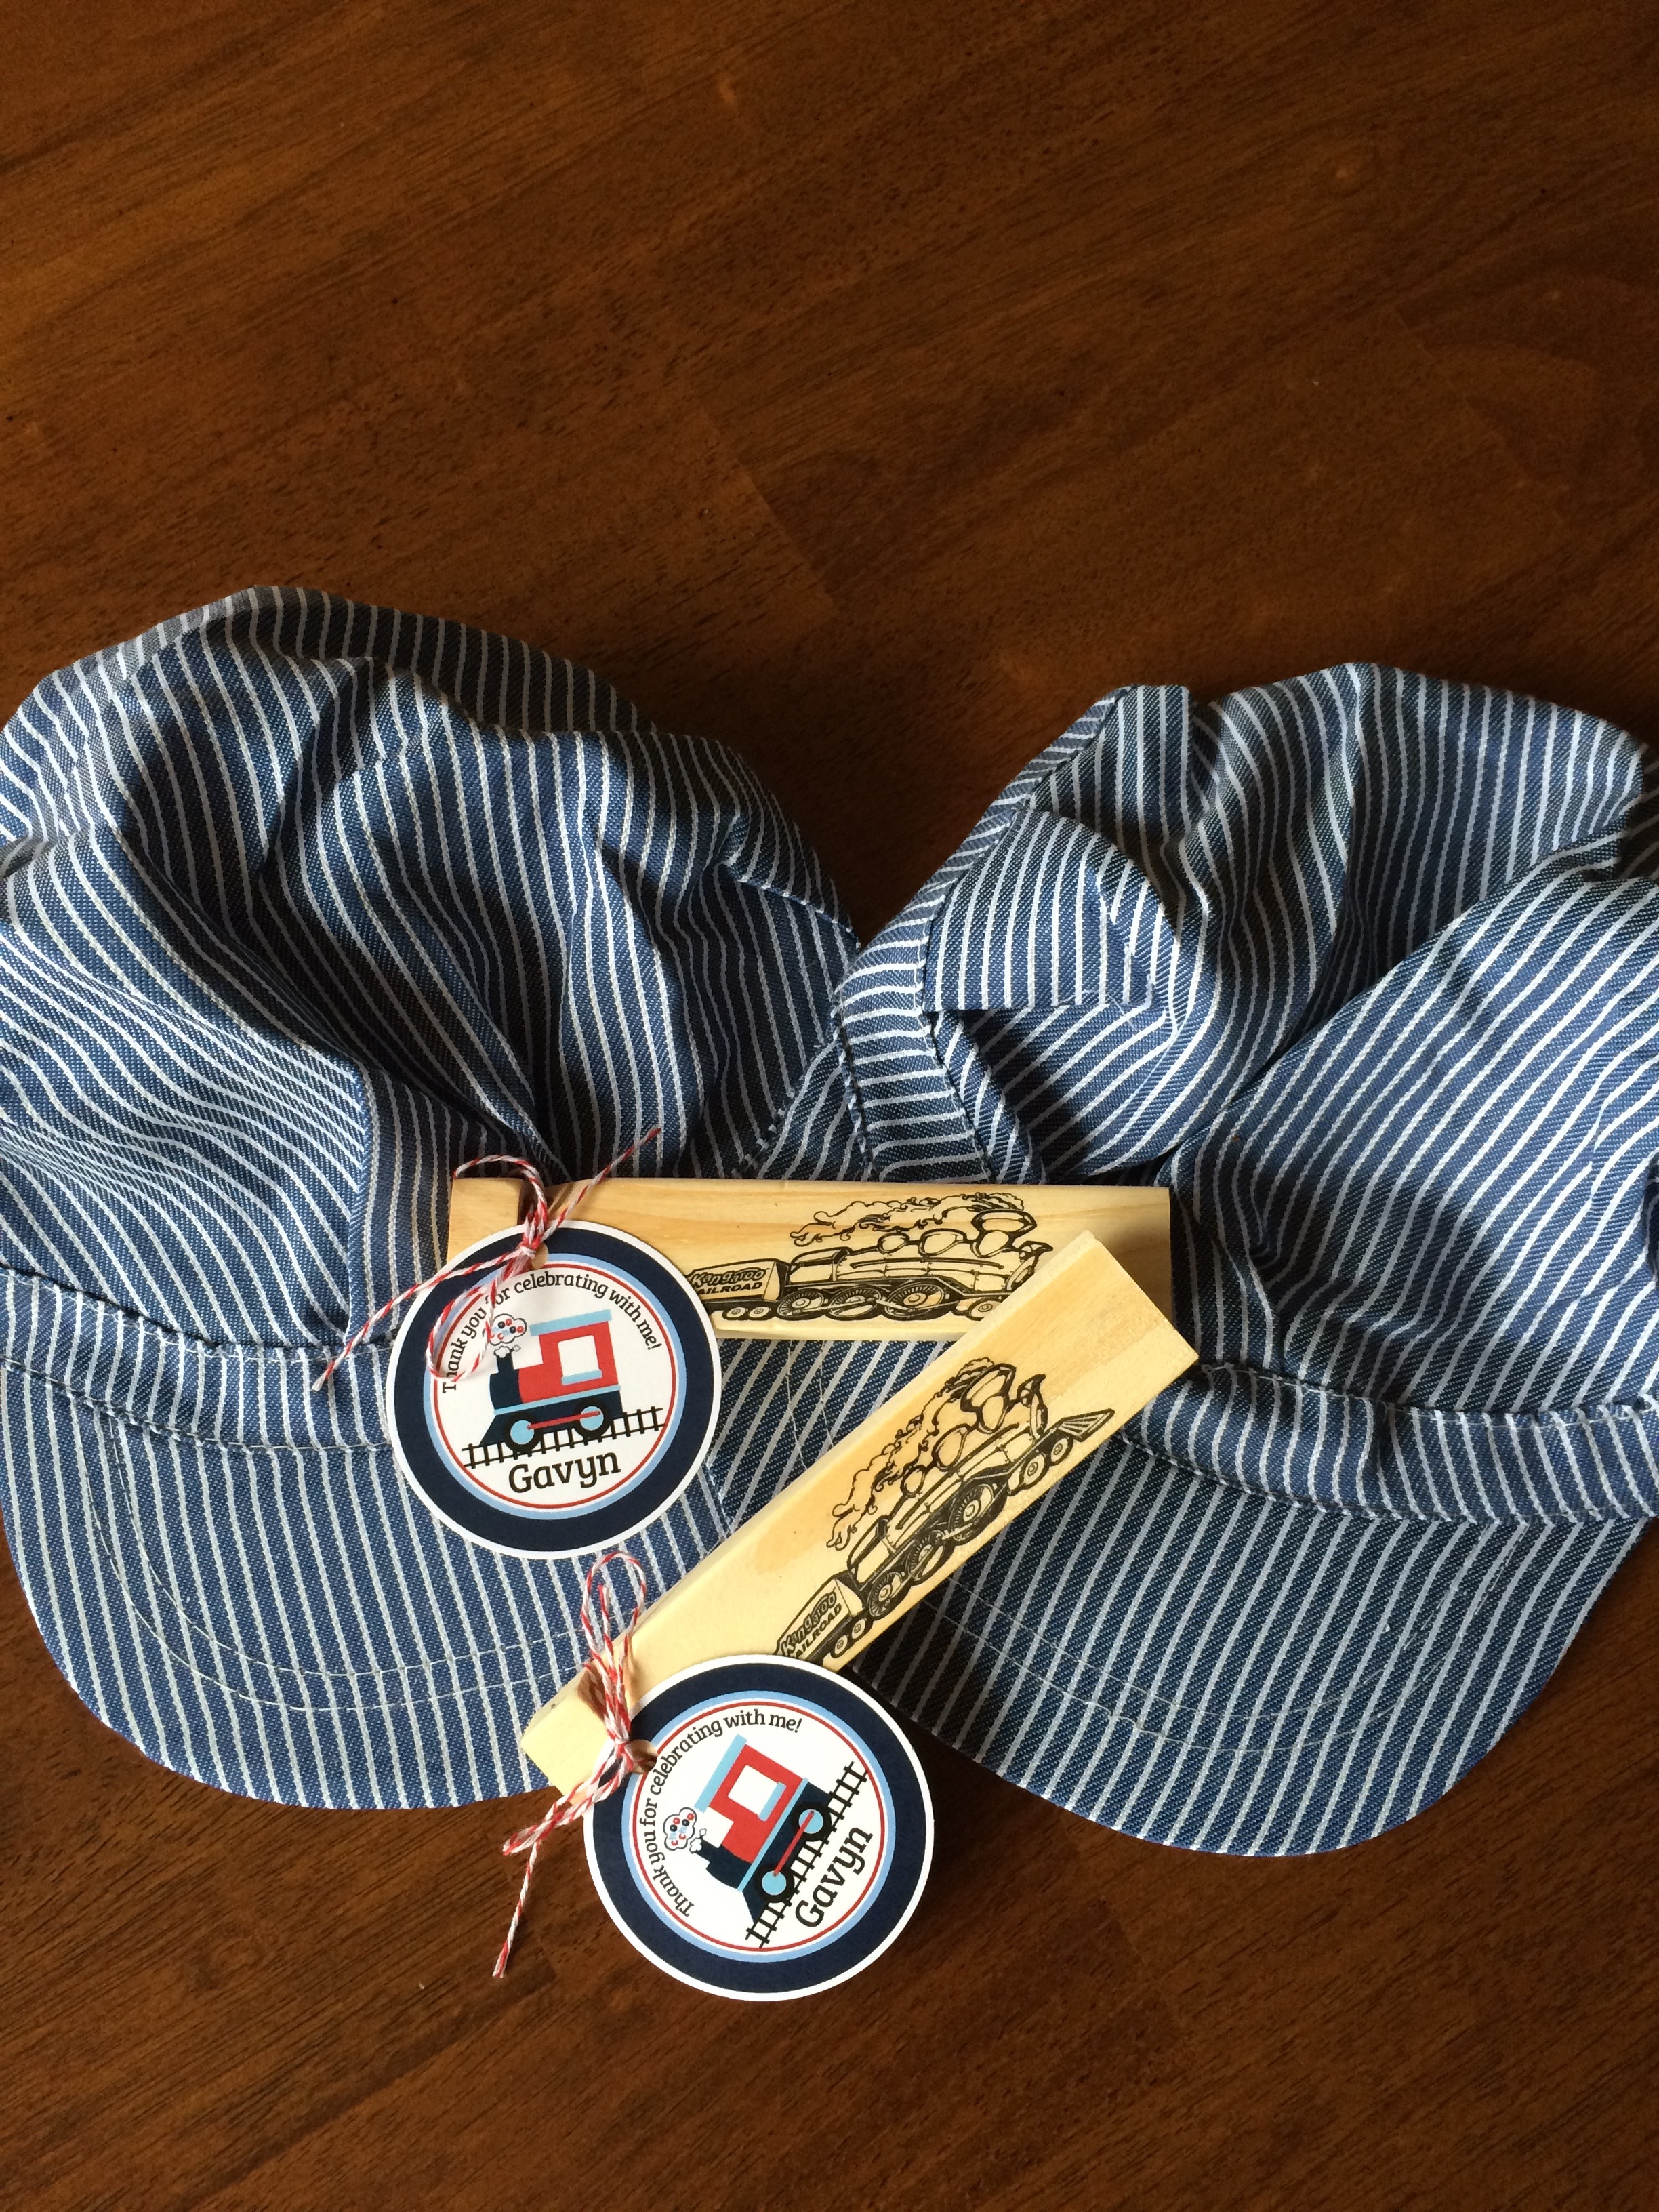
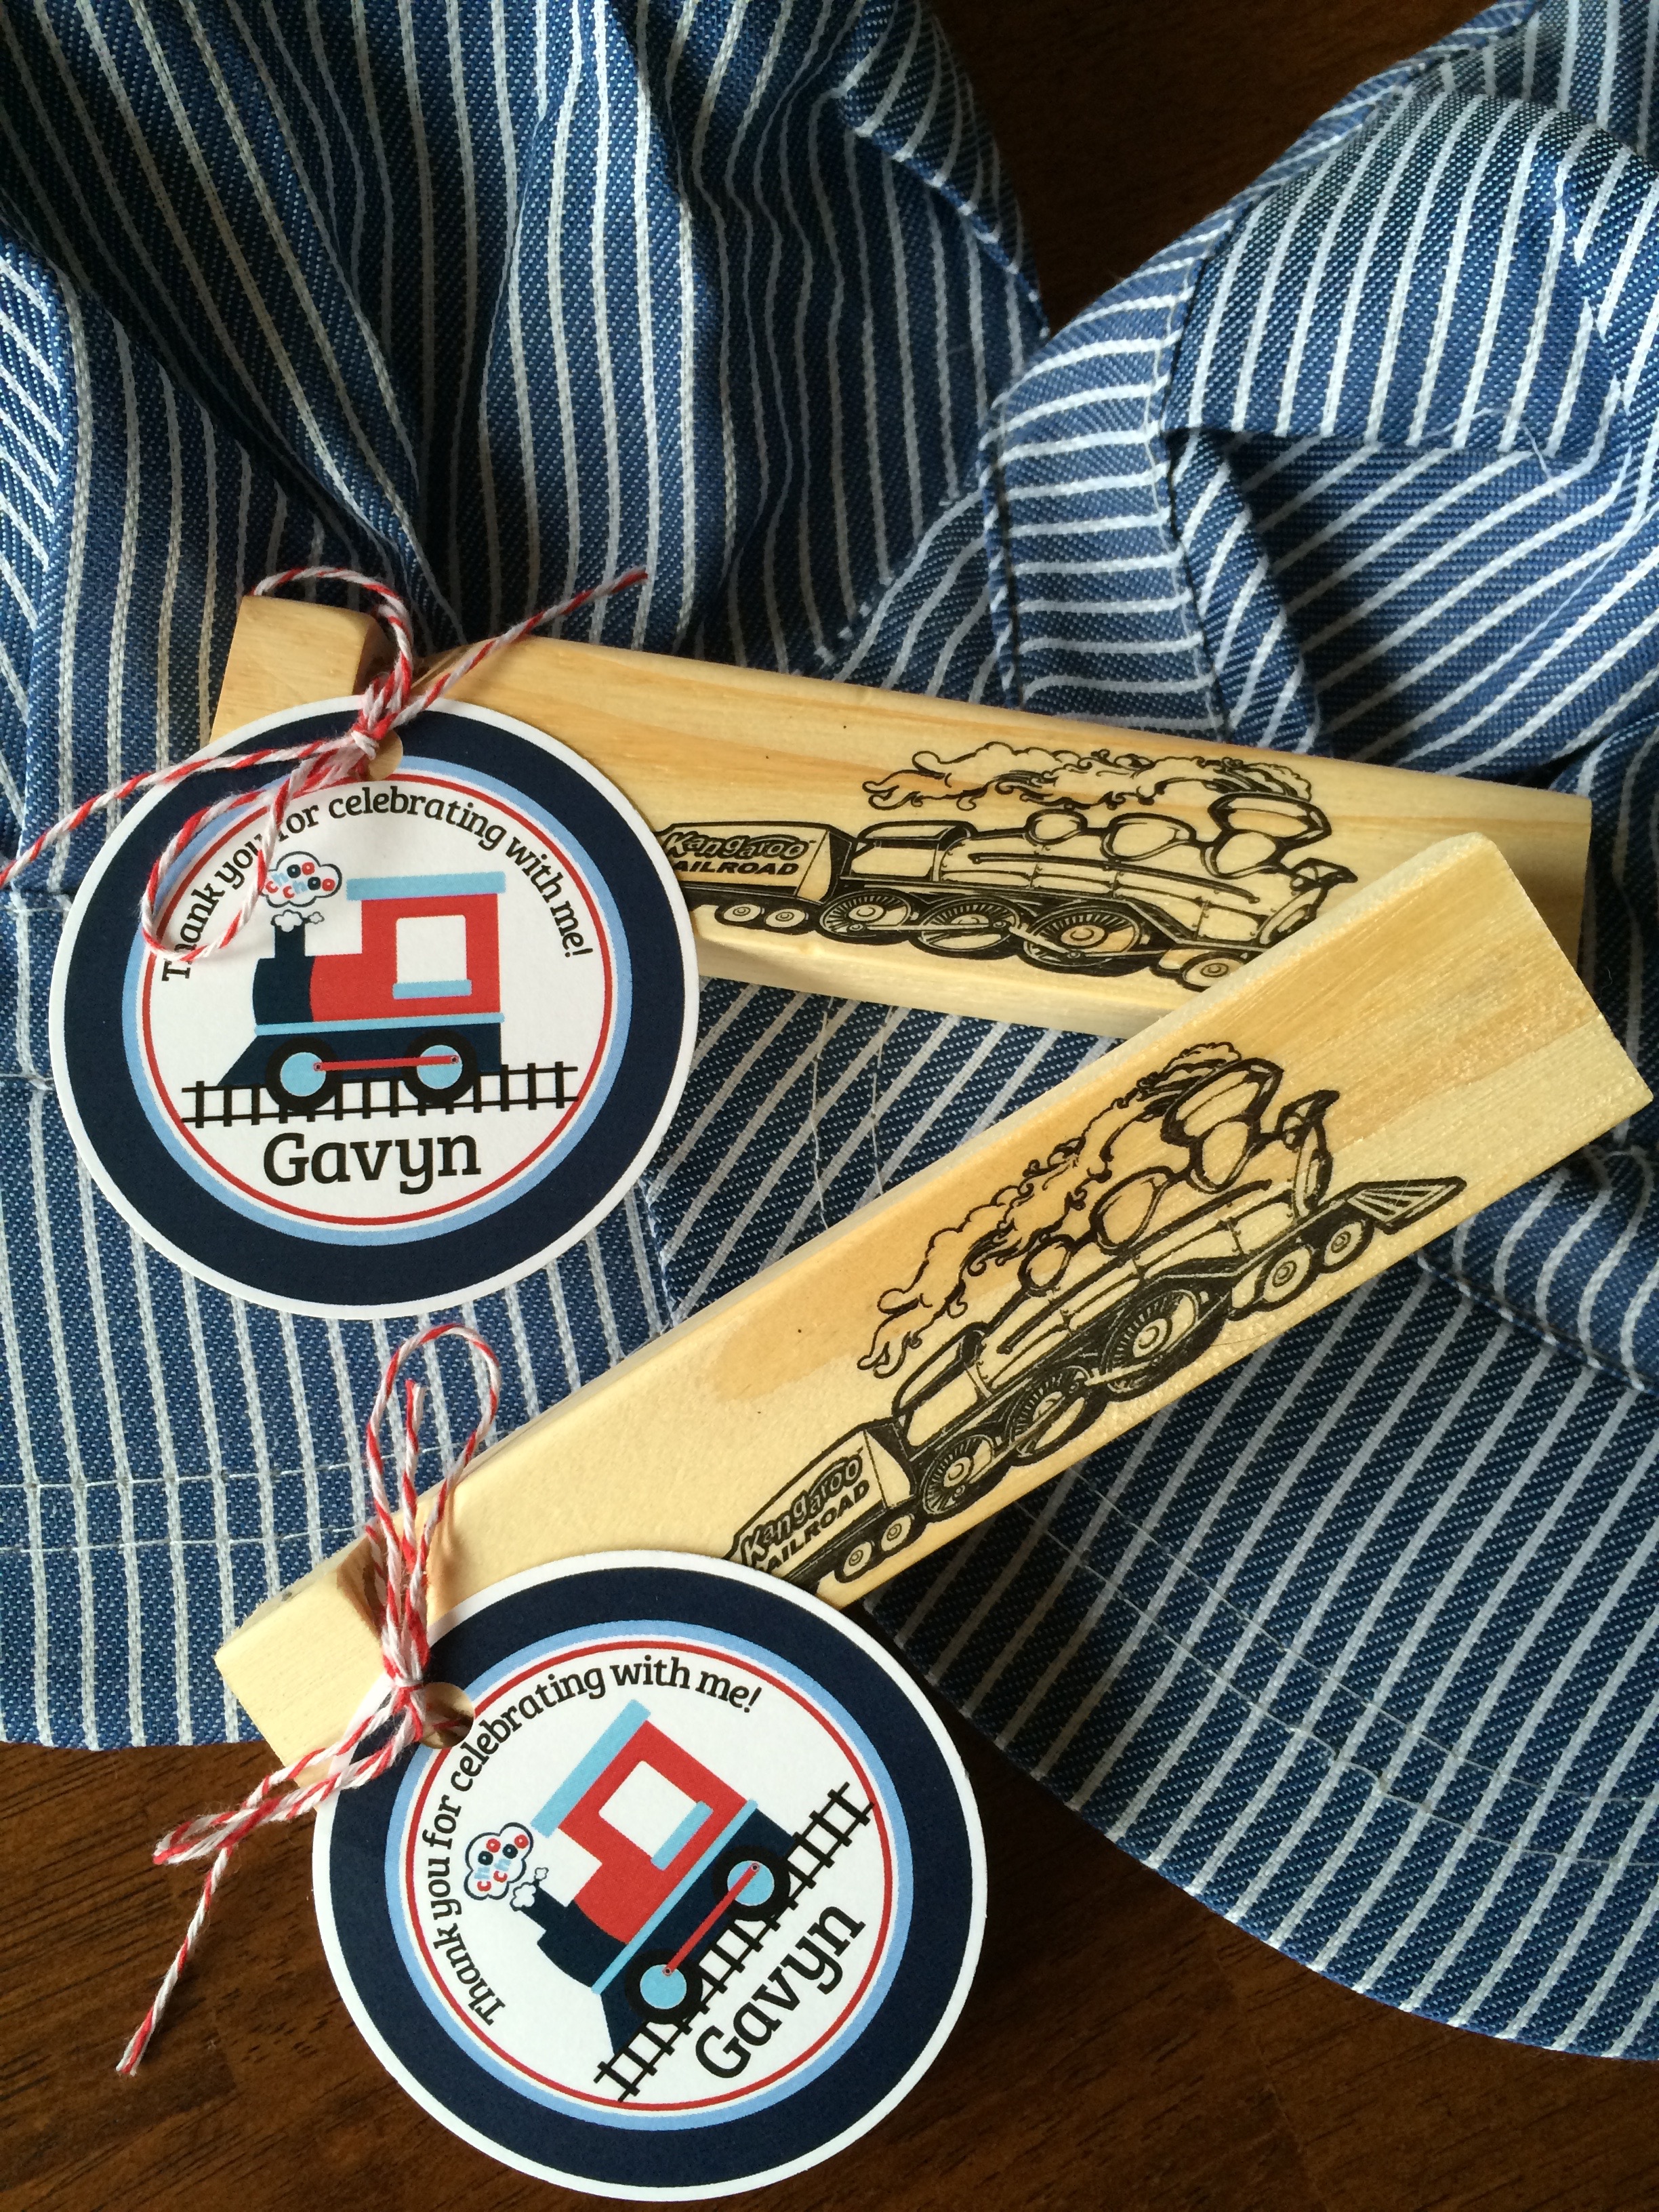
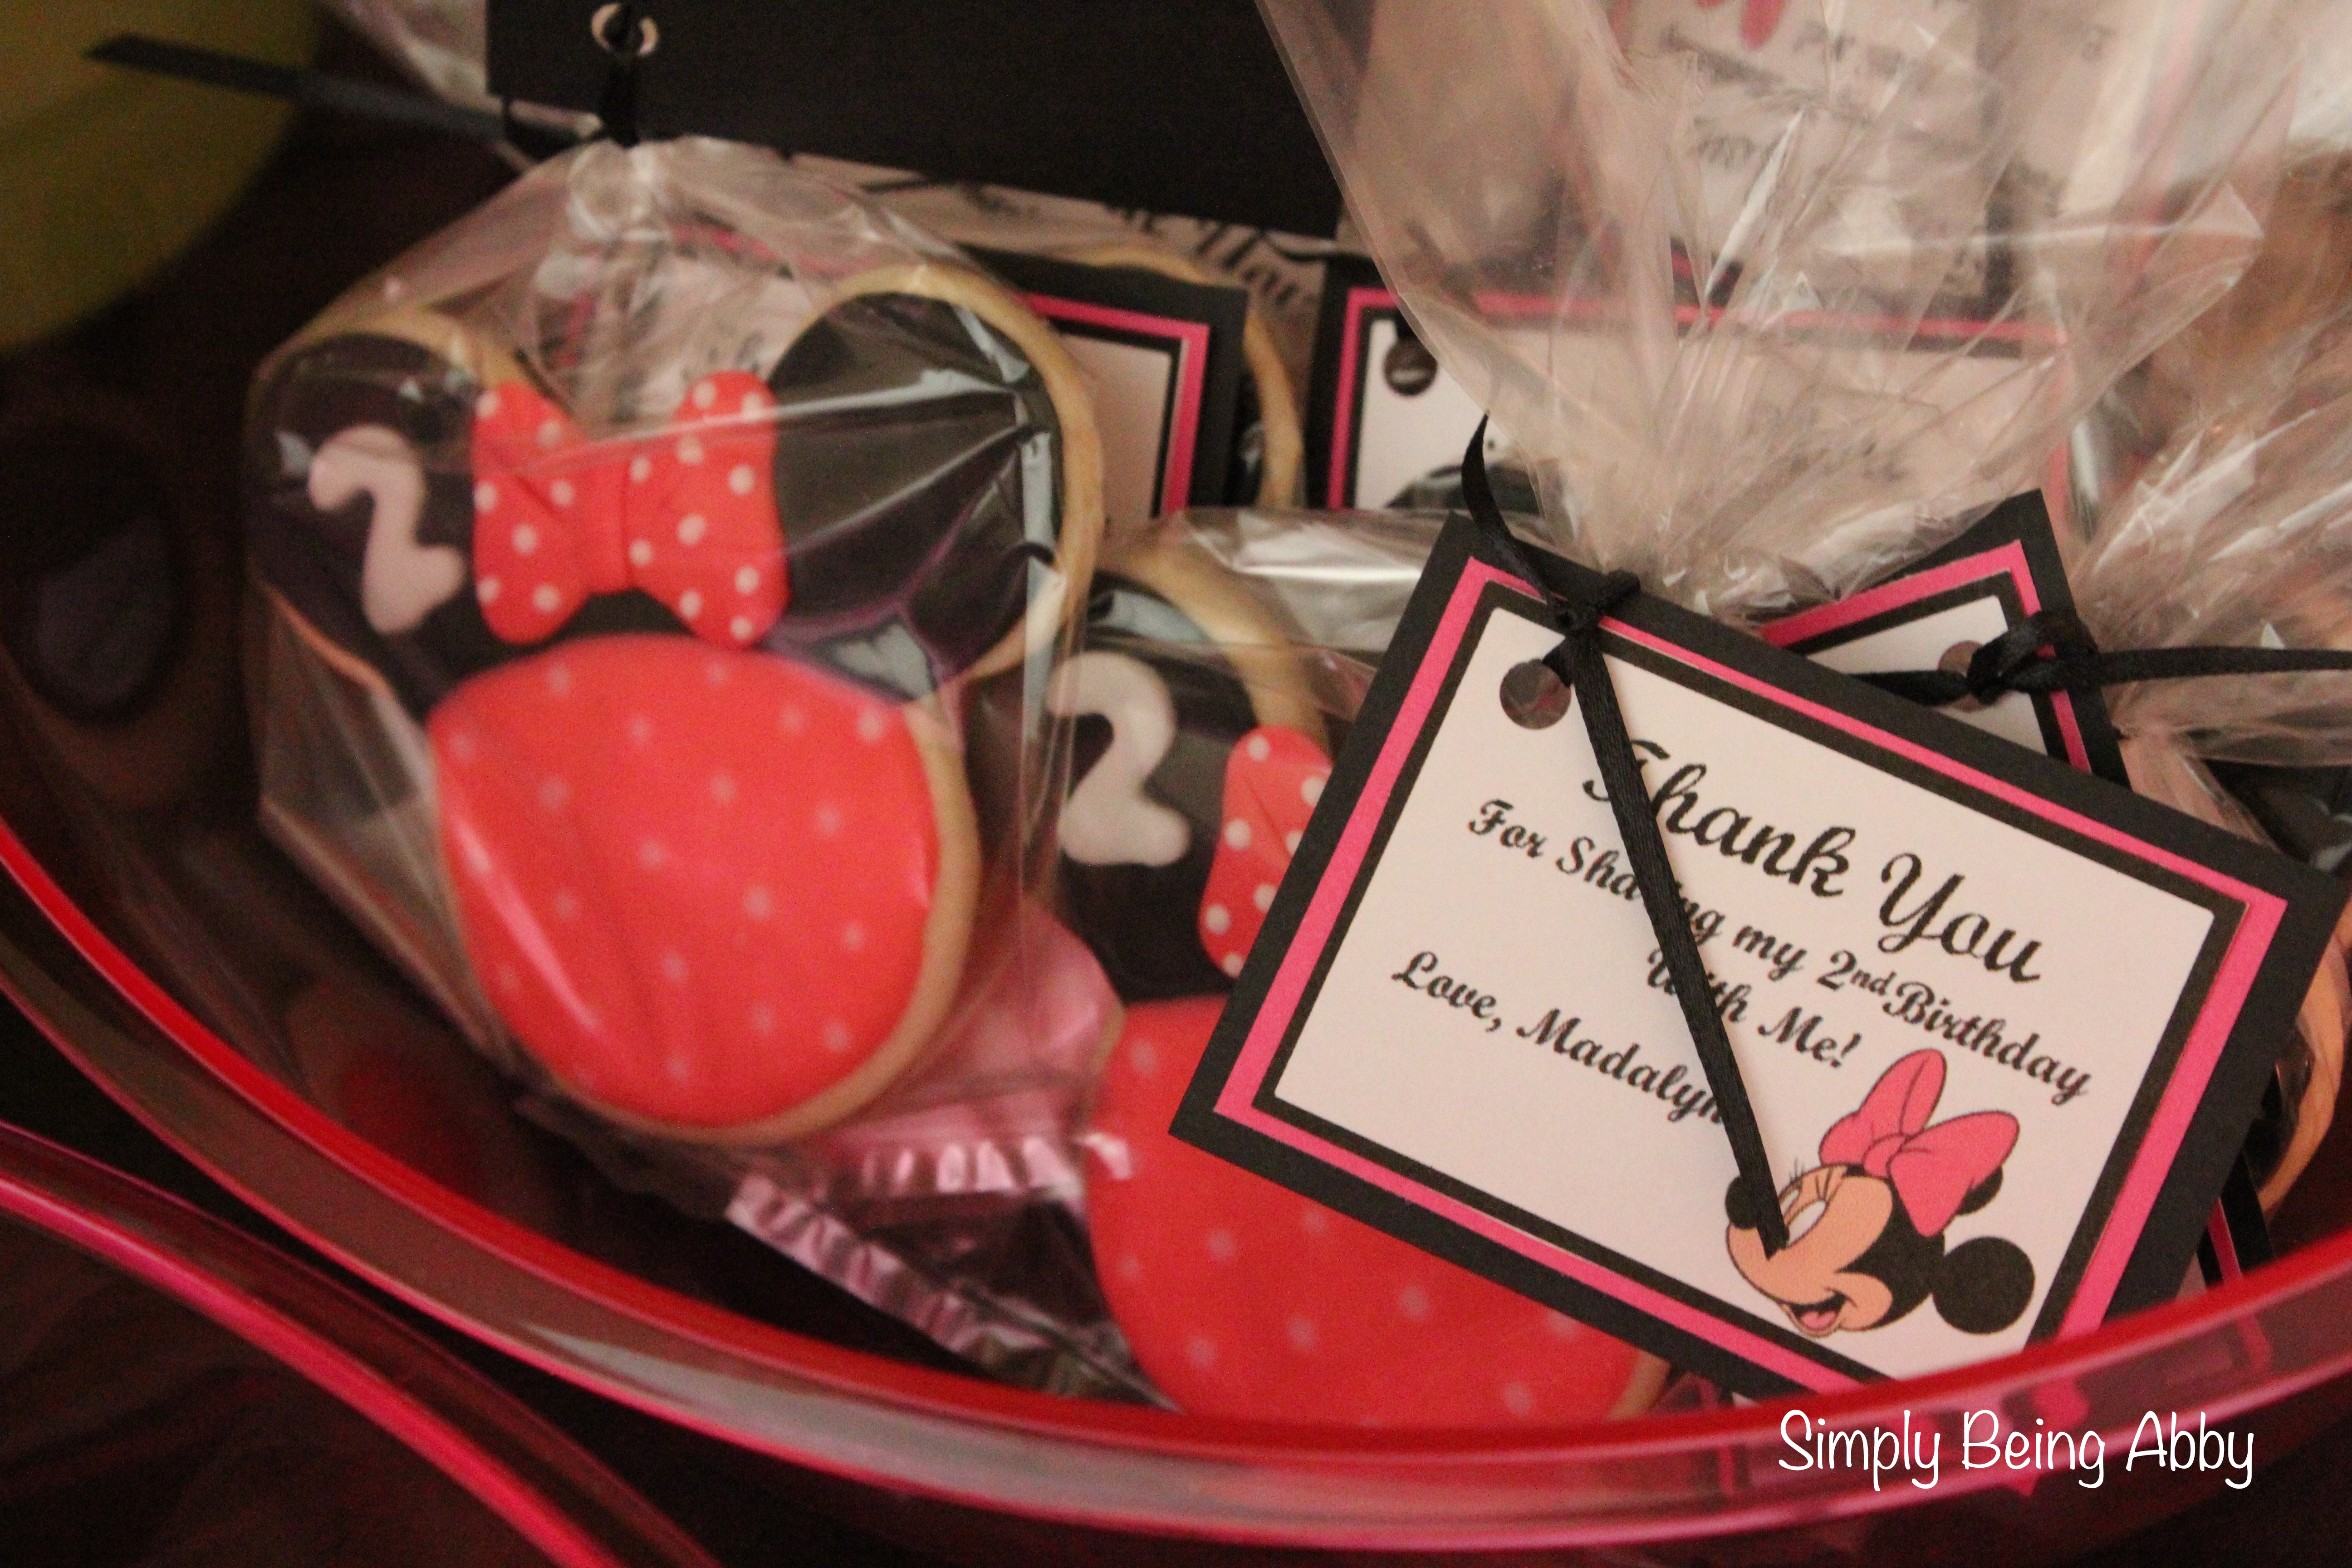
Party Favors: Each kid was given a conductor hat and a train whistle (both from Amazon). The little tags were also ordered from Ciao Bambino Designs, and I just tied them on with a little bit of decorative string that I had.
I had a lot of fun planning around a train theme, and now it’s on to wrapping up the details for Madalyn’s 4th Birthday Party (“Under the Sea”) this weekend! 🙂
xo,
Abby
Looking for more?
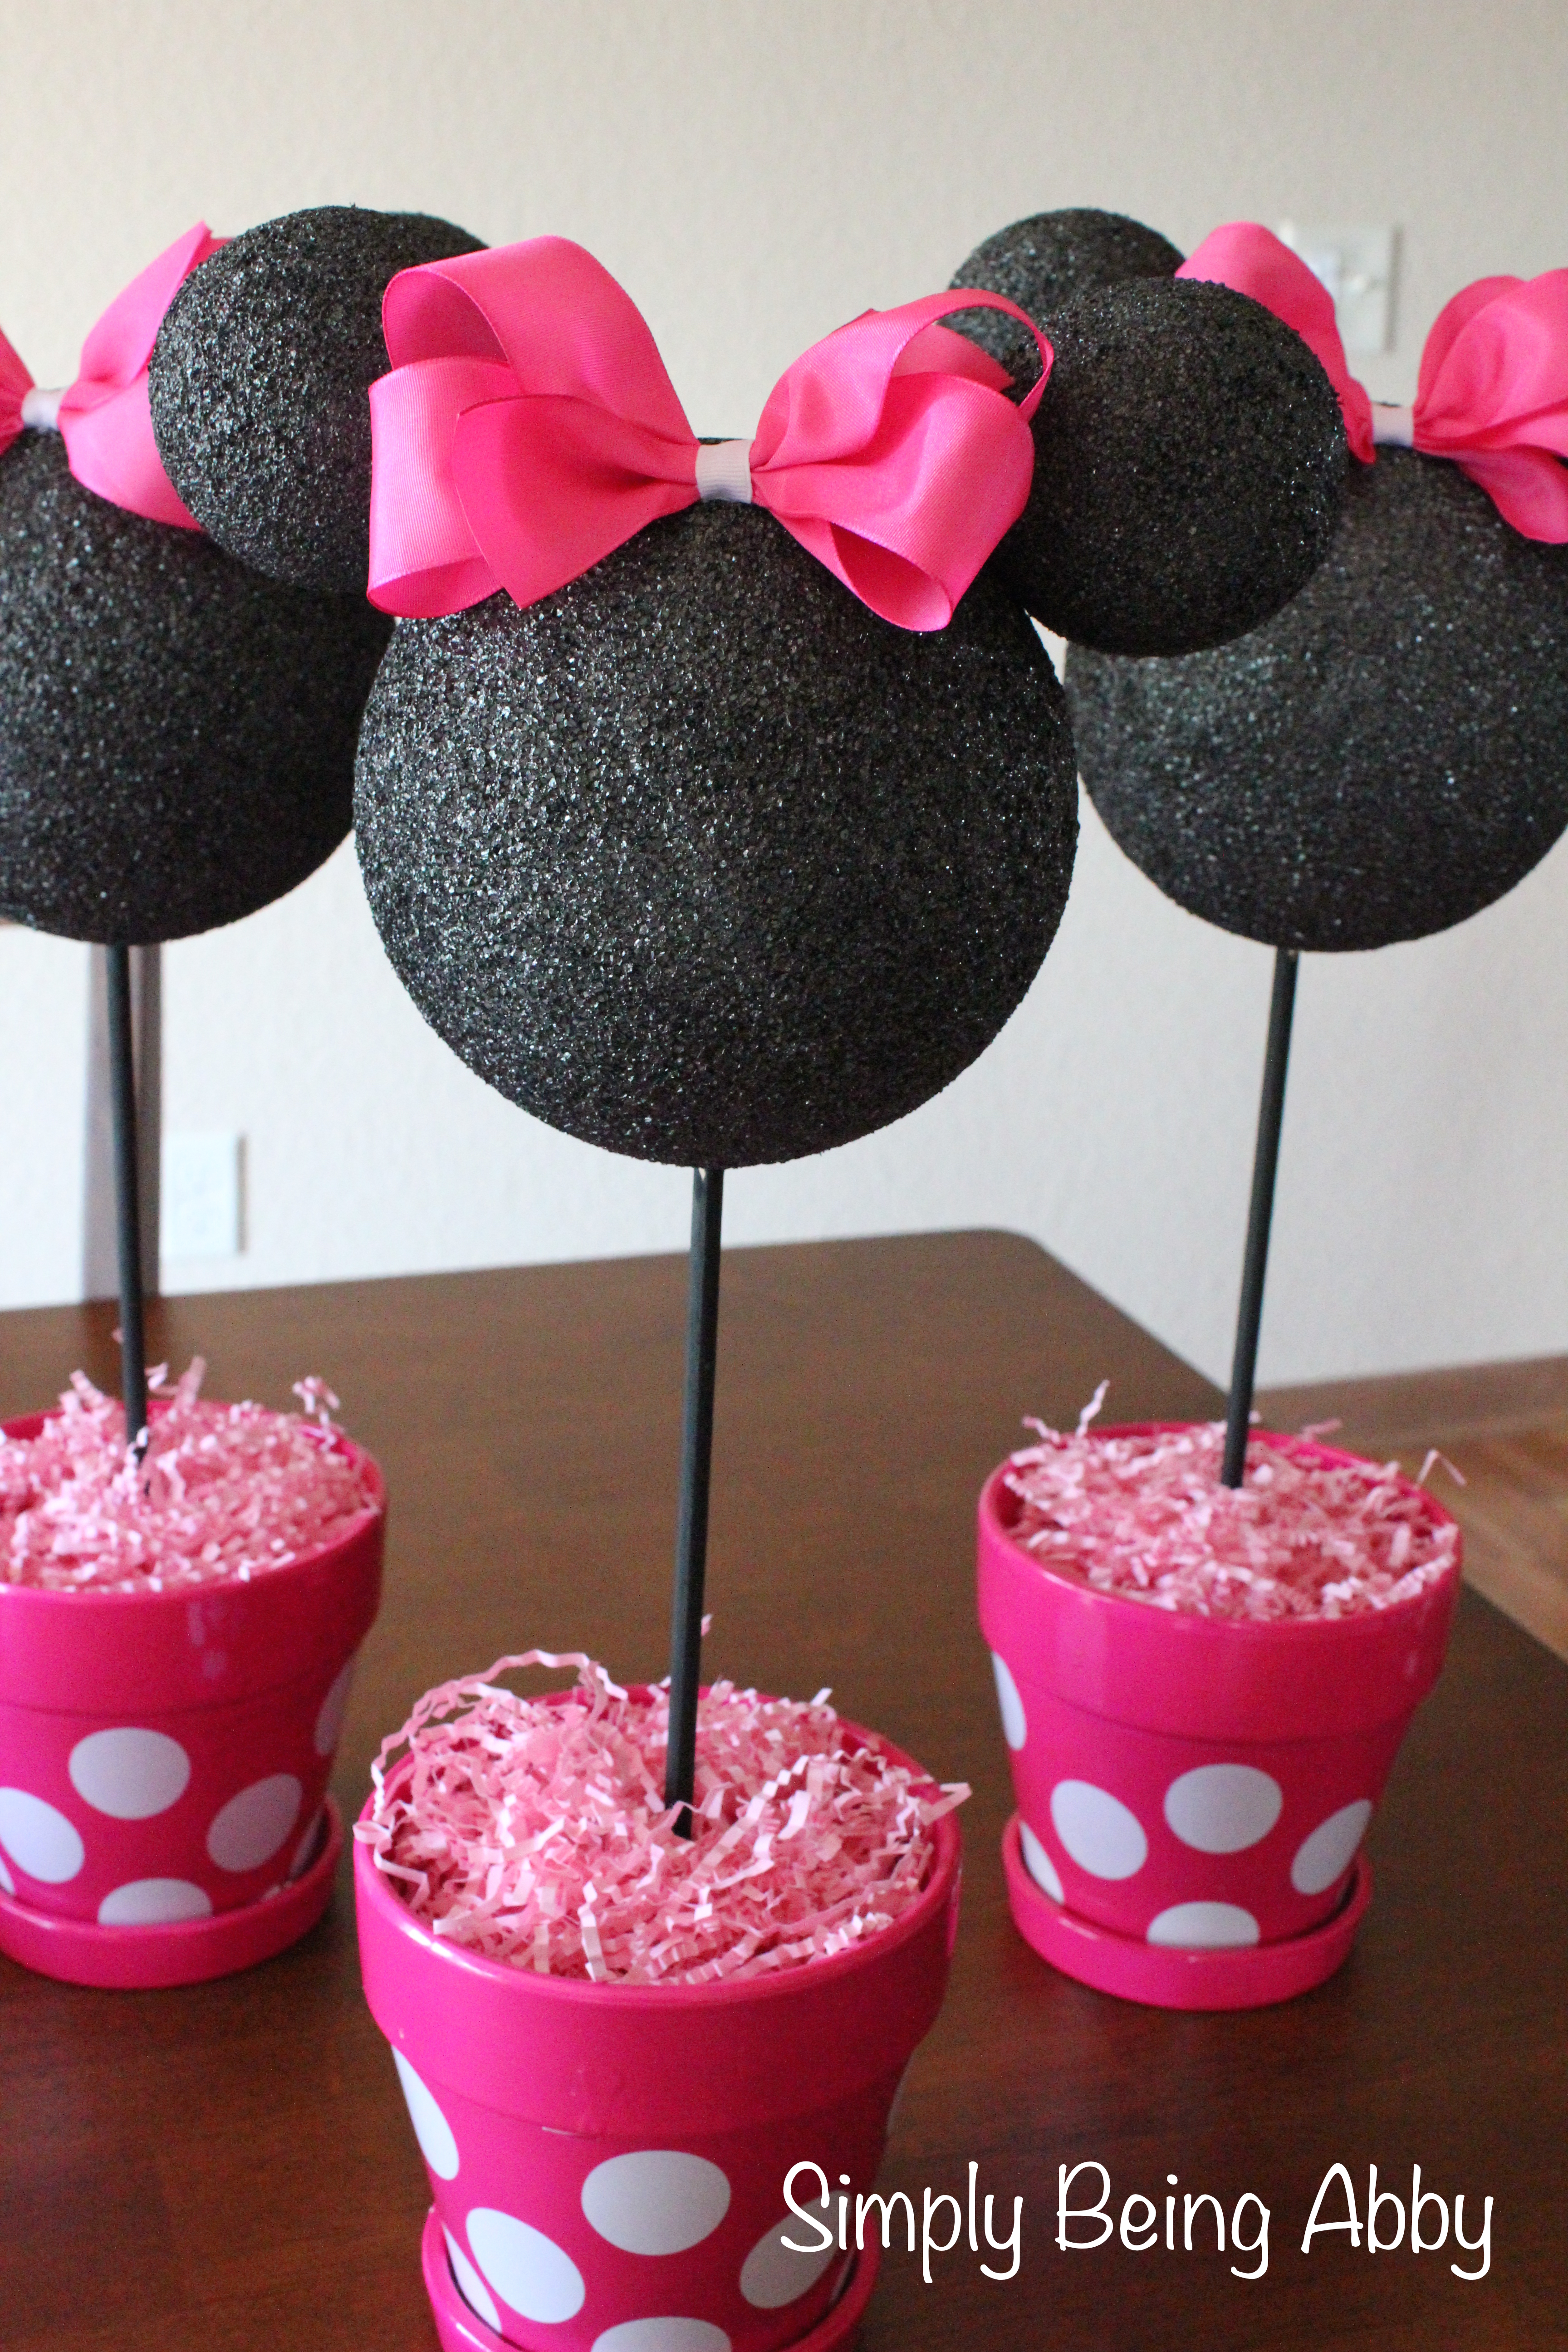
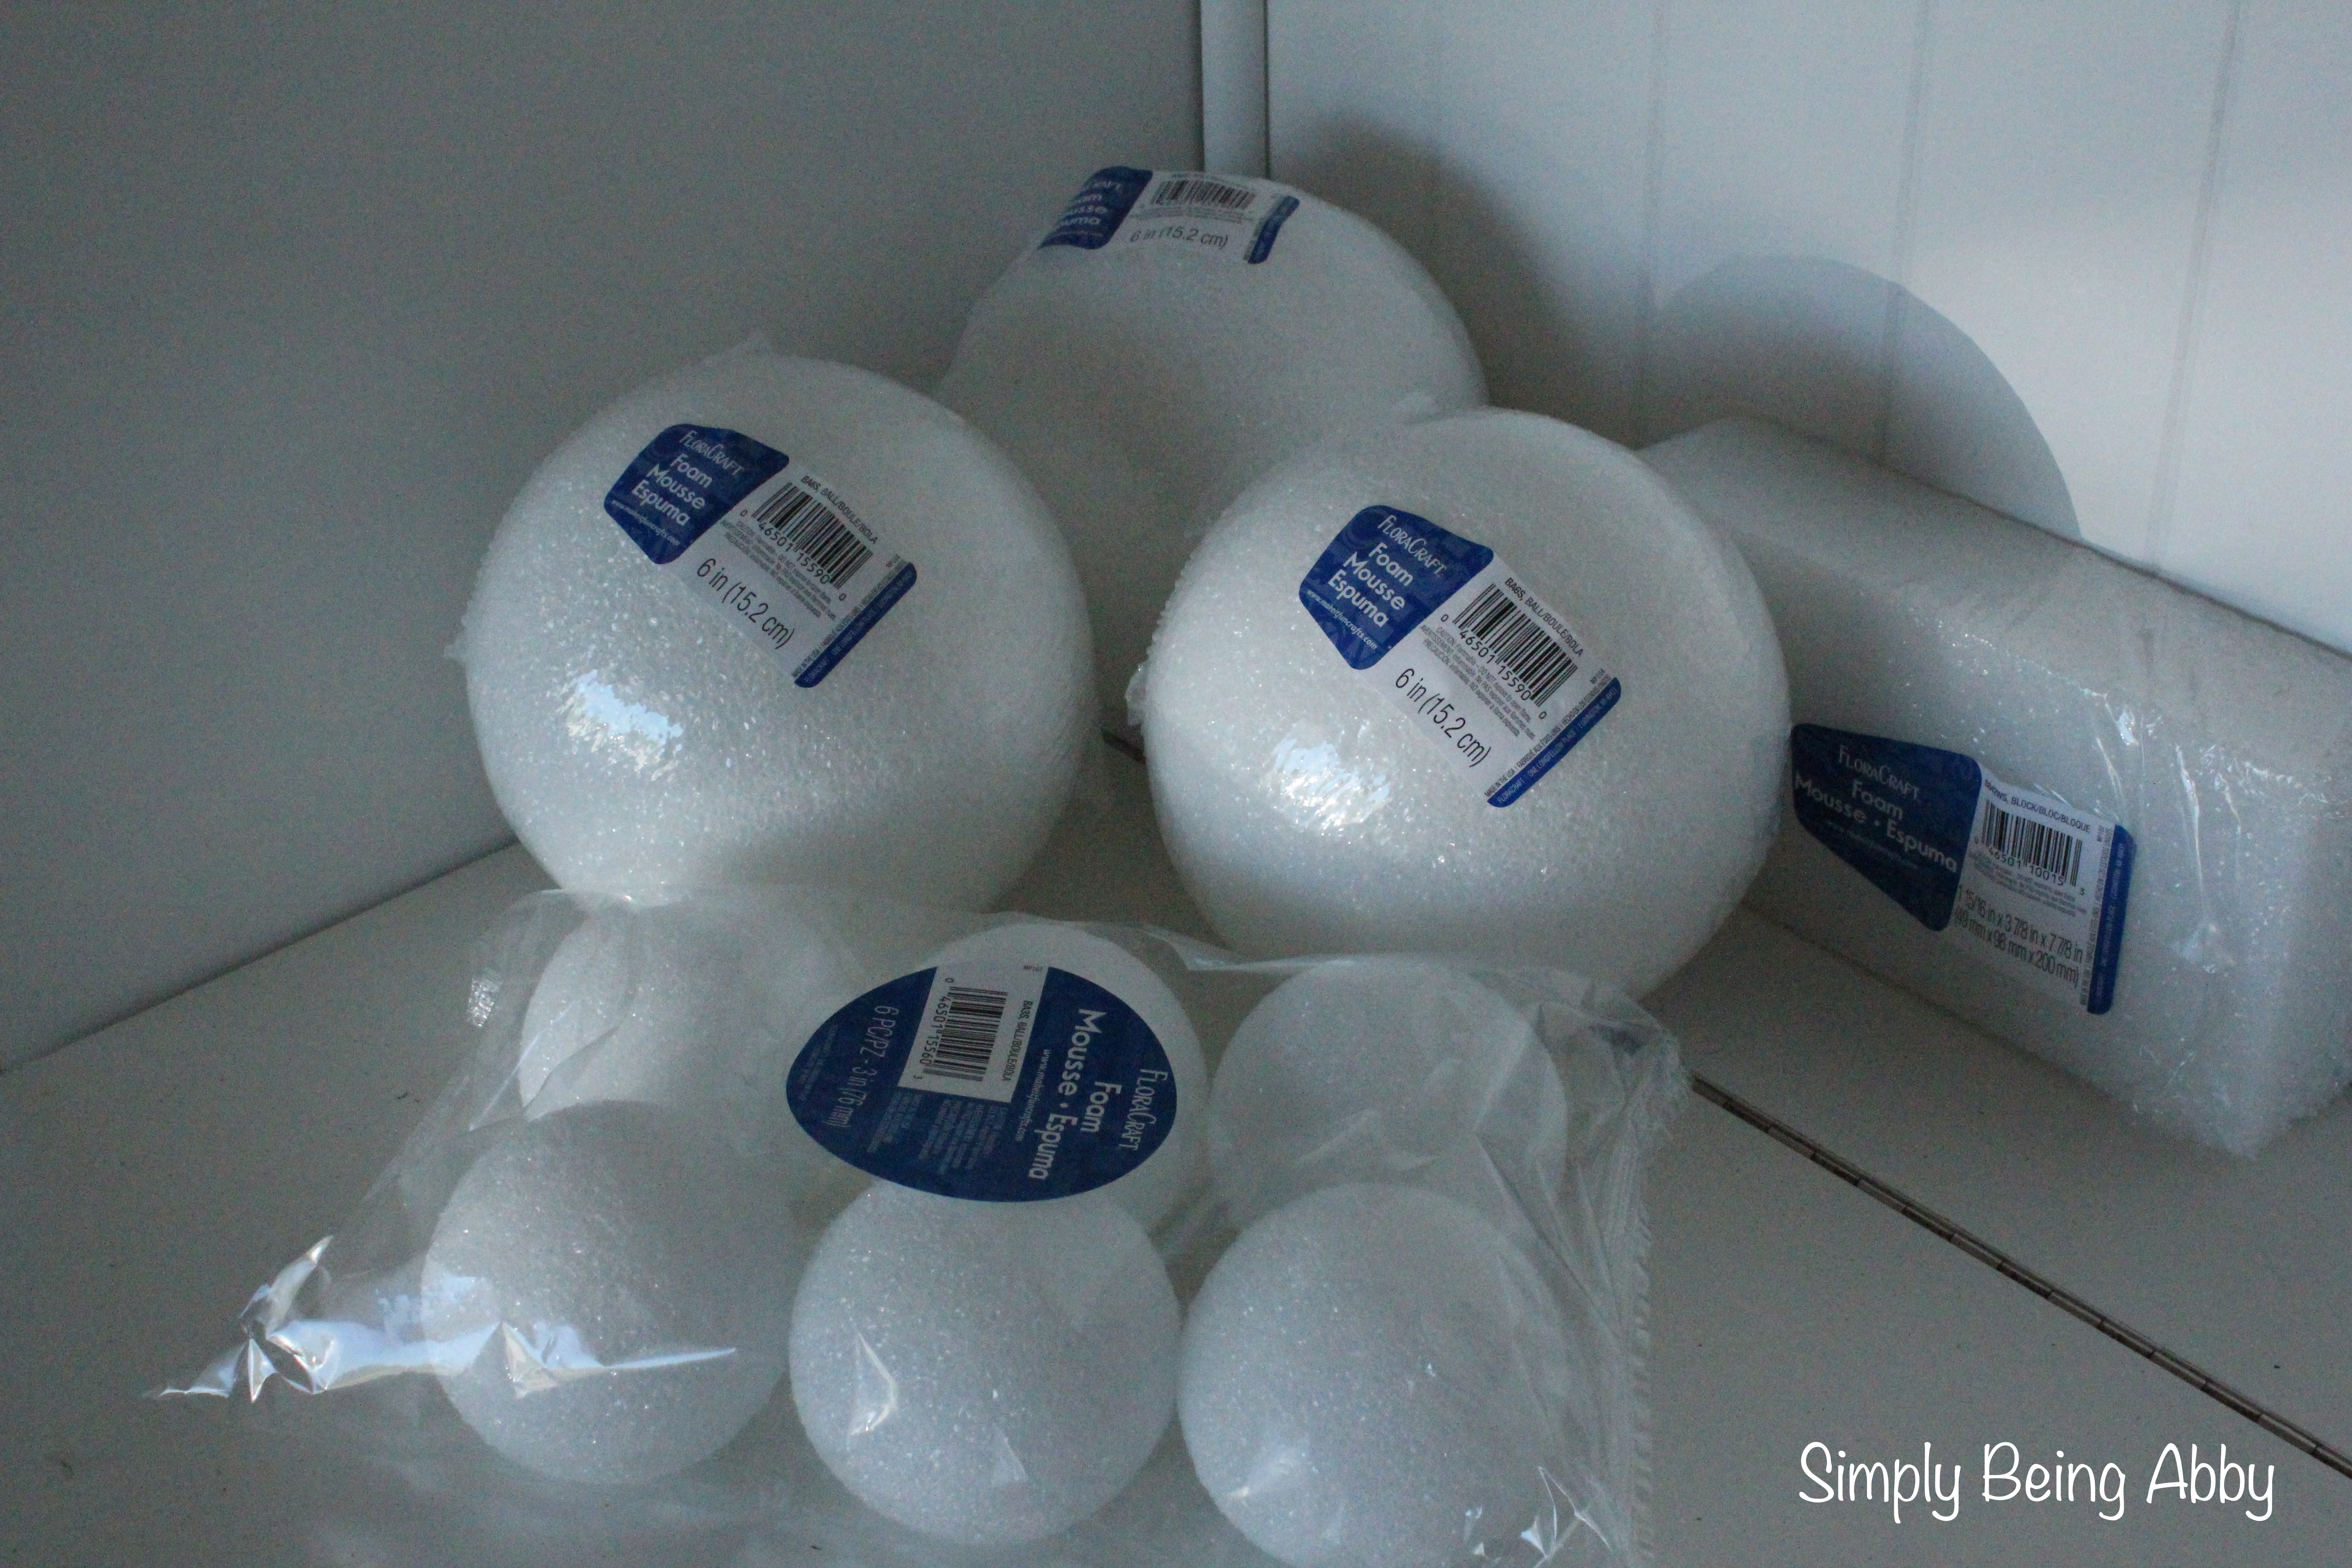
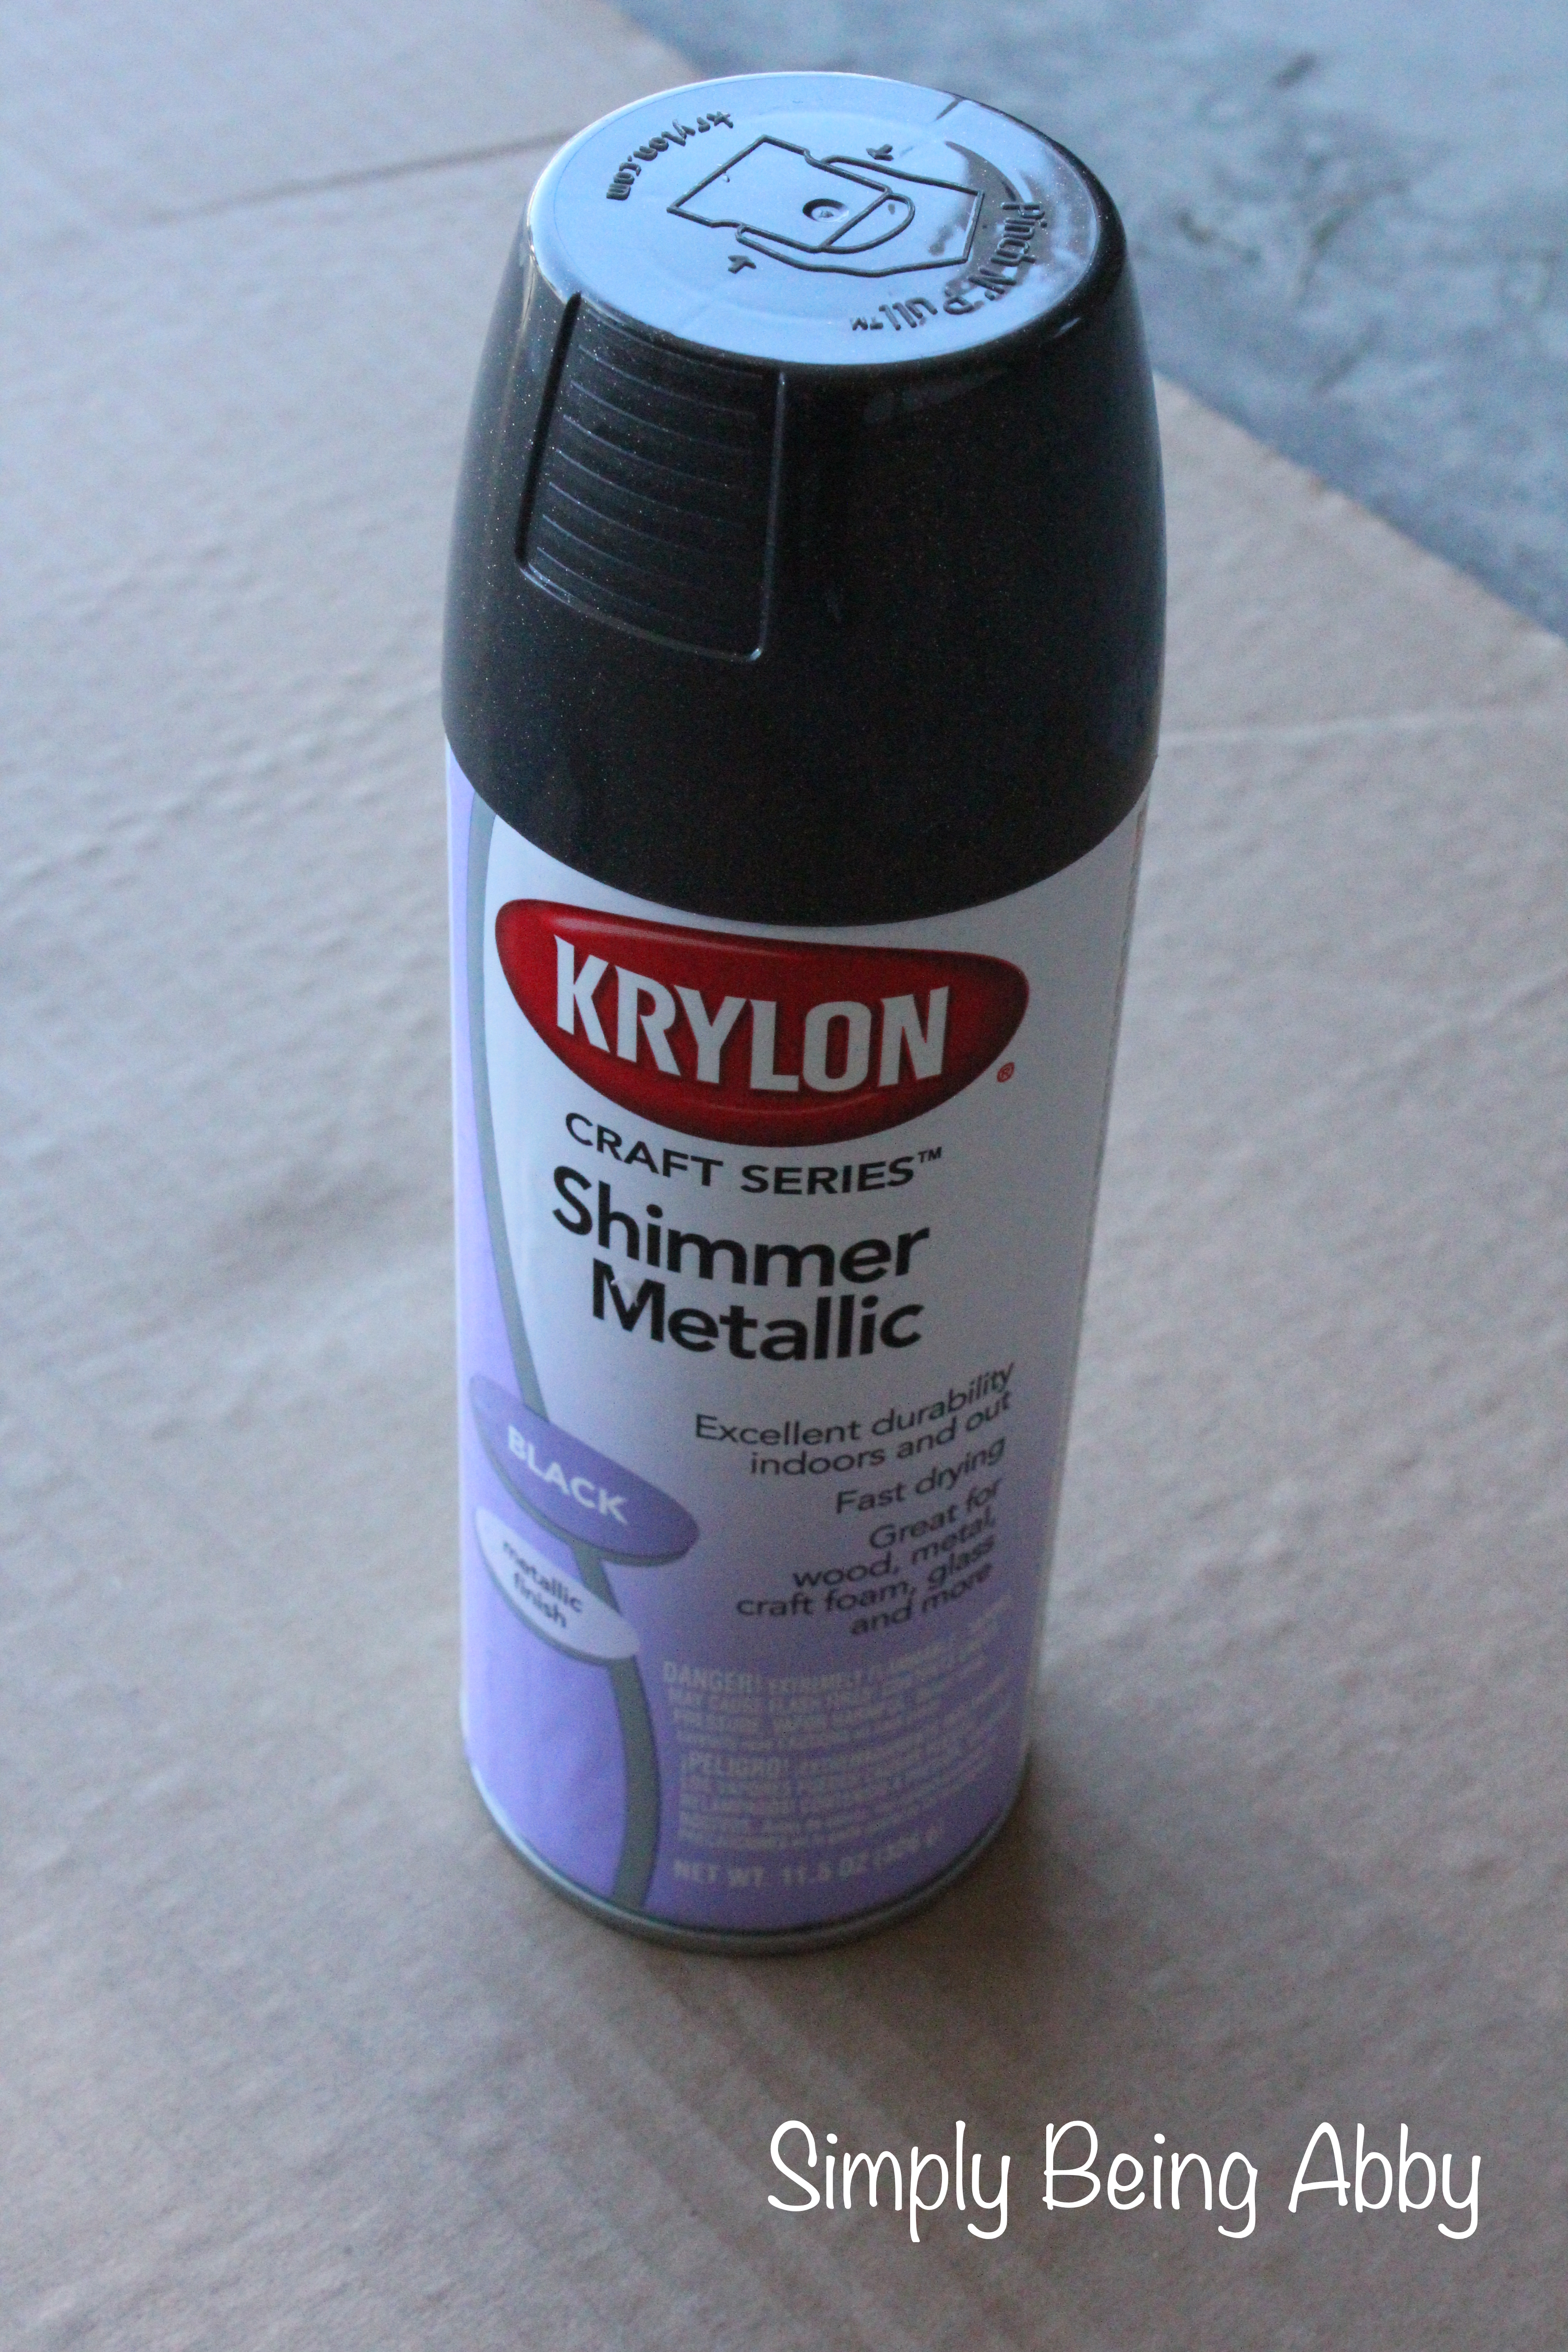
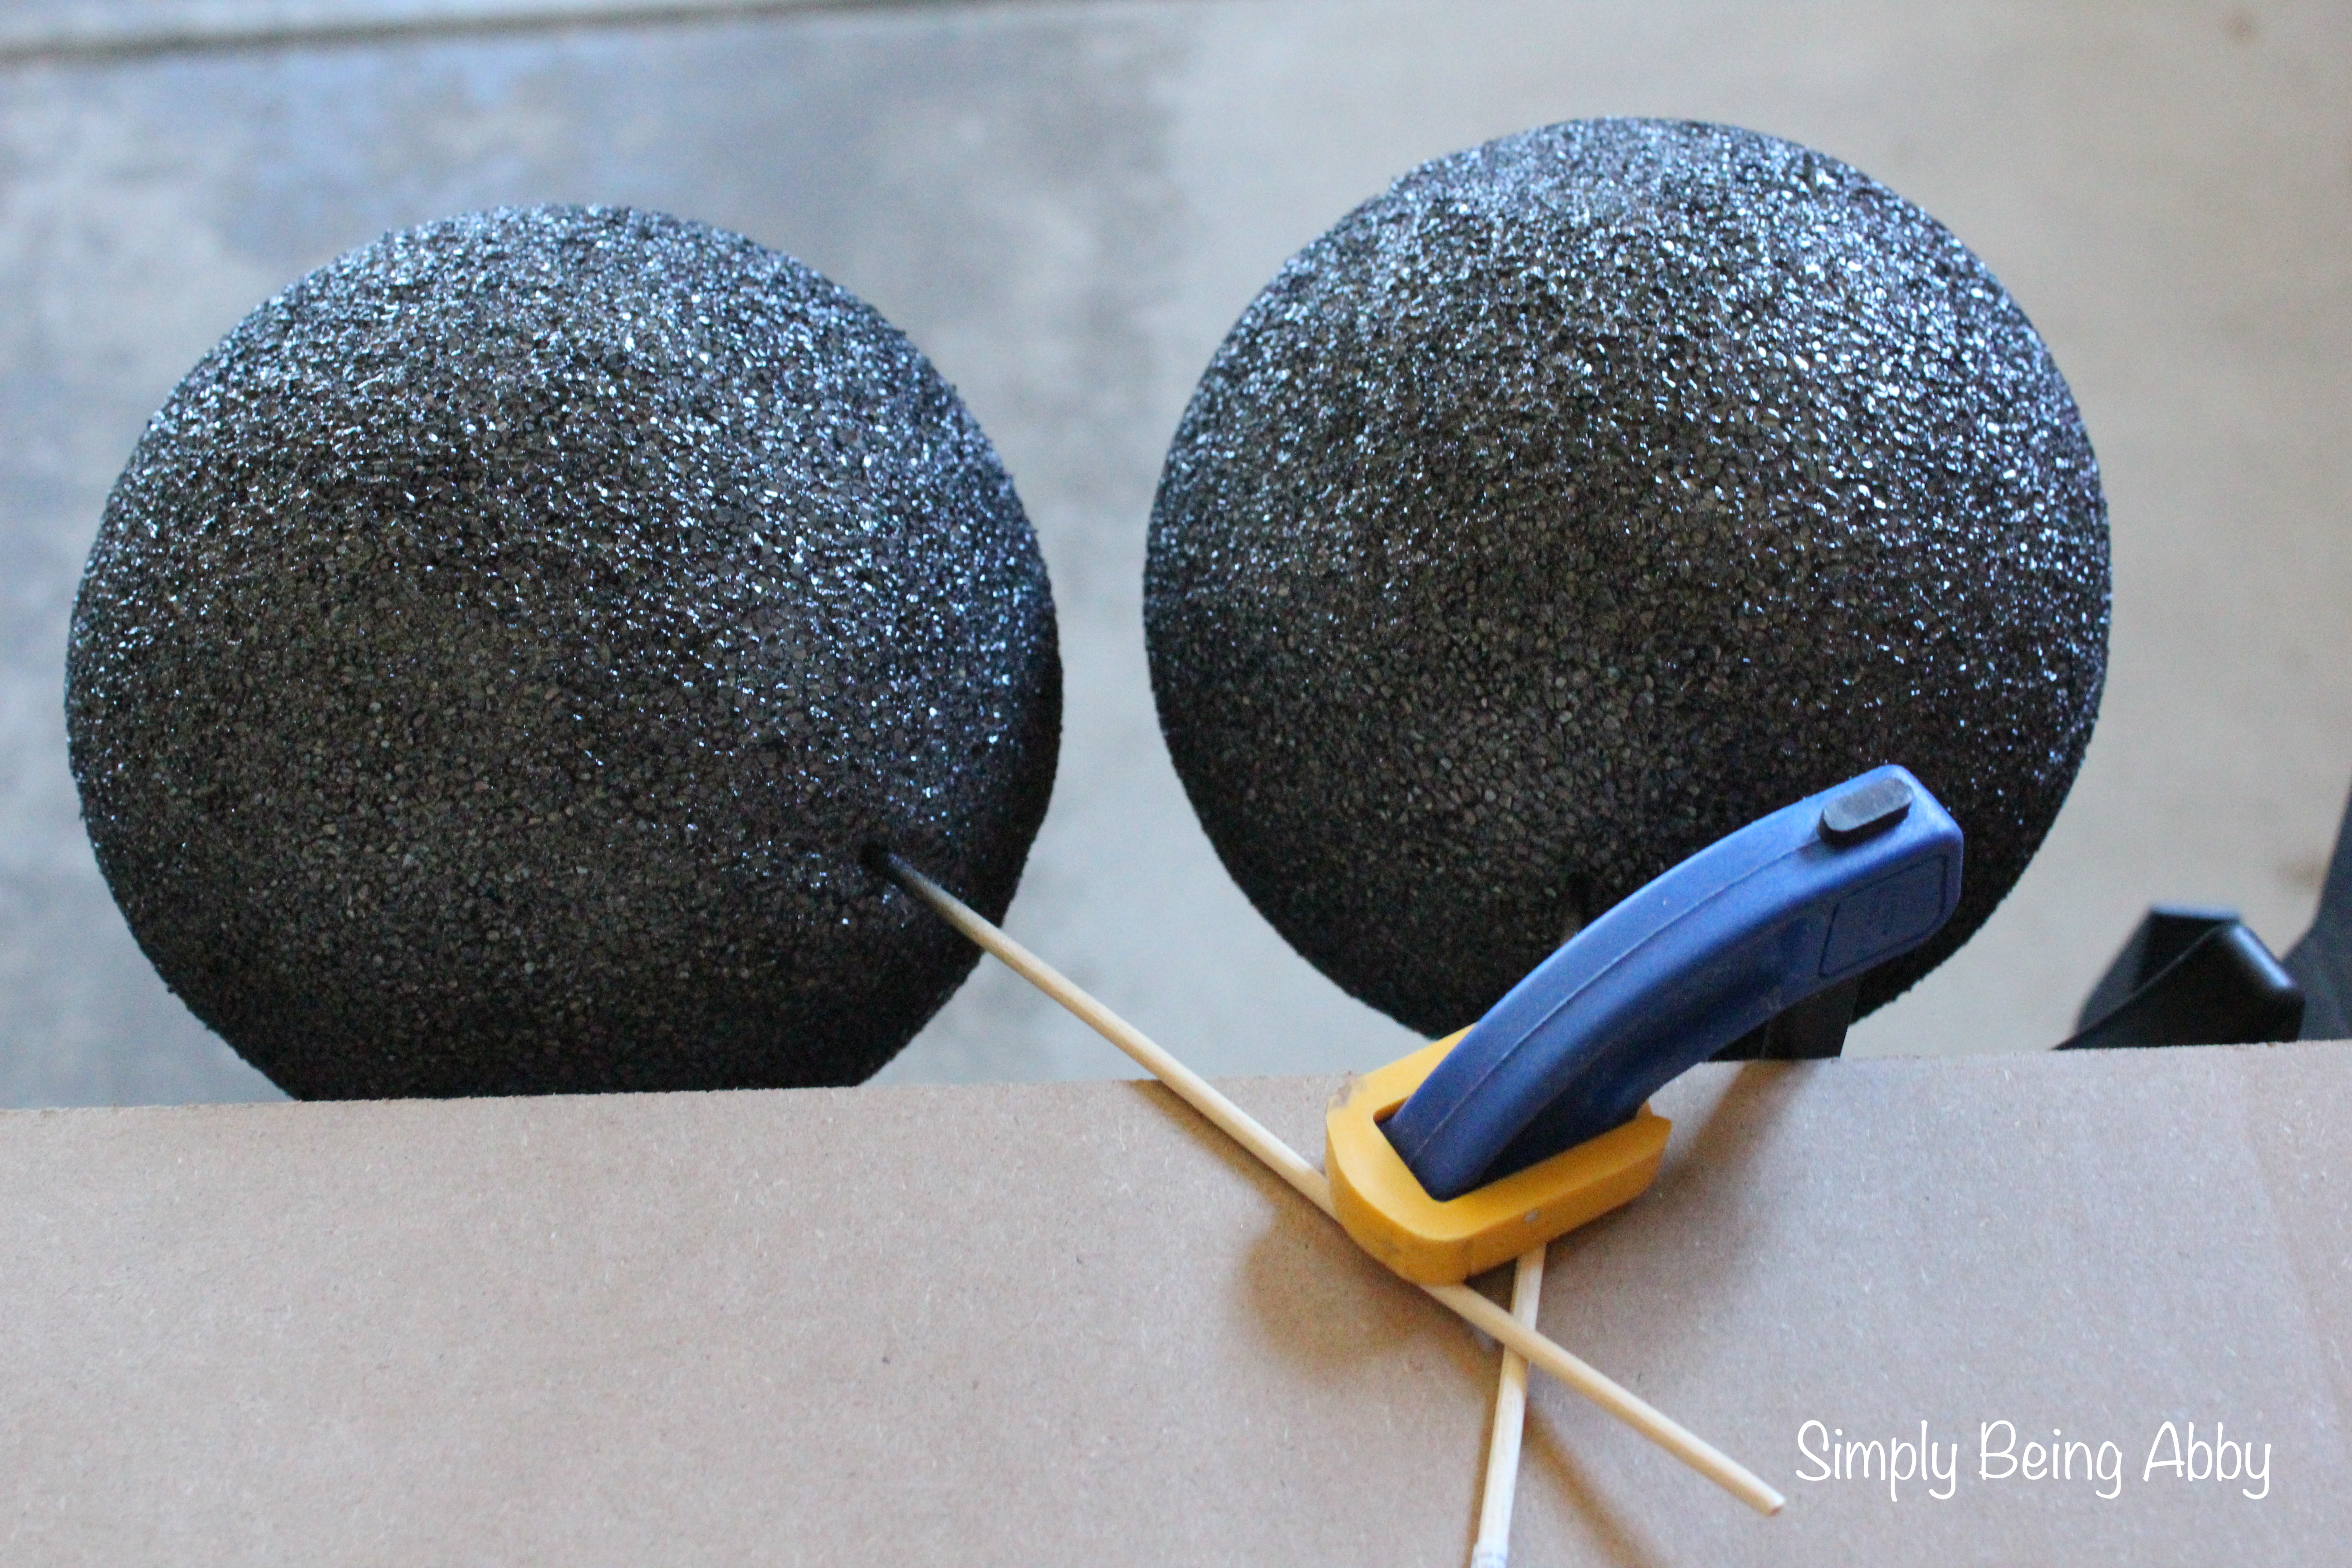
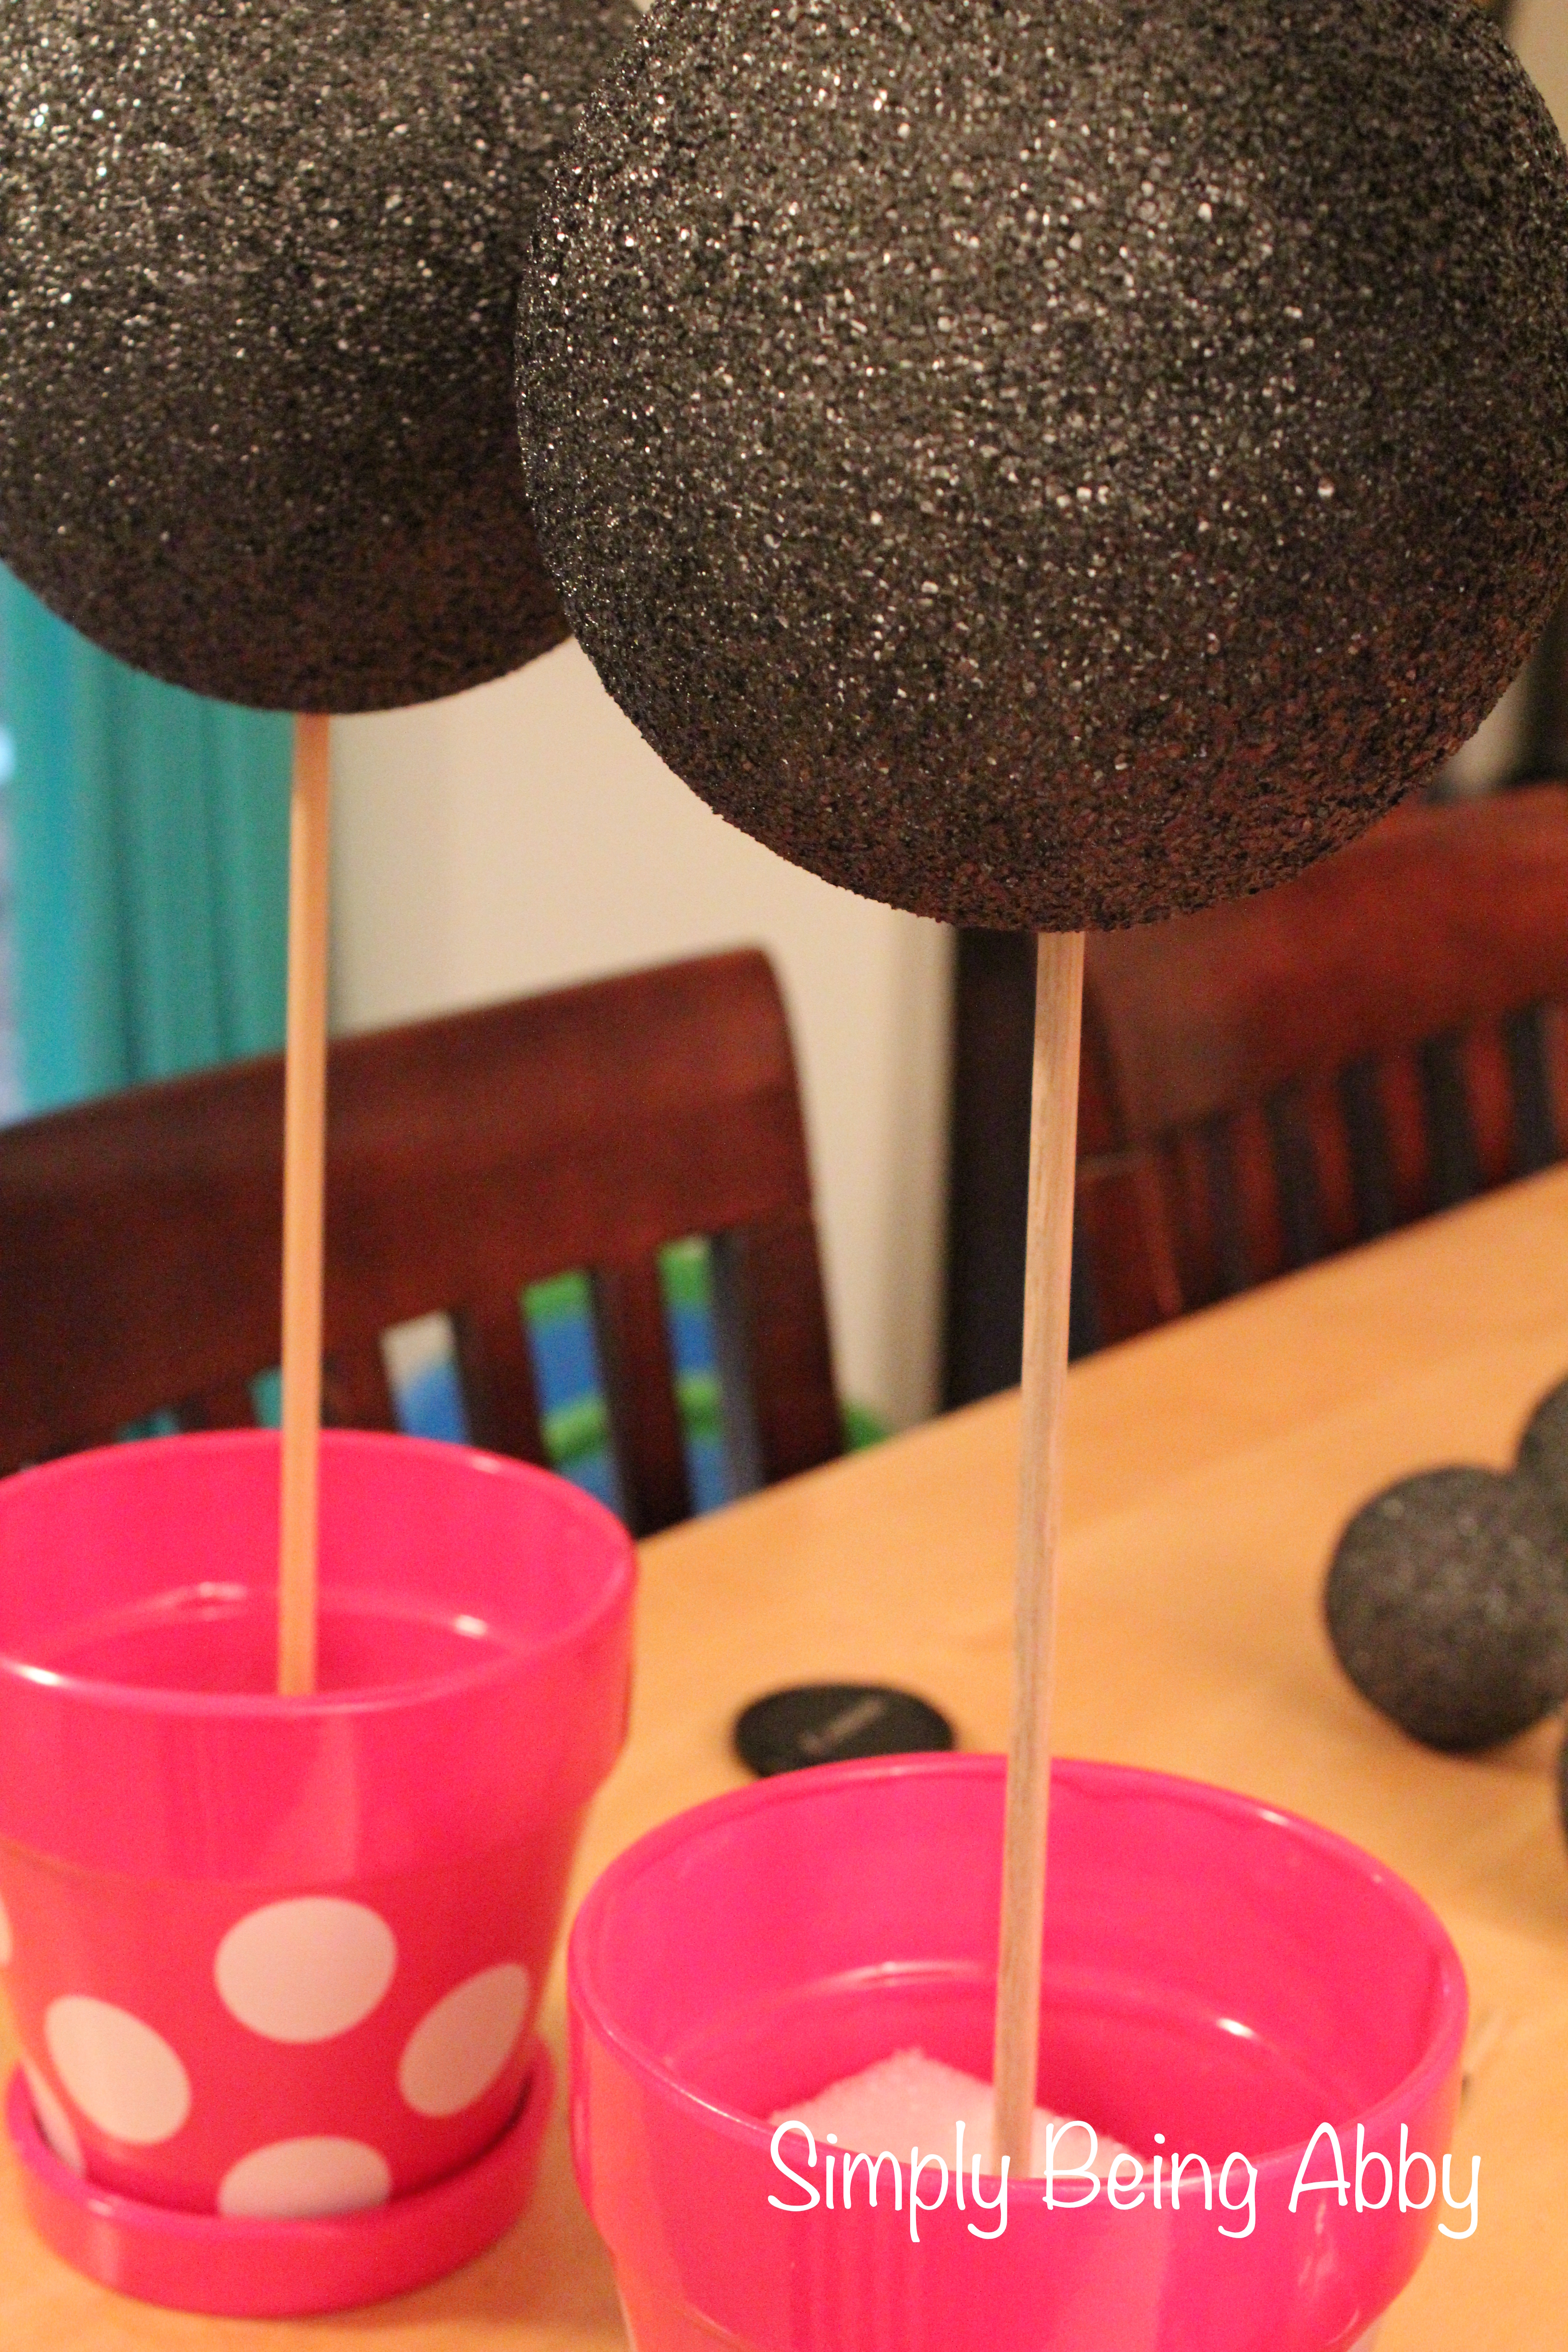
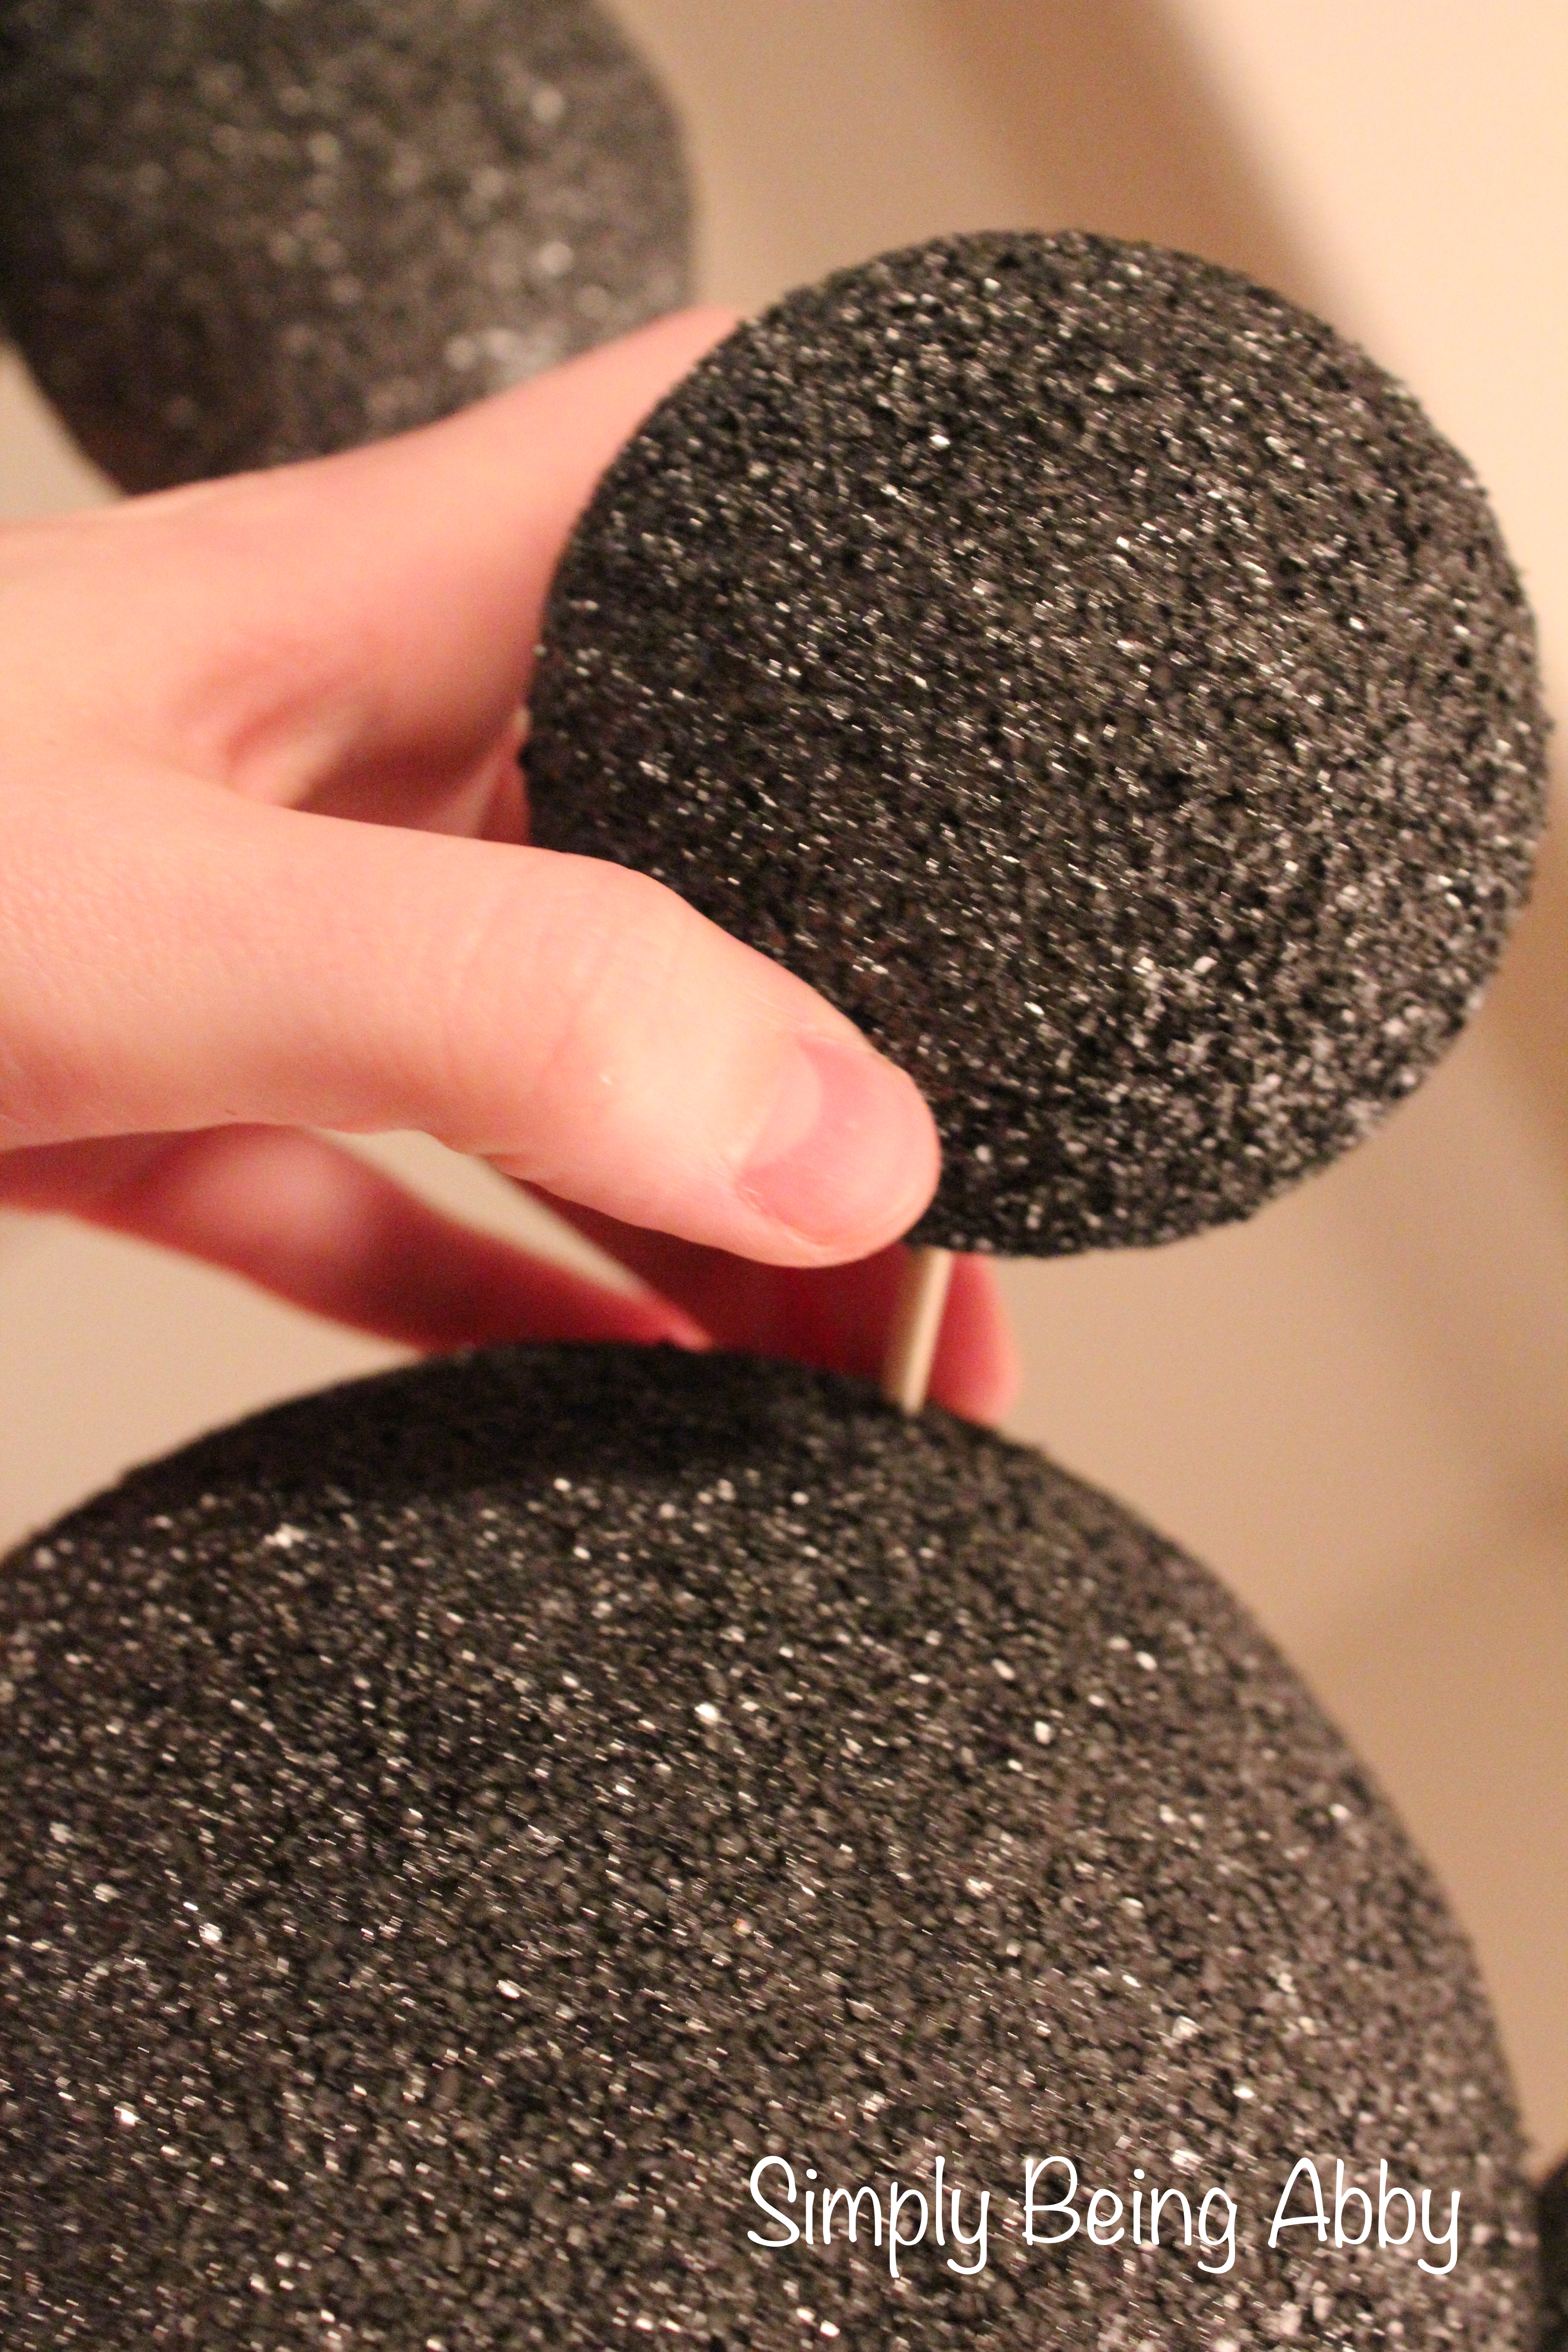
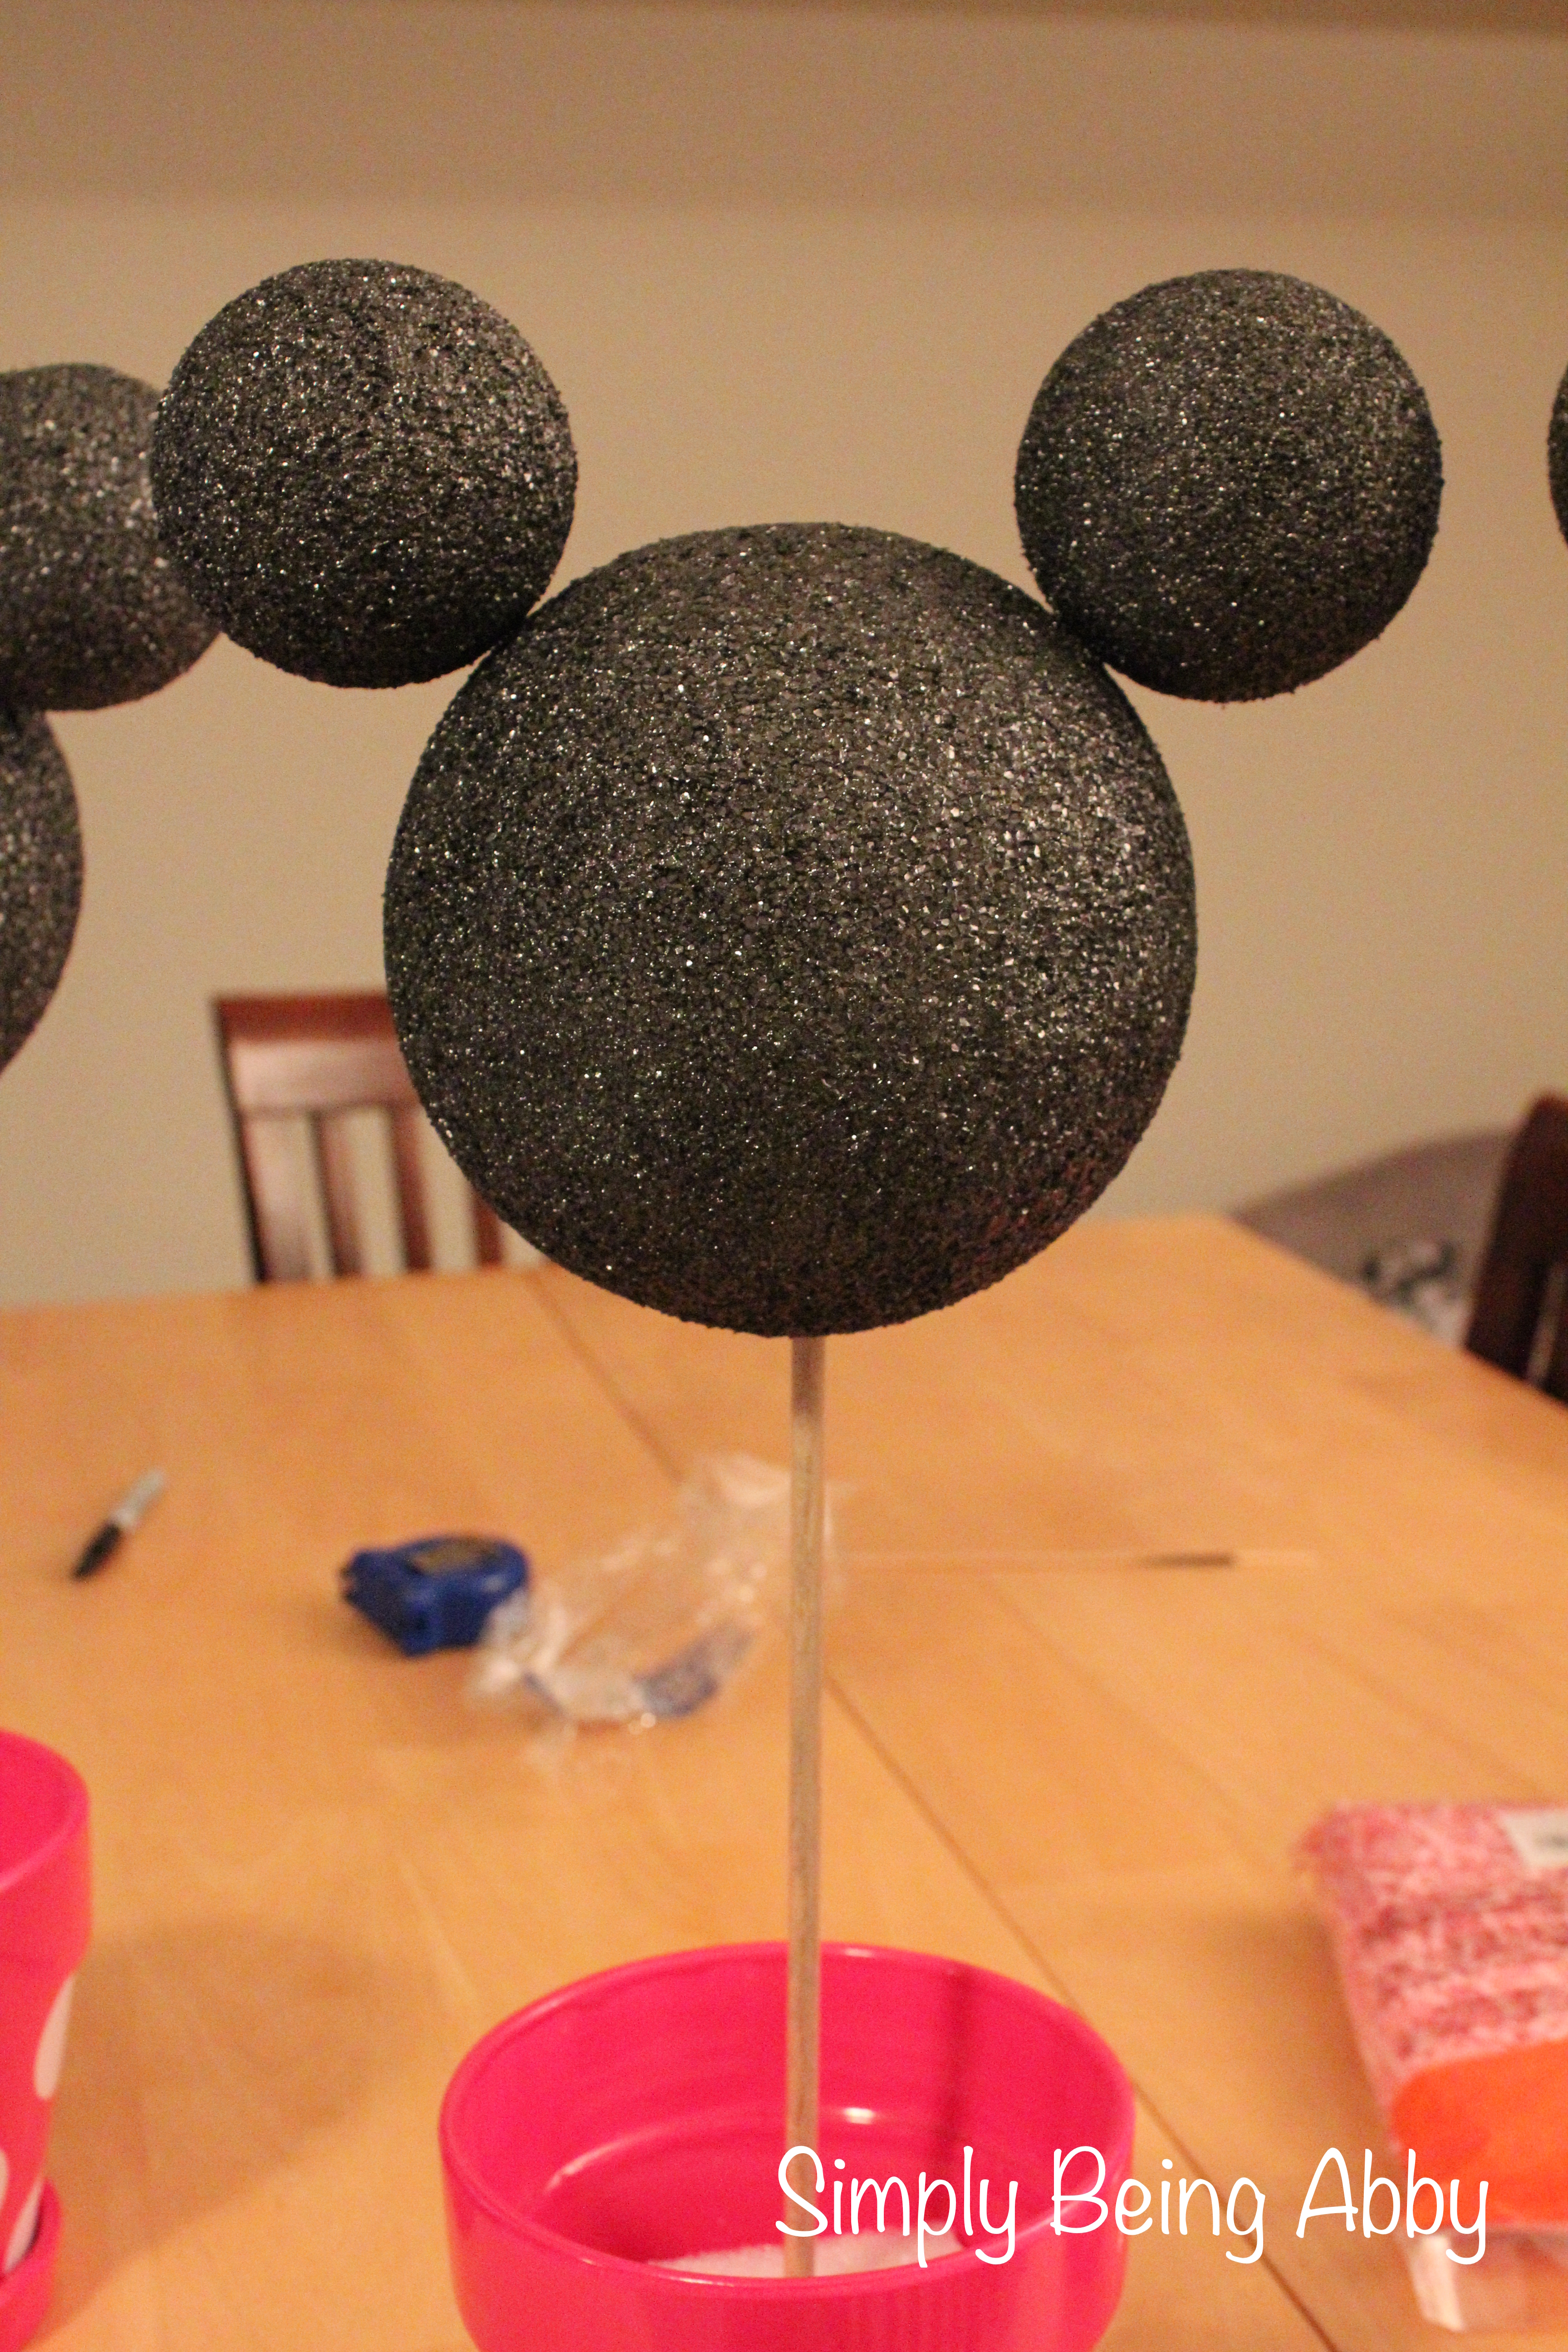
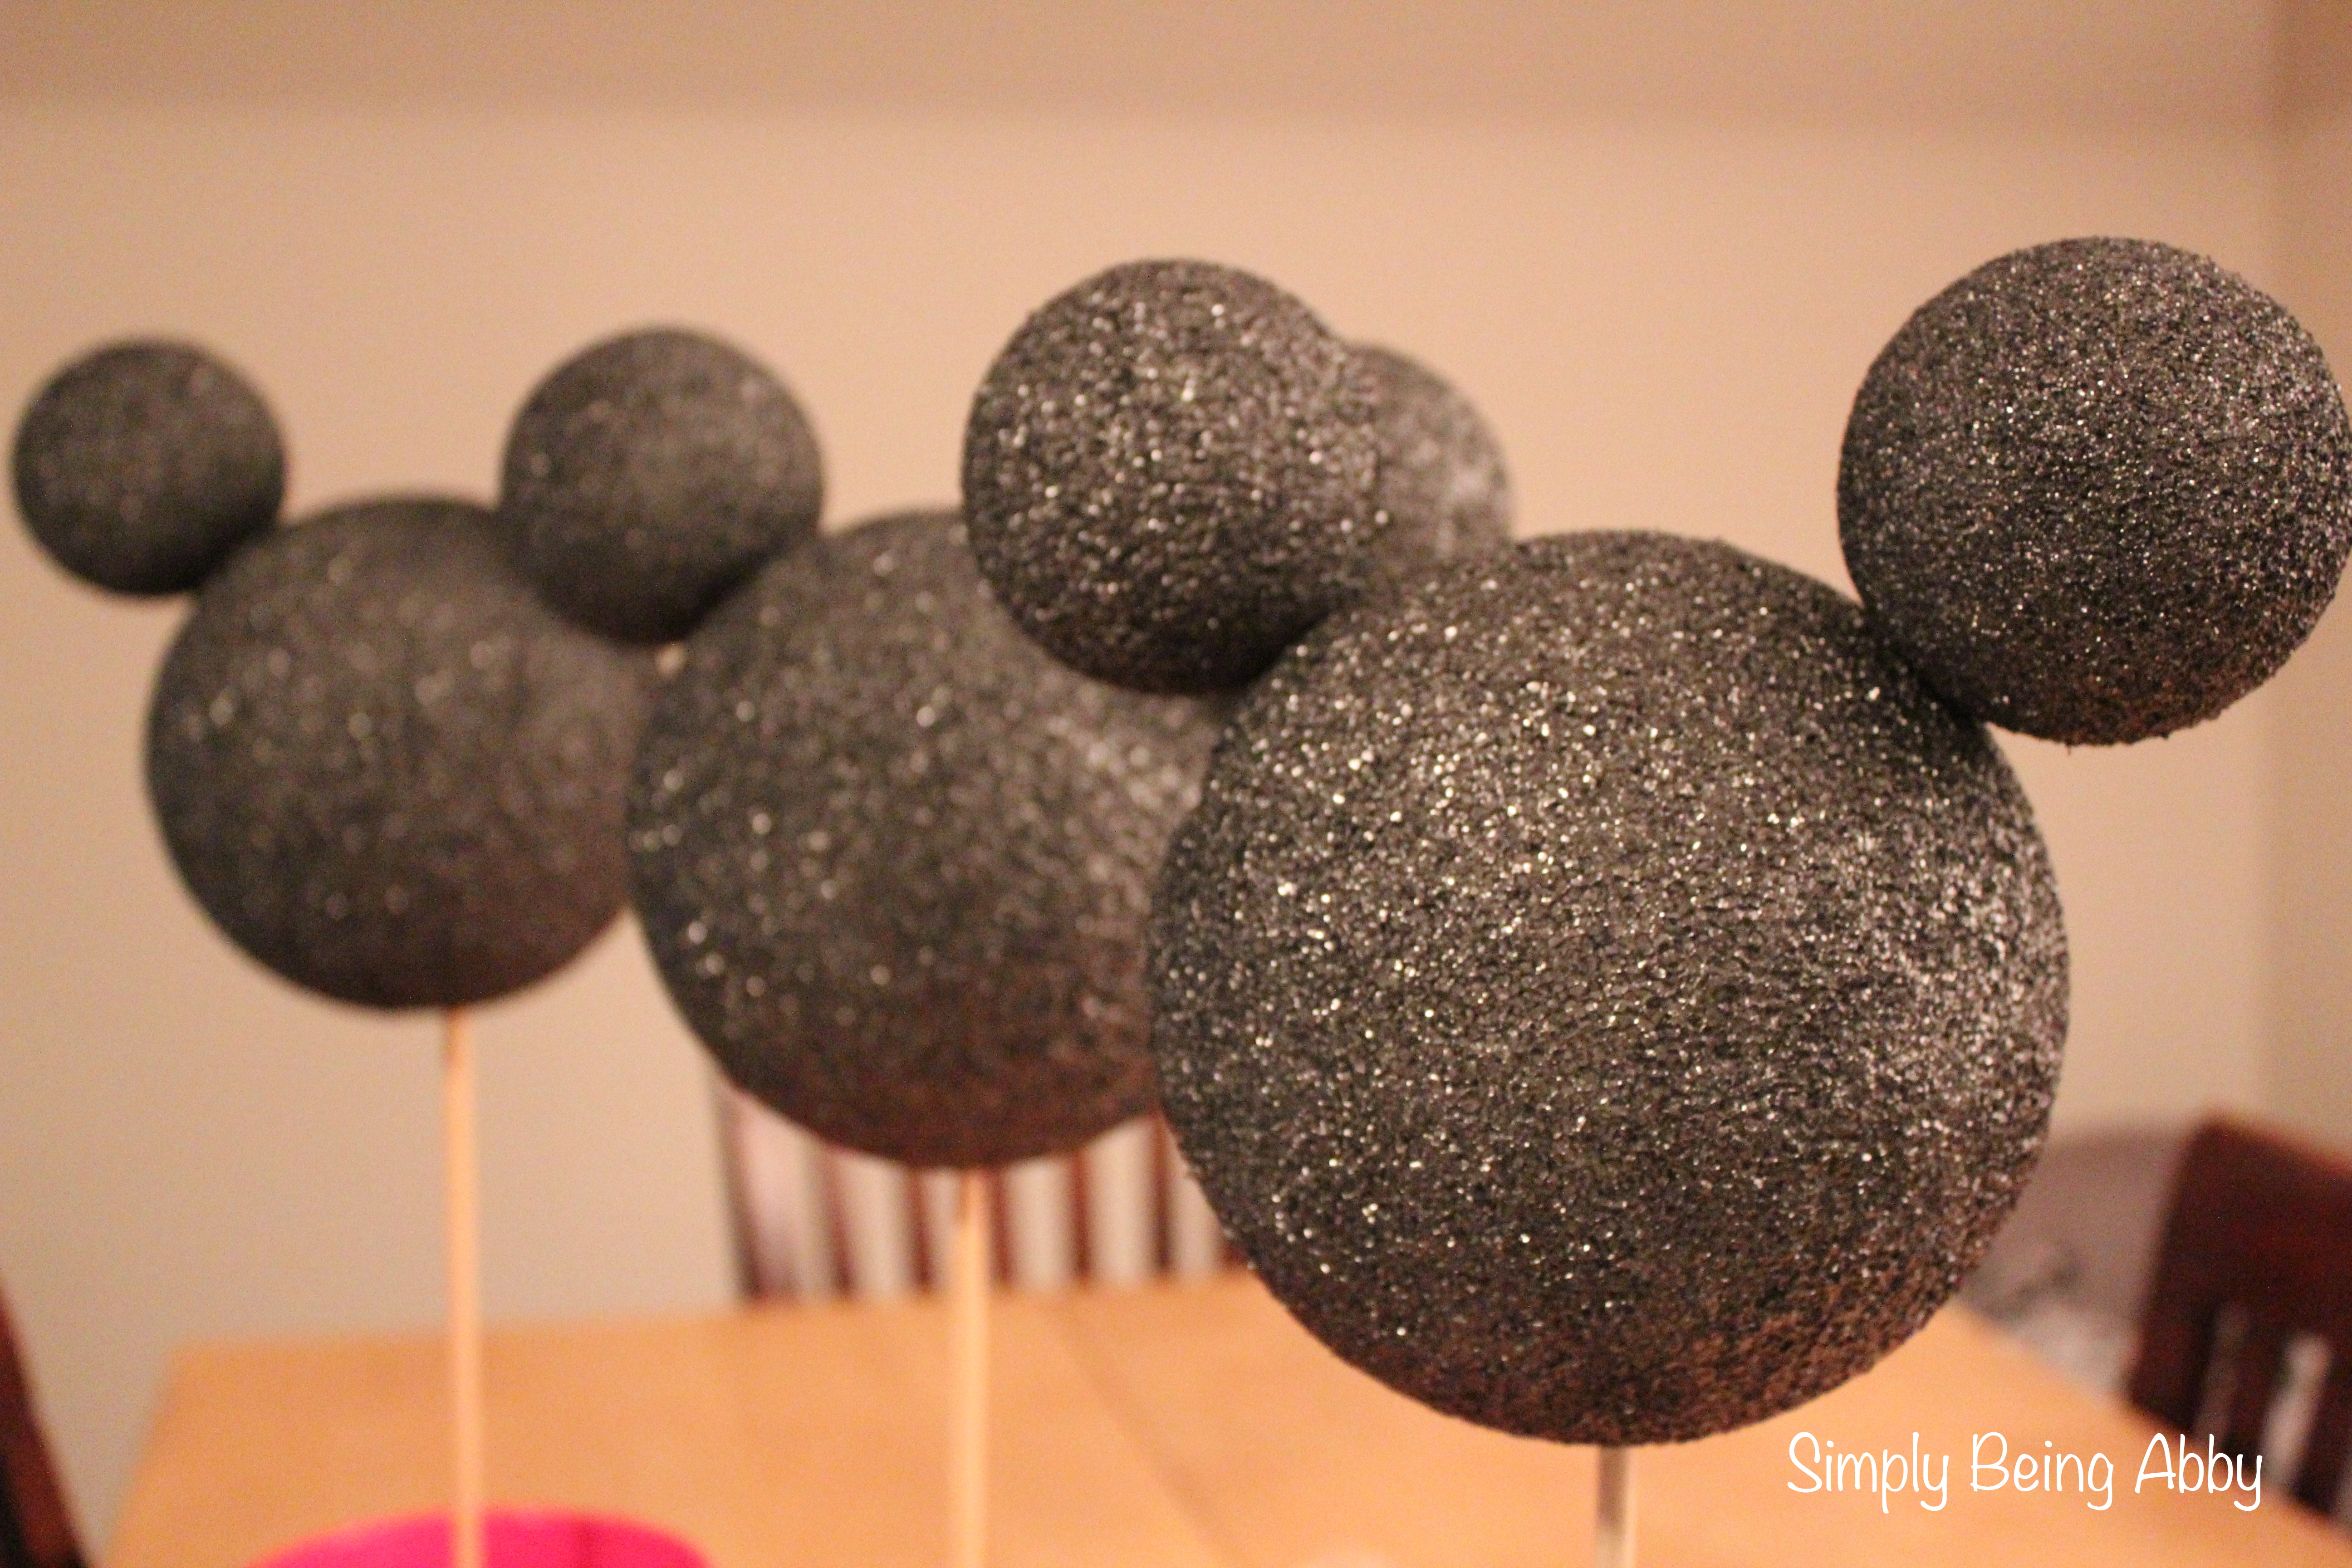
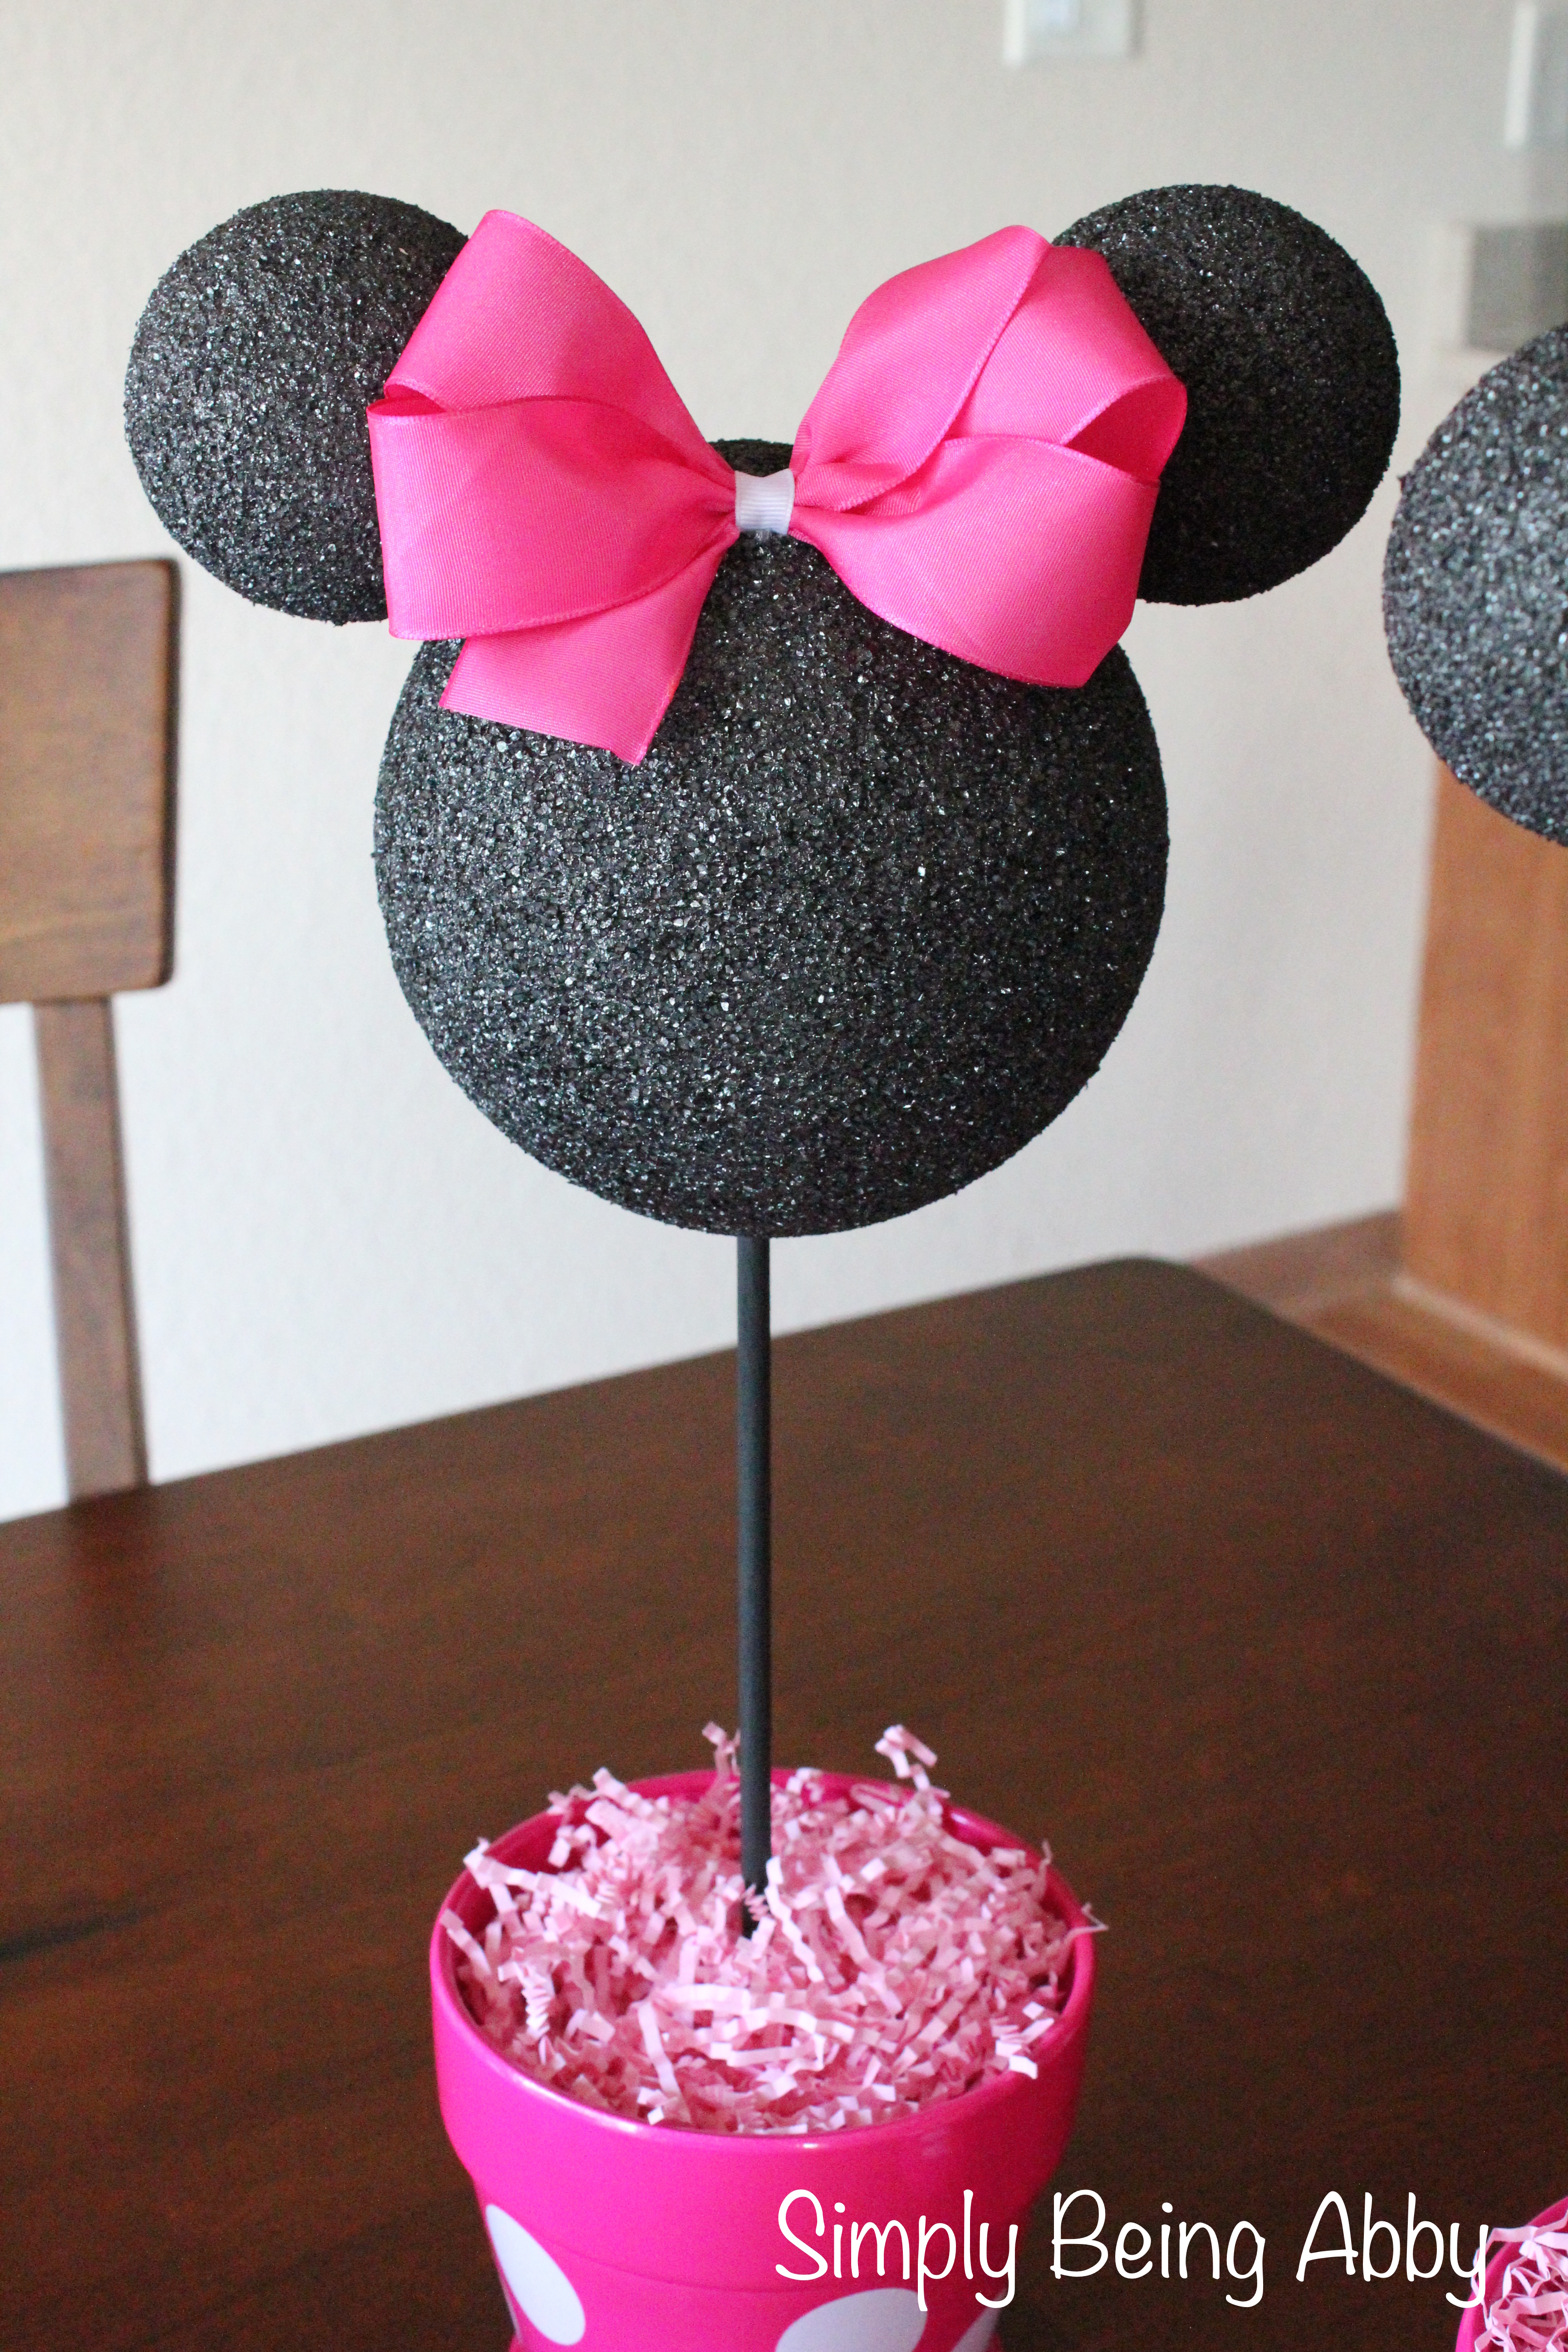
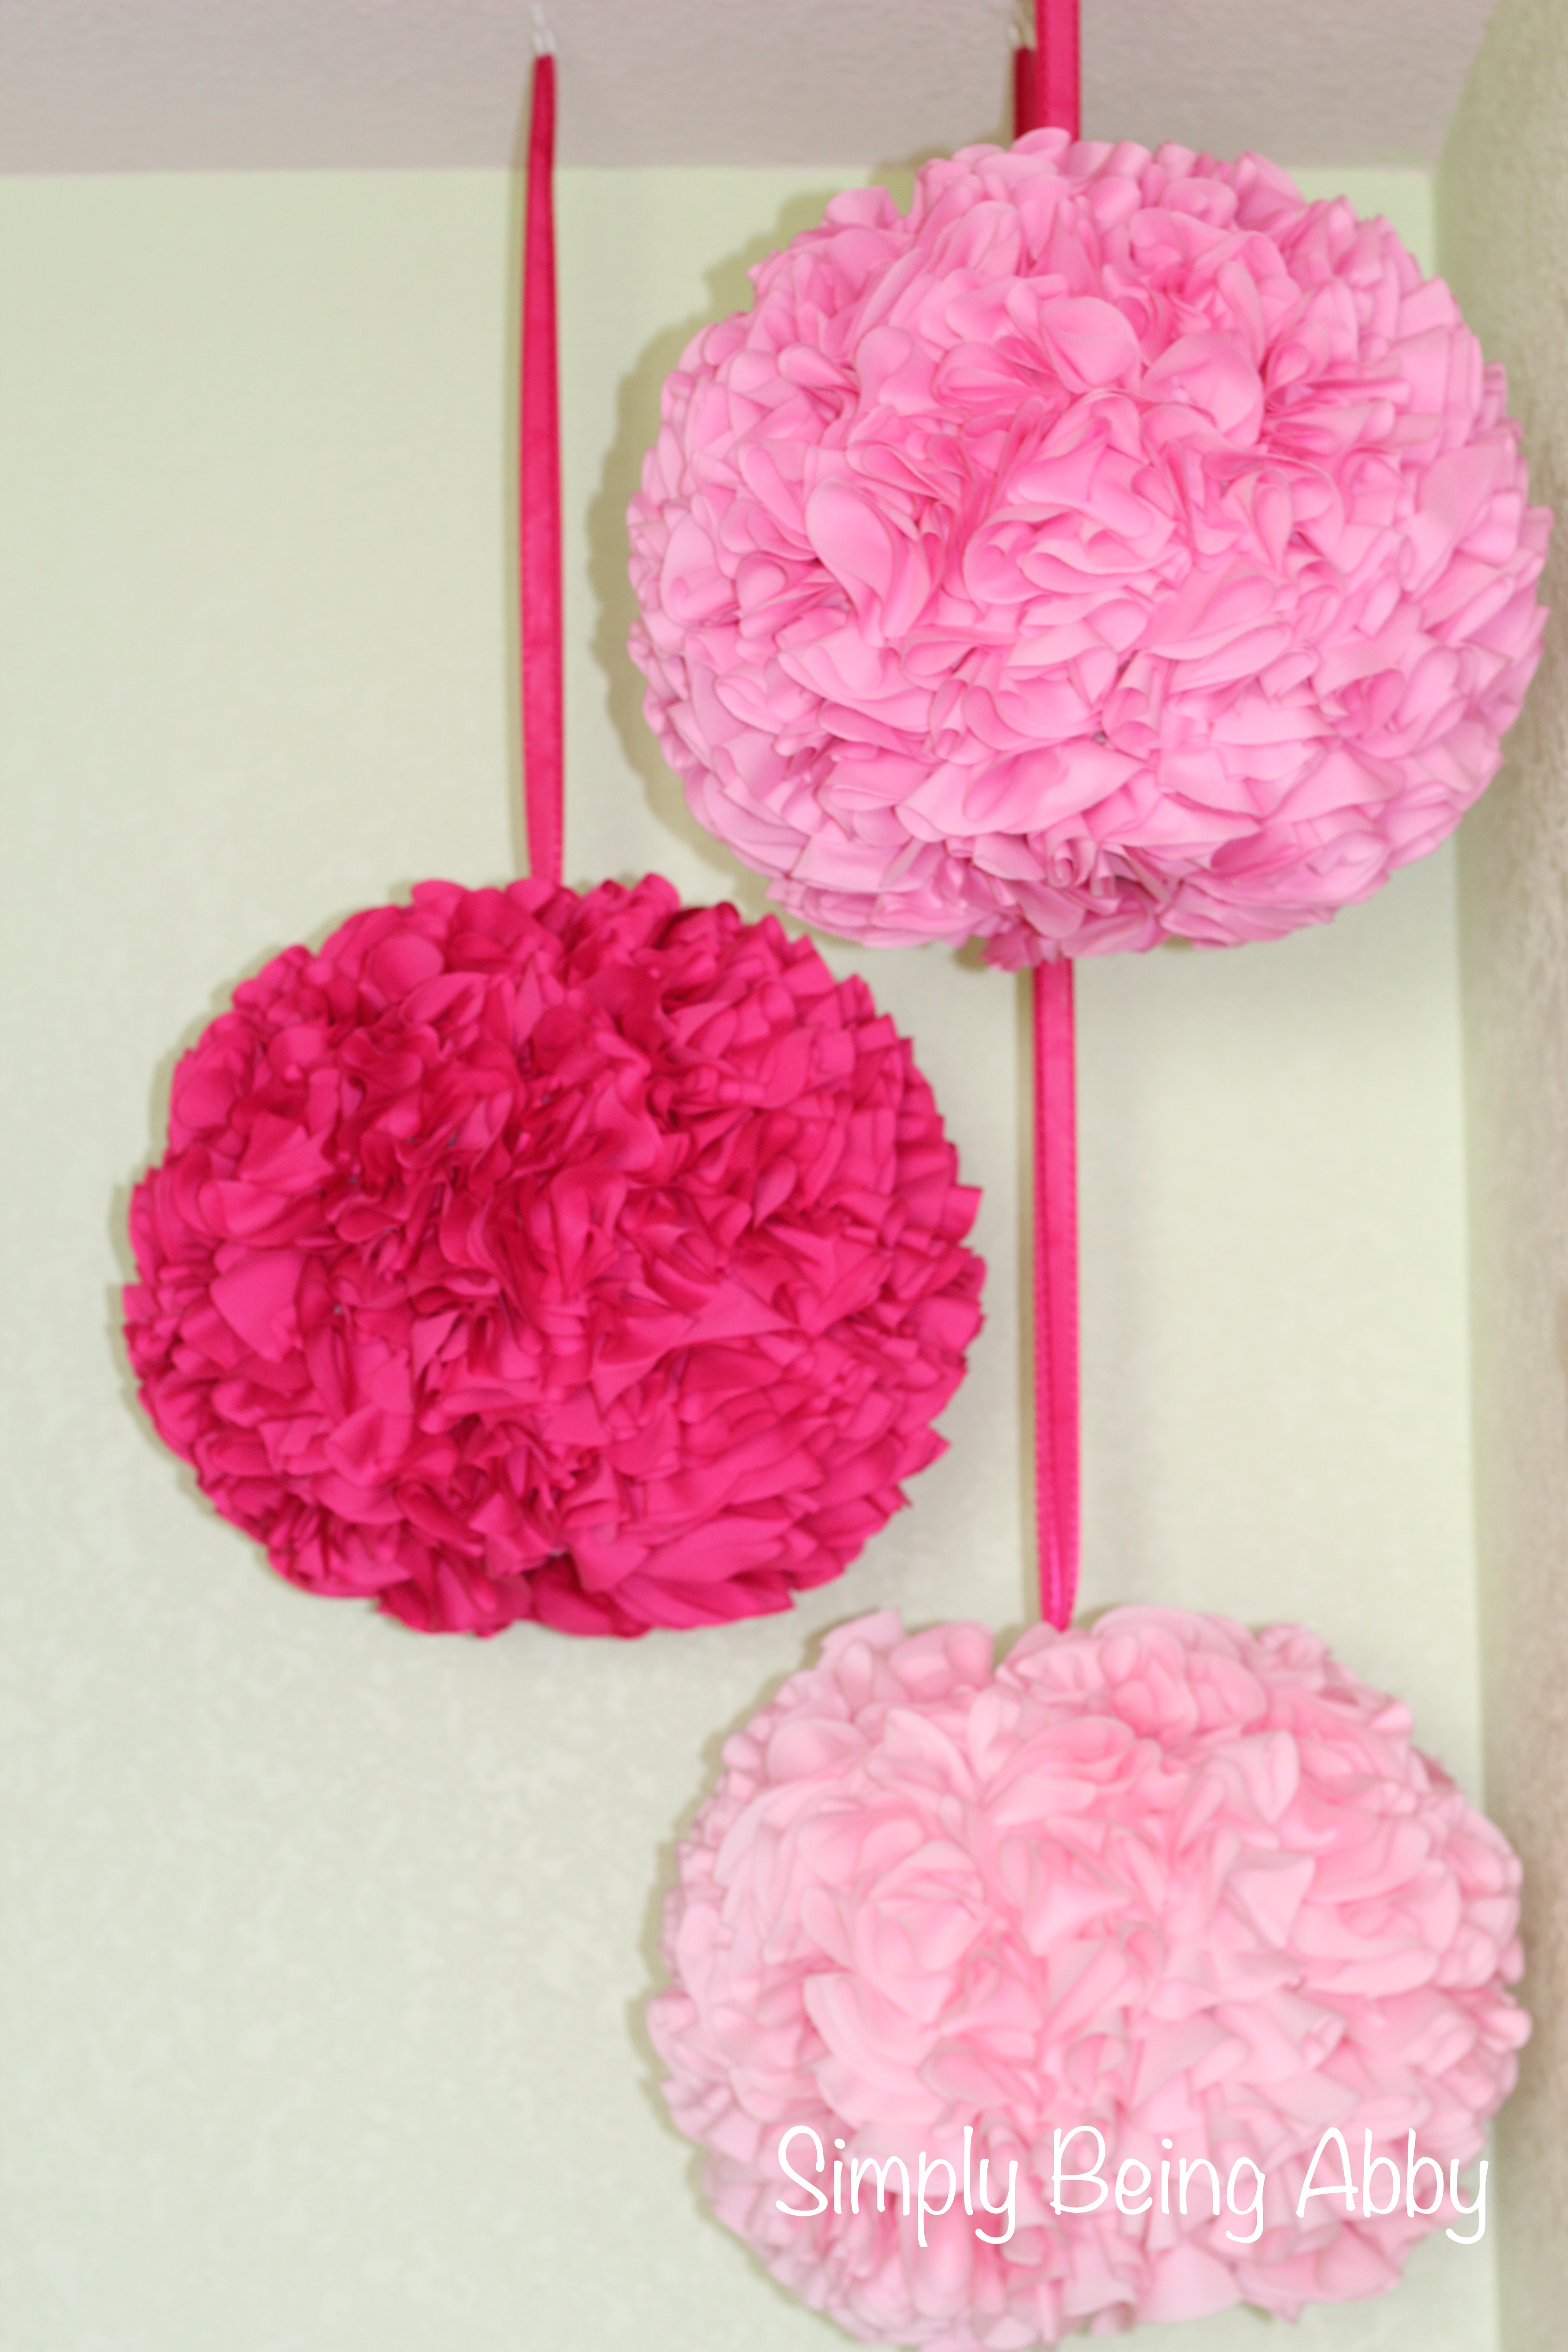
Minnie Mouse Centerpiece Decorations