When searching for ideas on how to decorate for Maddy’s pink first birthday party, I found this blog entry on Pinterest that had a tutorial for how to make a tissue number birthday sign. (You can find the blog where I saw this idea here). I thought this would be the perfect, easy-to-do decoration for her party!
This is both a simple, and cost-effective decoration idea, and could be used in any color theme or any age! The options are endless with this one!
What You Need:
- a blank artist’s canvas
- fabric
- tissue paper
- hot glue
- scissors
What To Do:
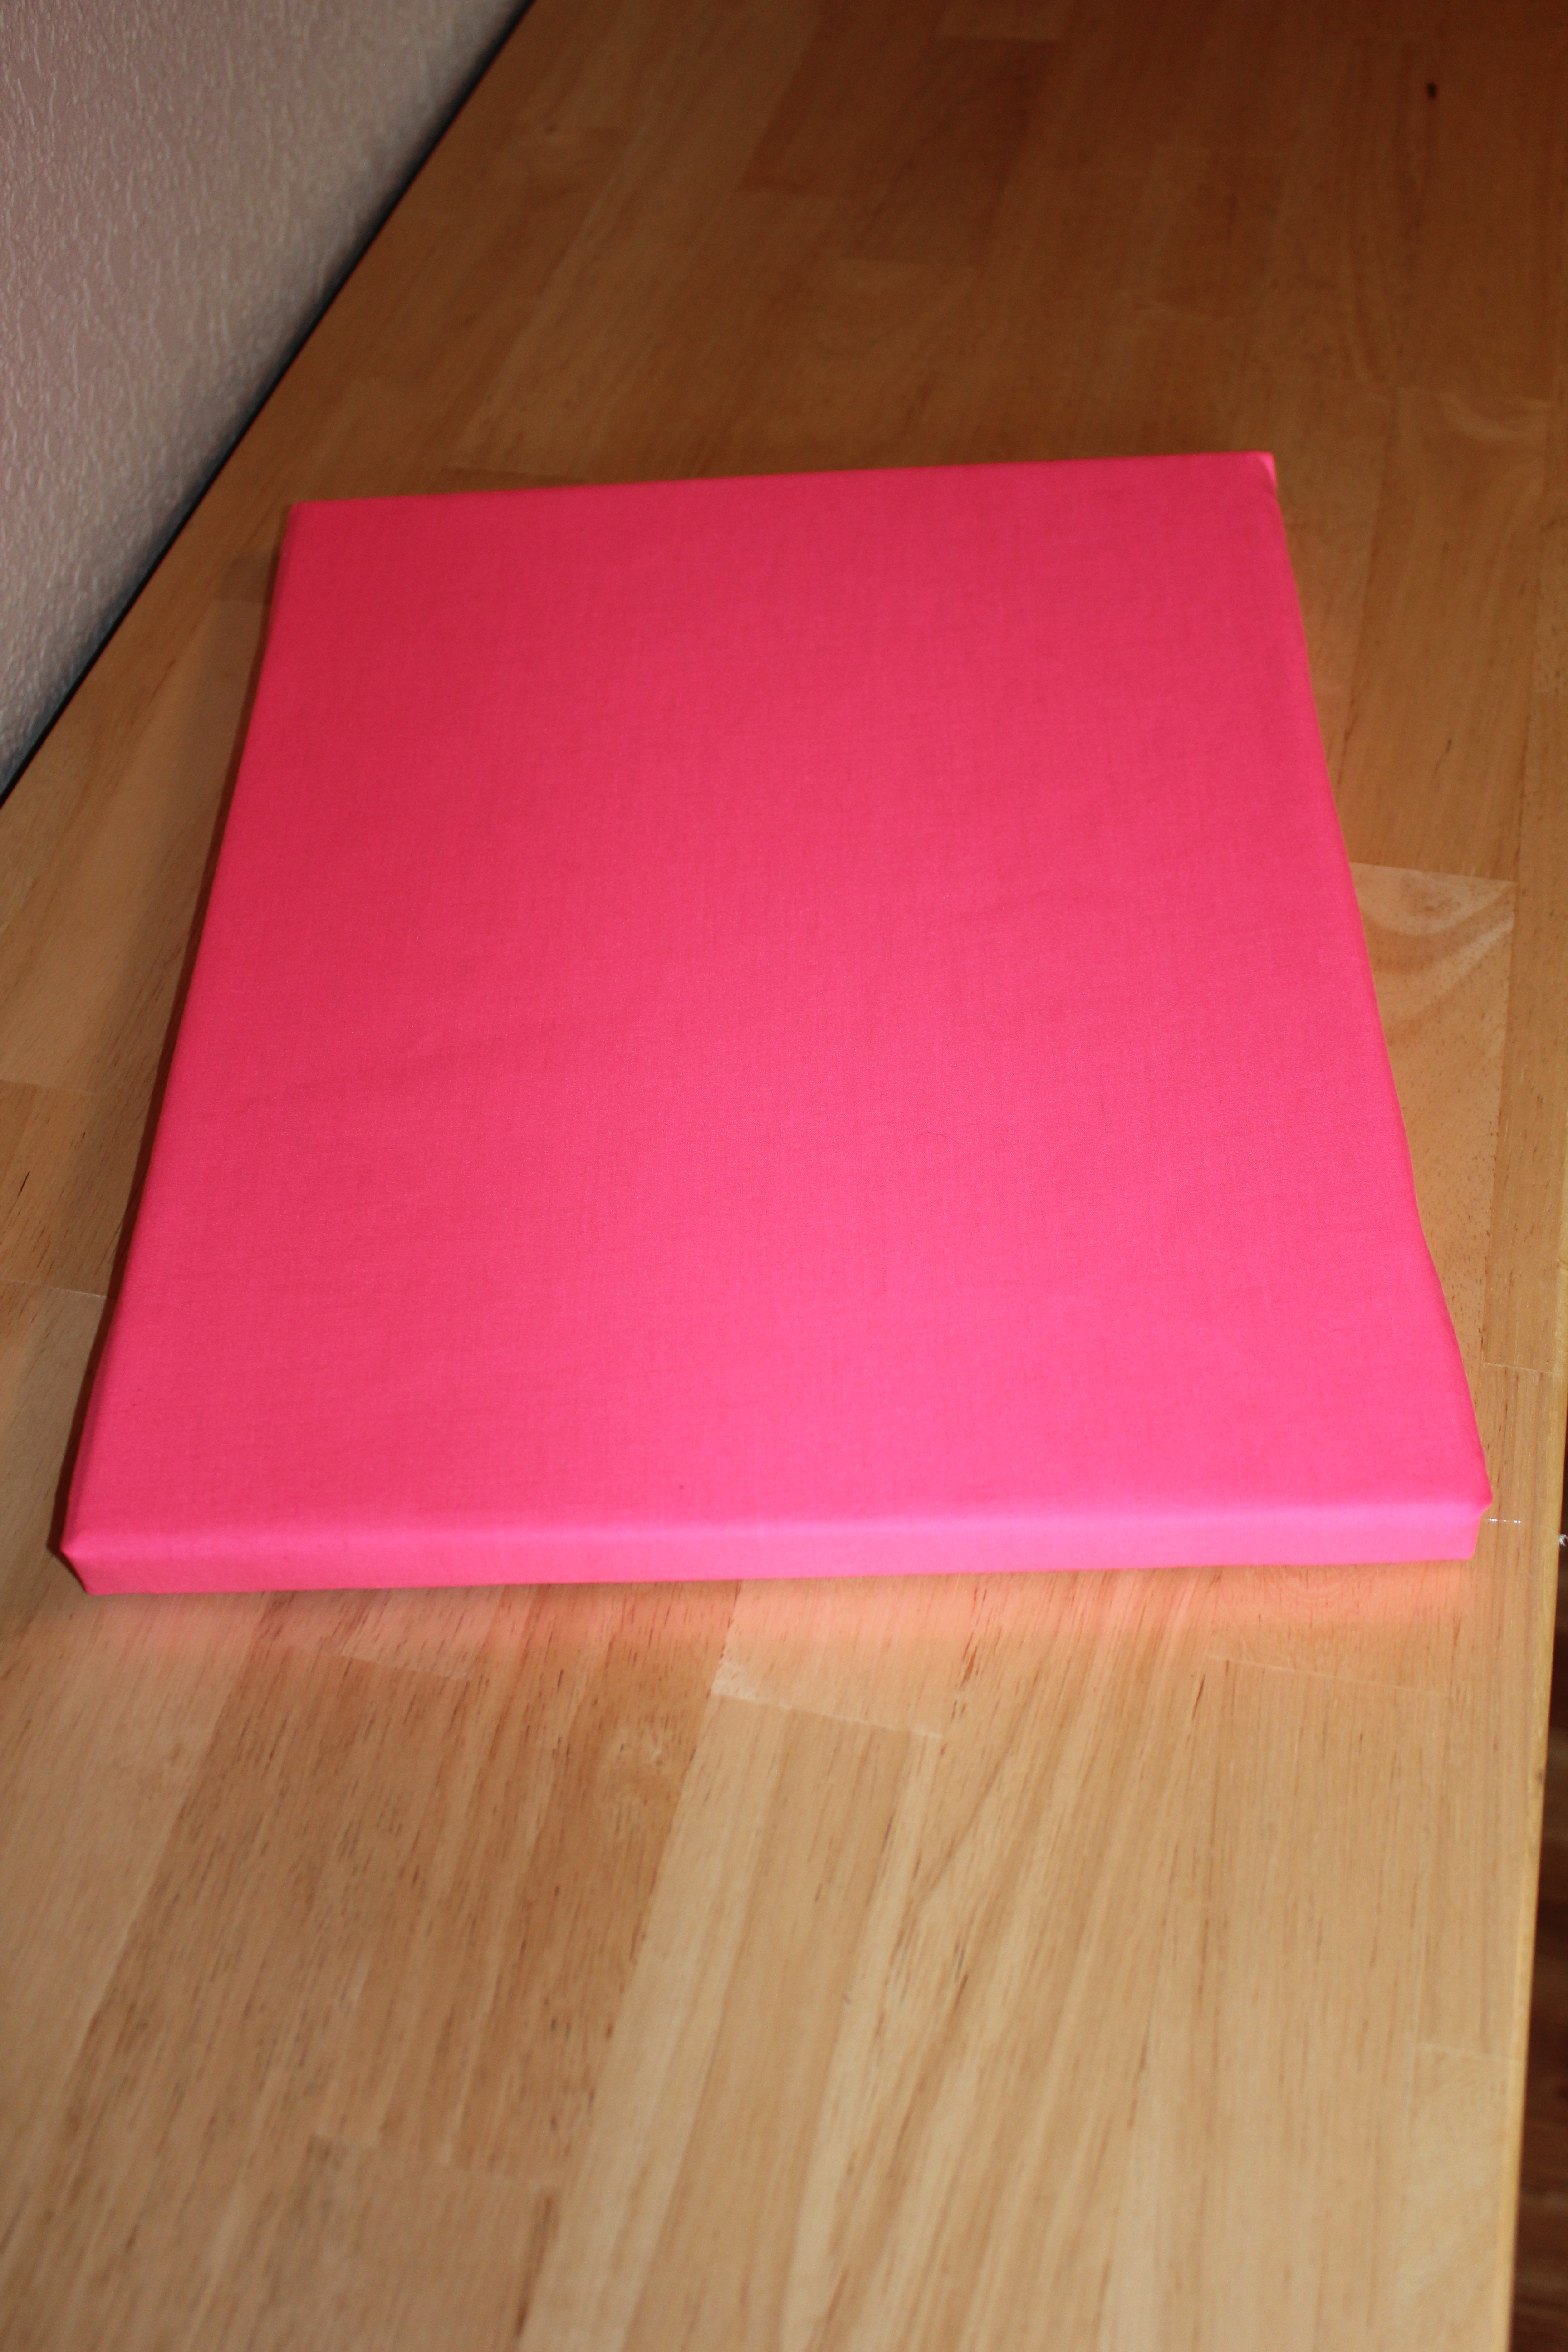
1) Decide on a canvas size to use. I used an 11×14 canvas as I happened to have one sitting in the closet unused.
2) Cover the canvas with fabric. I just hot glued the fabric to the canvas, and it held just fine. It looked neat and tidy, too, without having to do a lot of adjusting. Easy, easy! (As a side note, I purchased fabric from JoAnn’s and it was only $2.99 a yard. I used less than a yard to cover the canvas.)
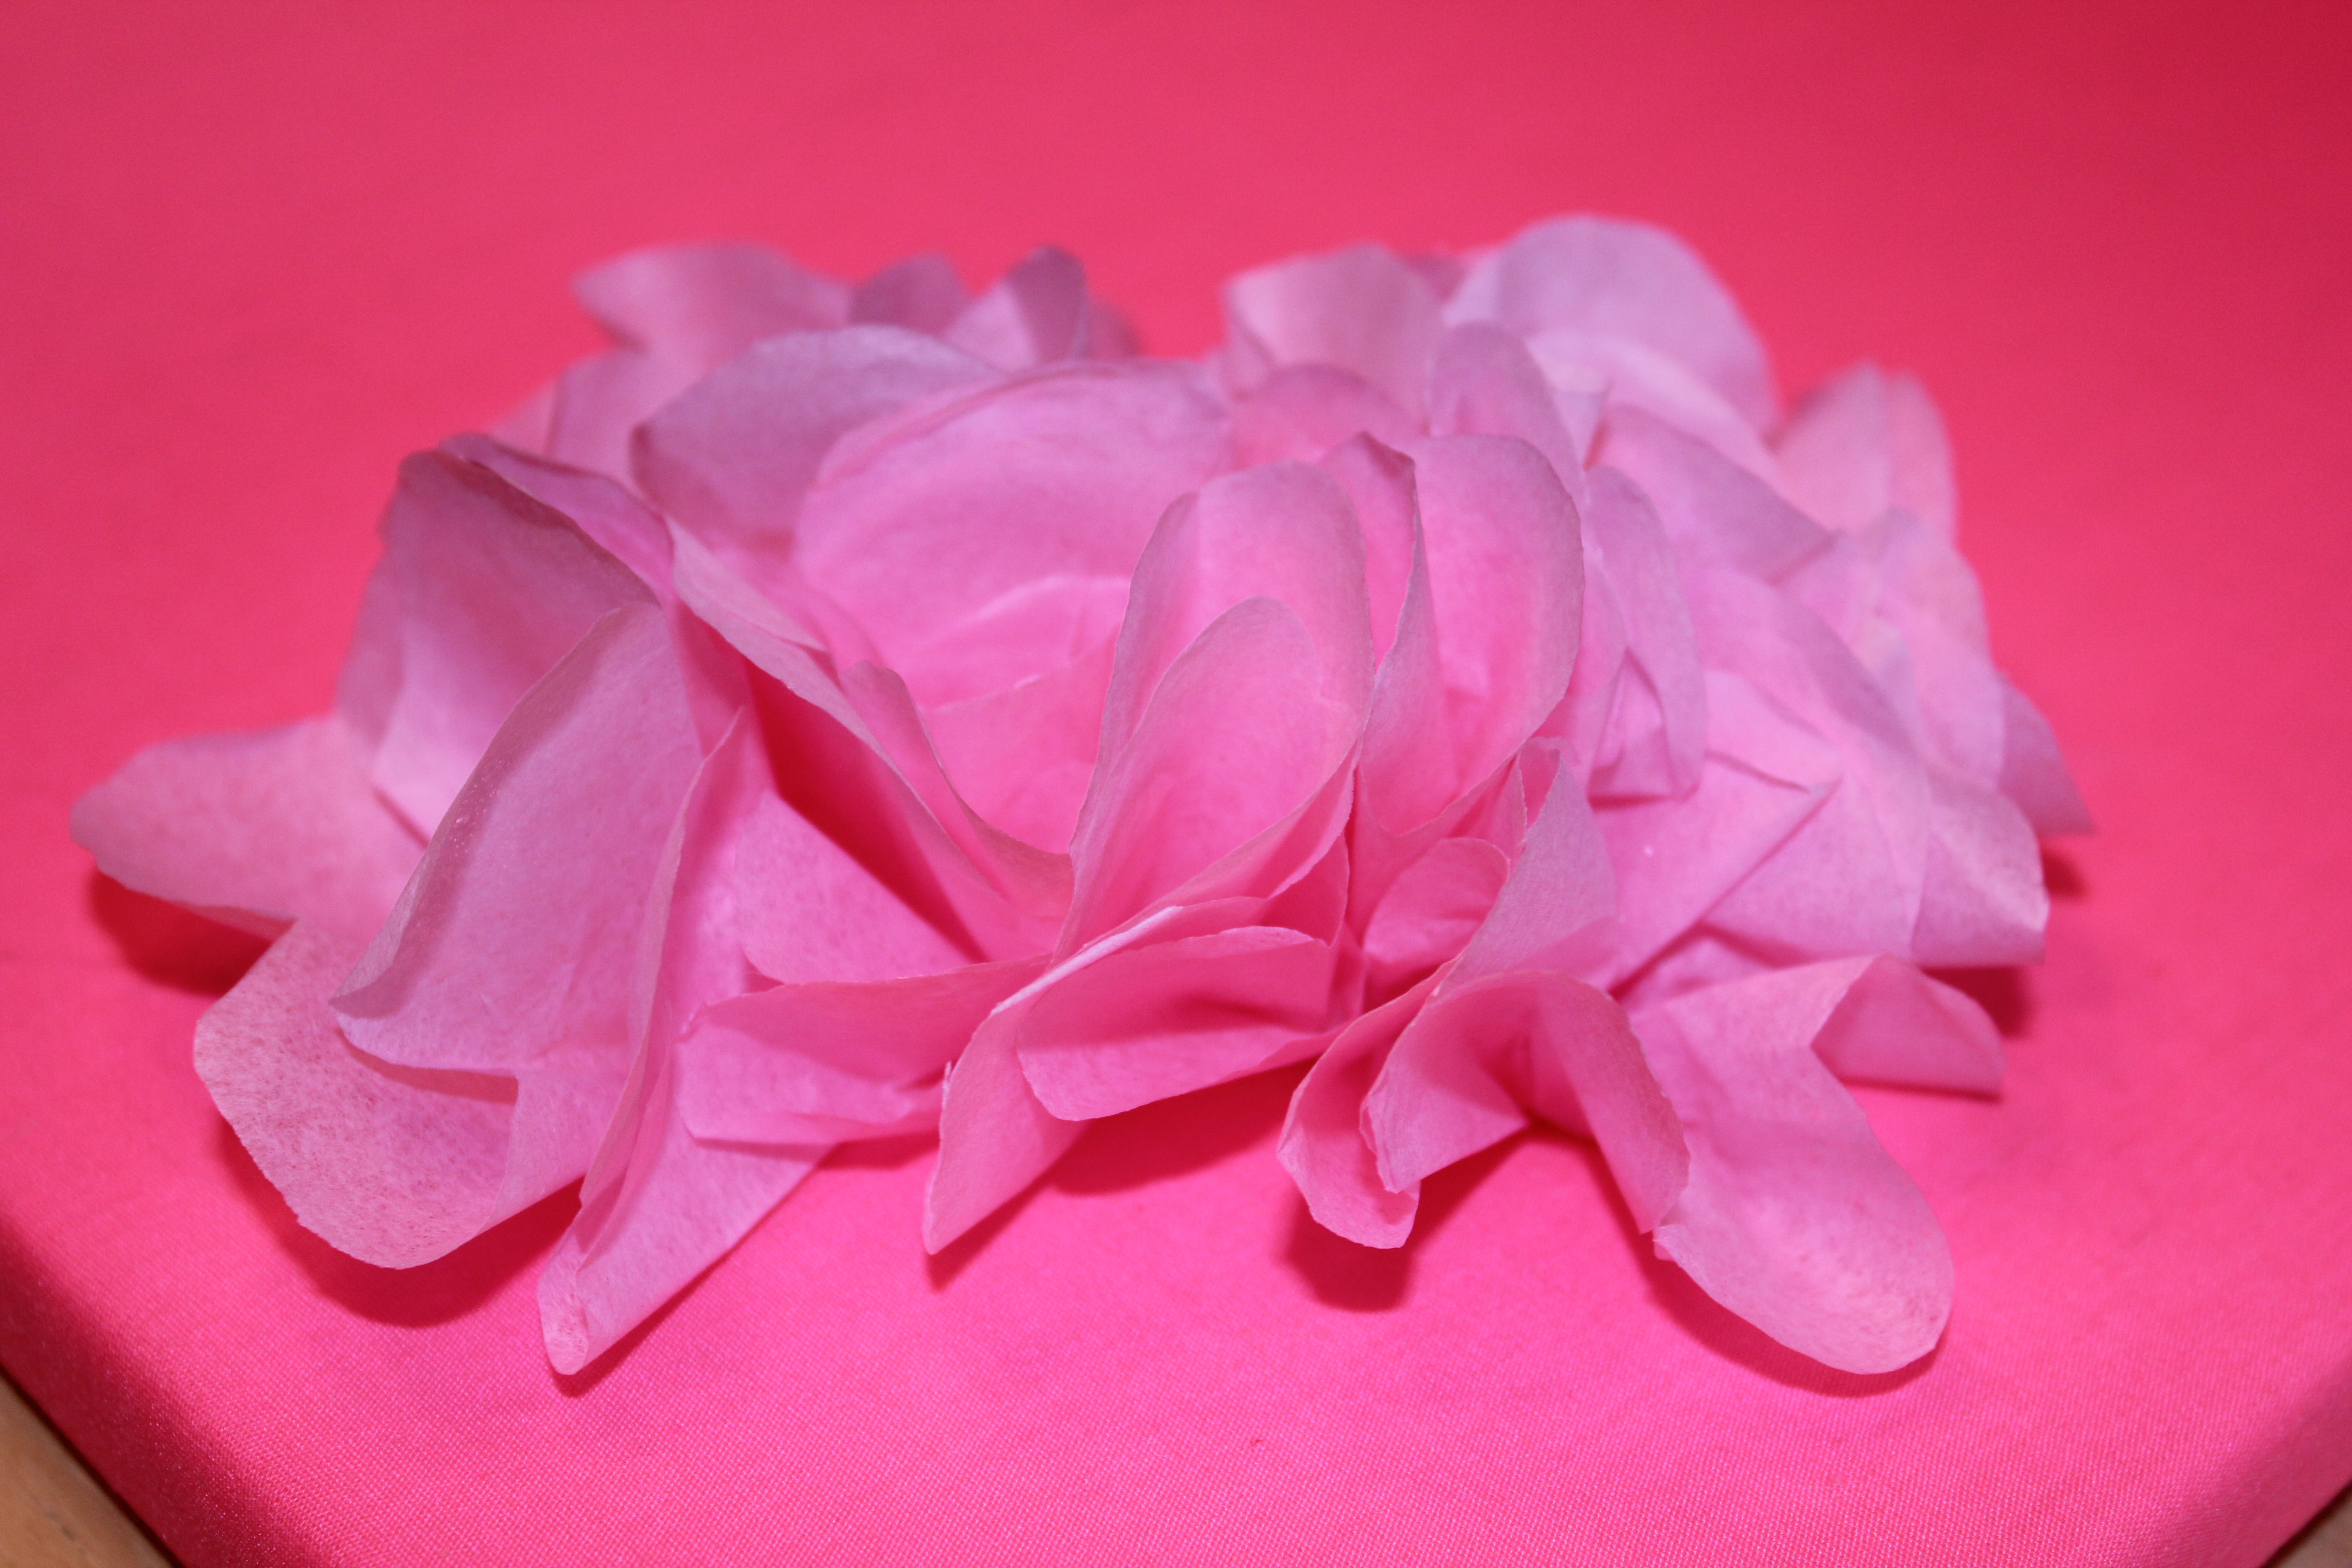
3) To make the tissue paper look “flower-ey”, you will cut individual little flower-liked shapes out of the tissue paper. These are then grouped together to form the number for your sign. To begin, cut approximately 5″ squares out of tissue paper.
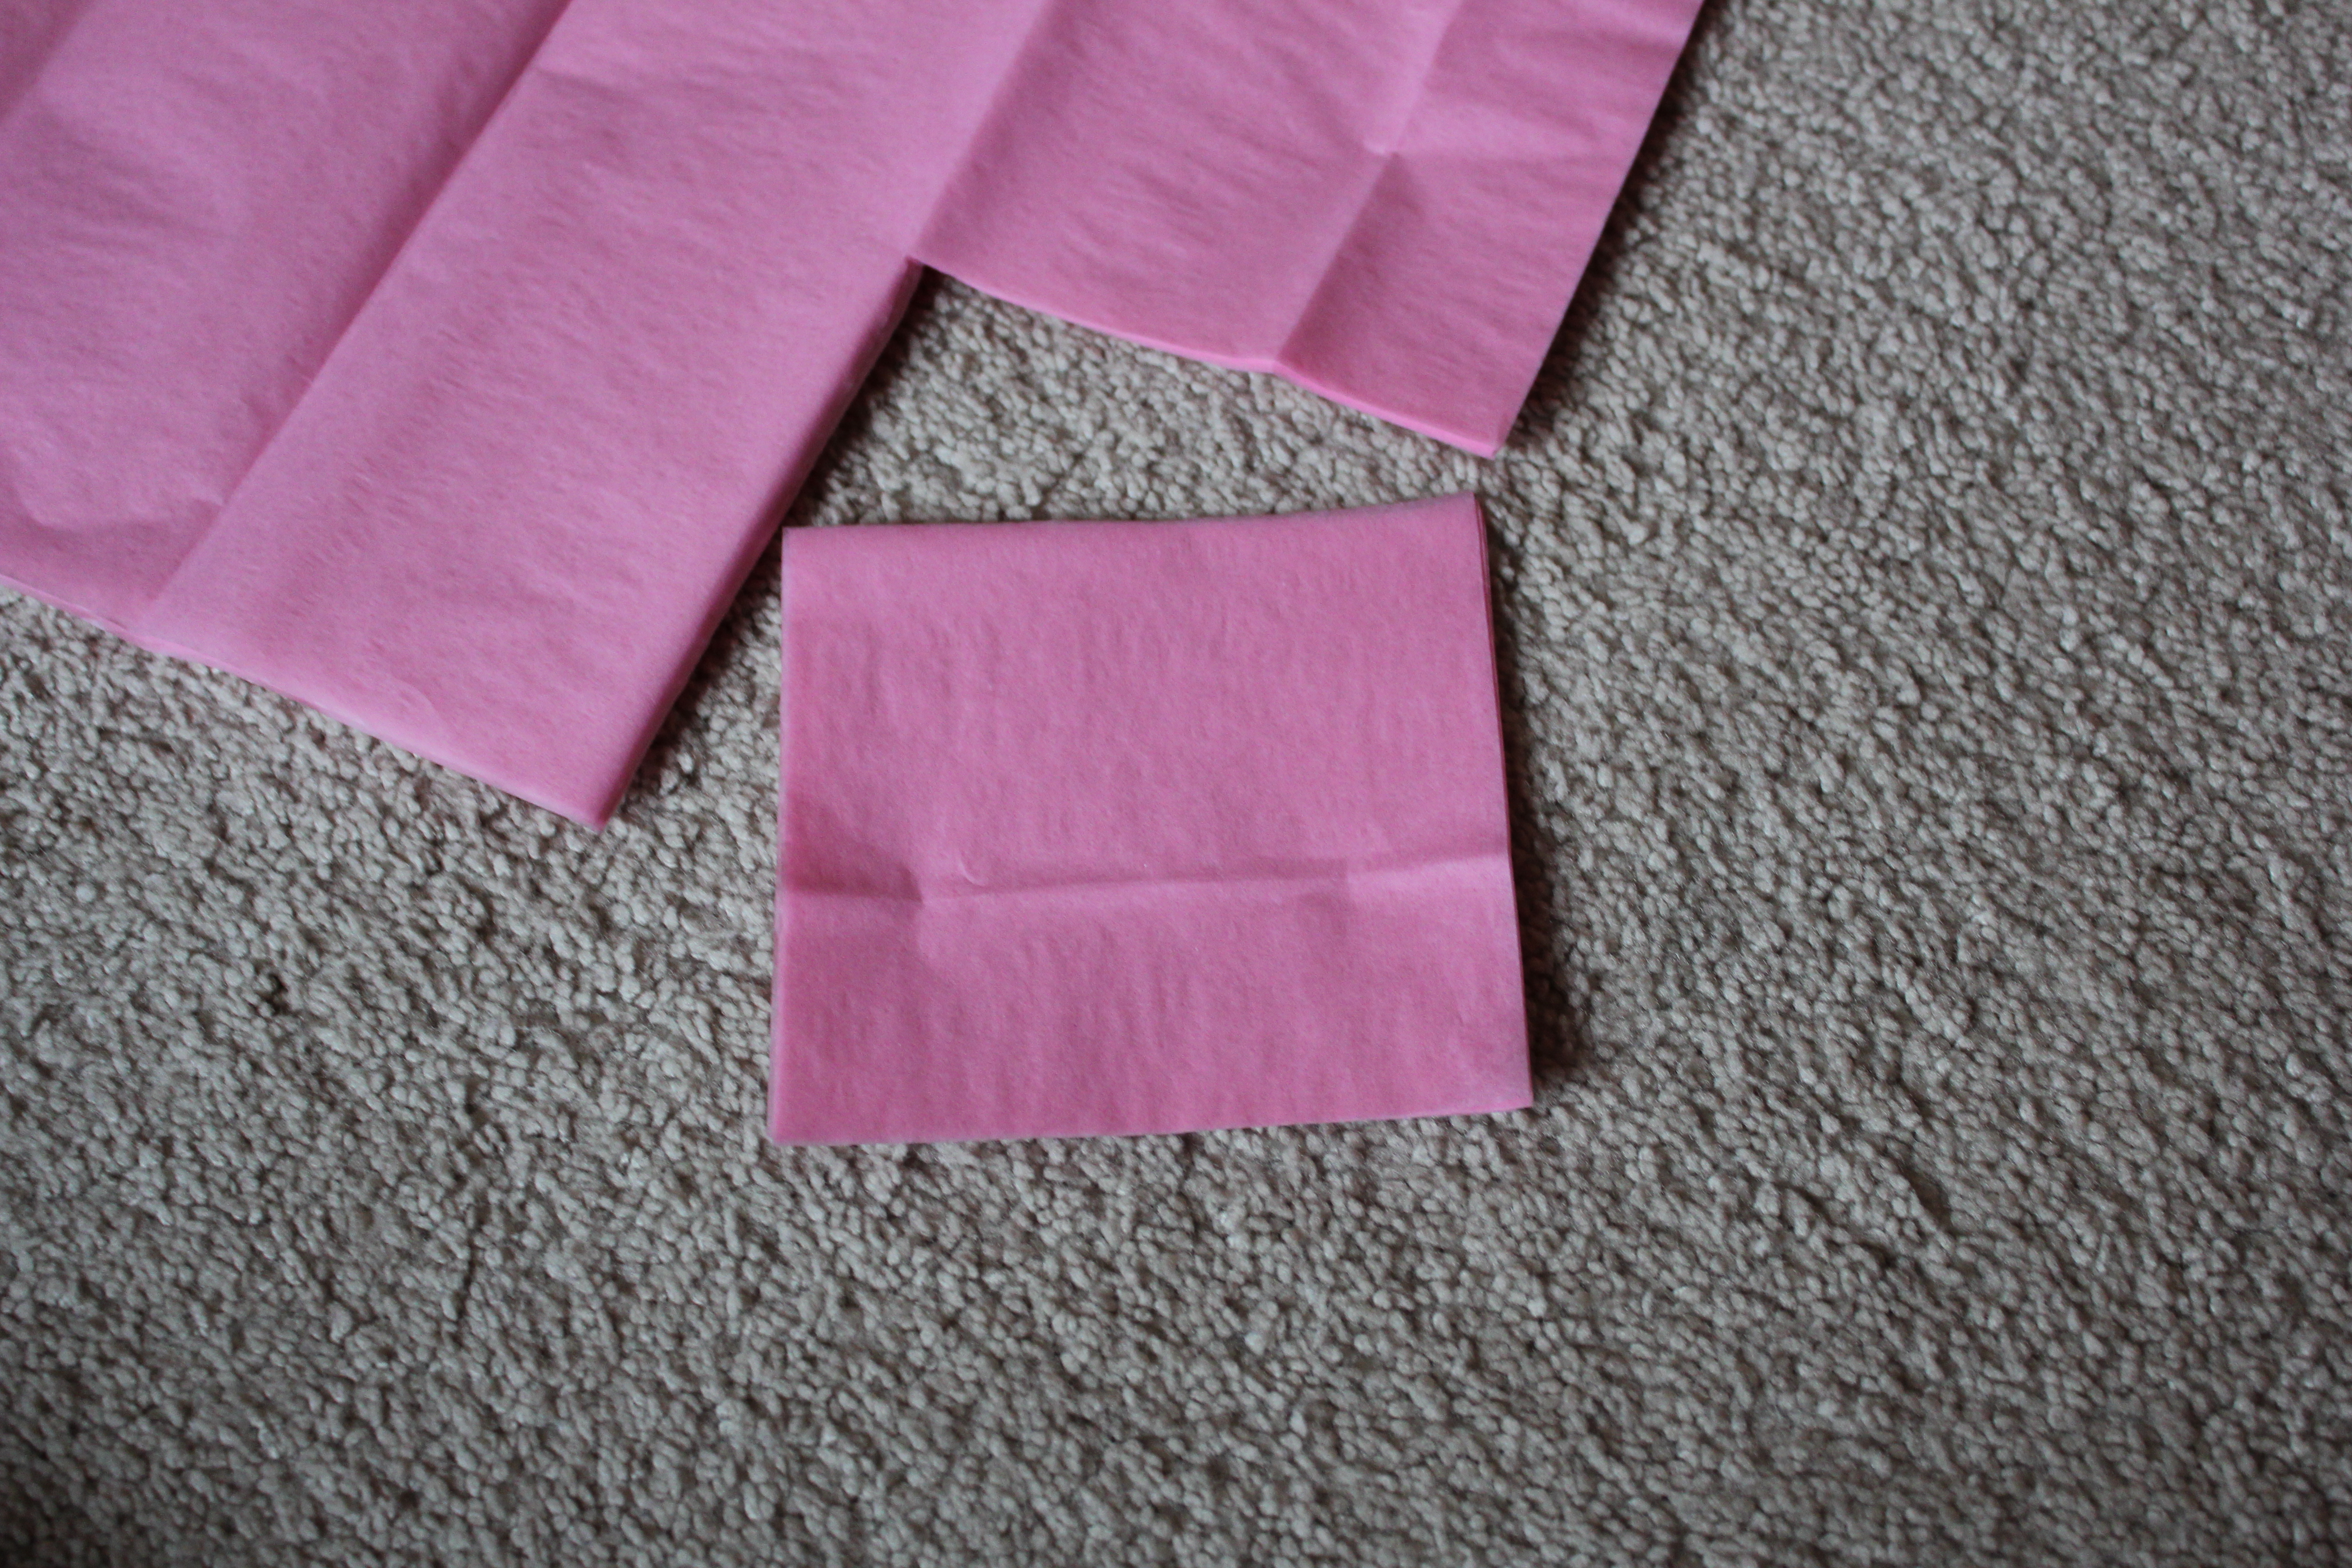
You will end up with a stack of squares. You can cut as through as many squares at a time as your scissors will allow!
Fold the squares in half, as shown below.
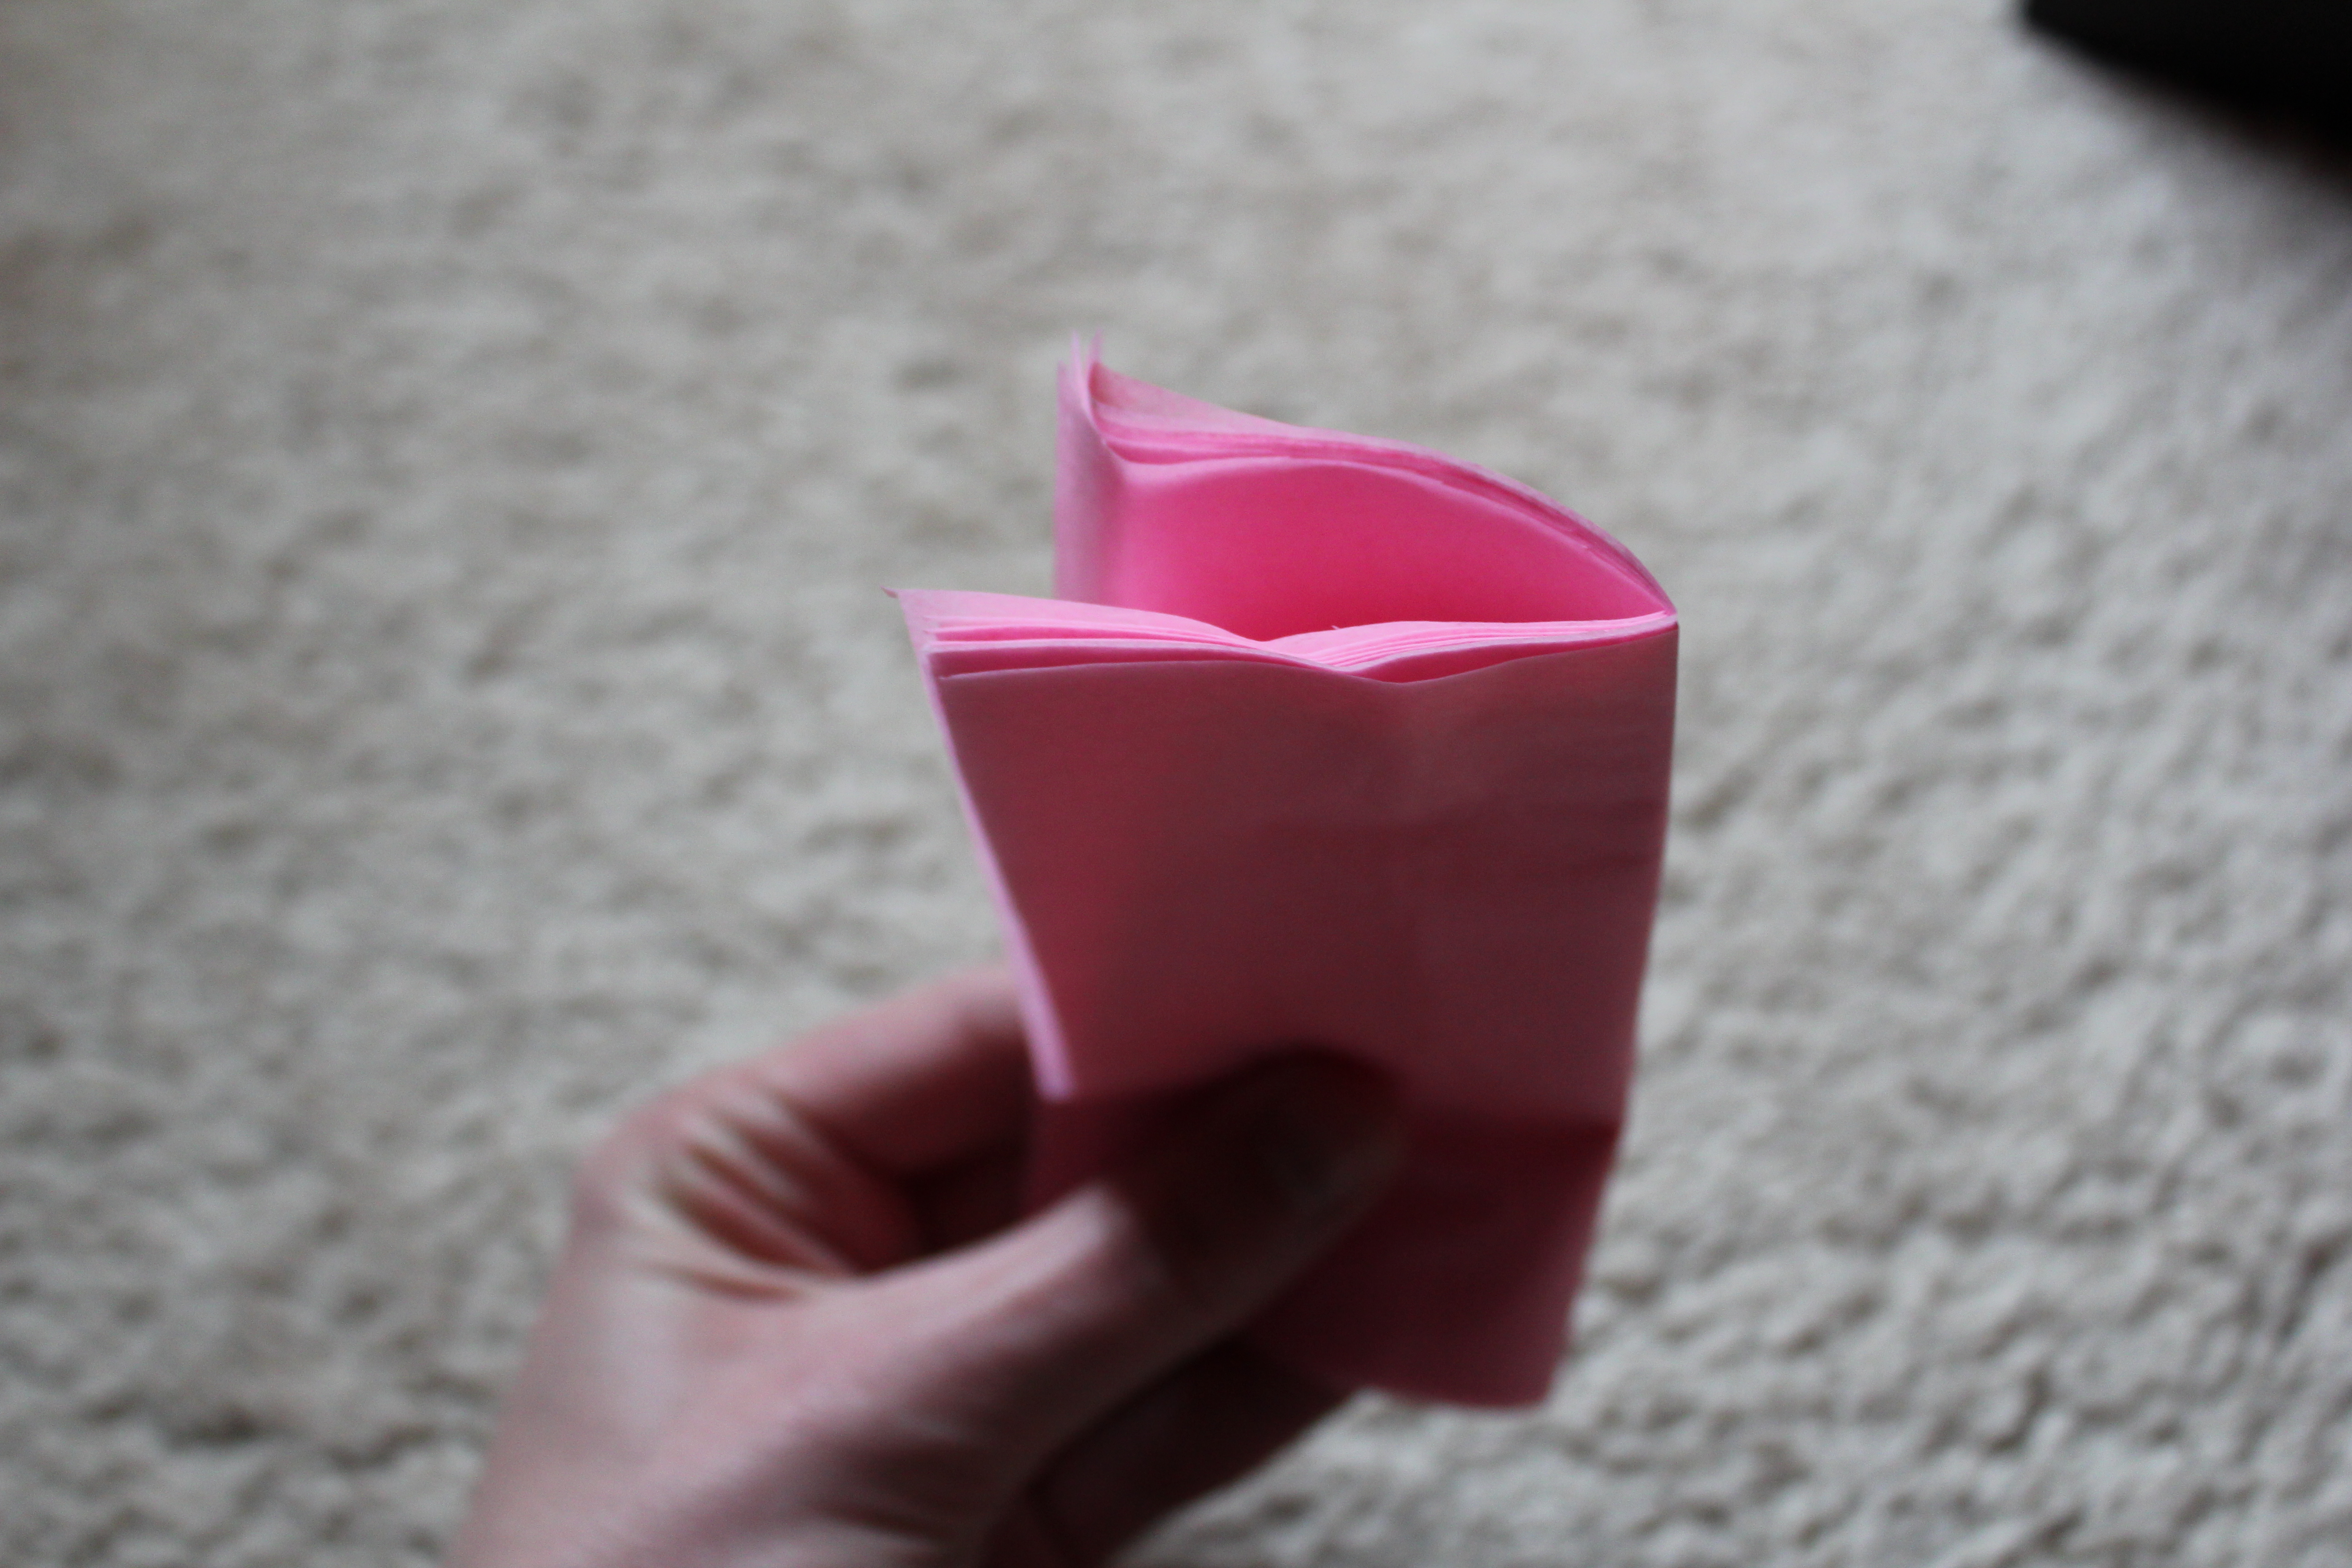
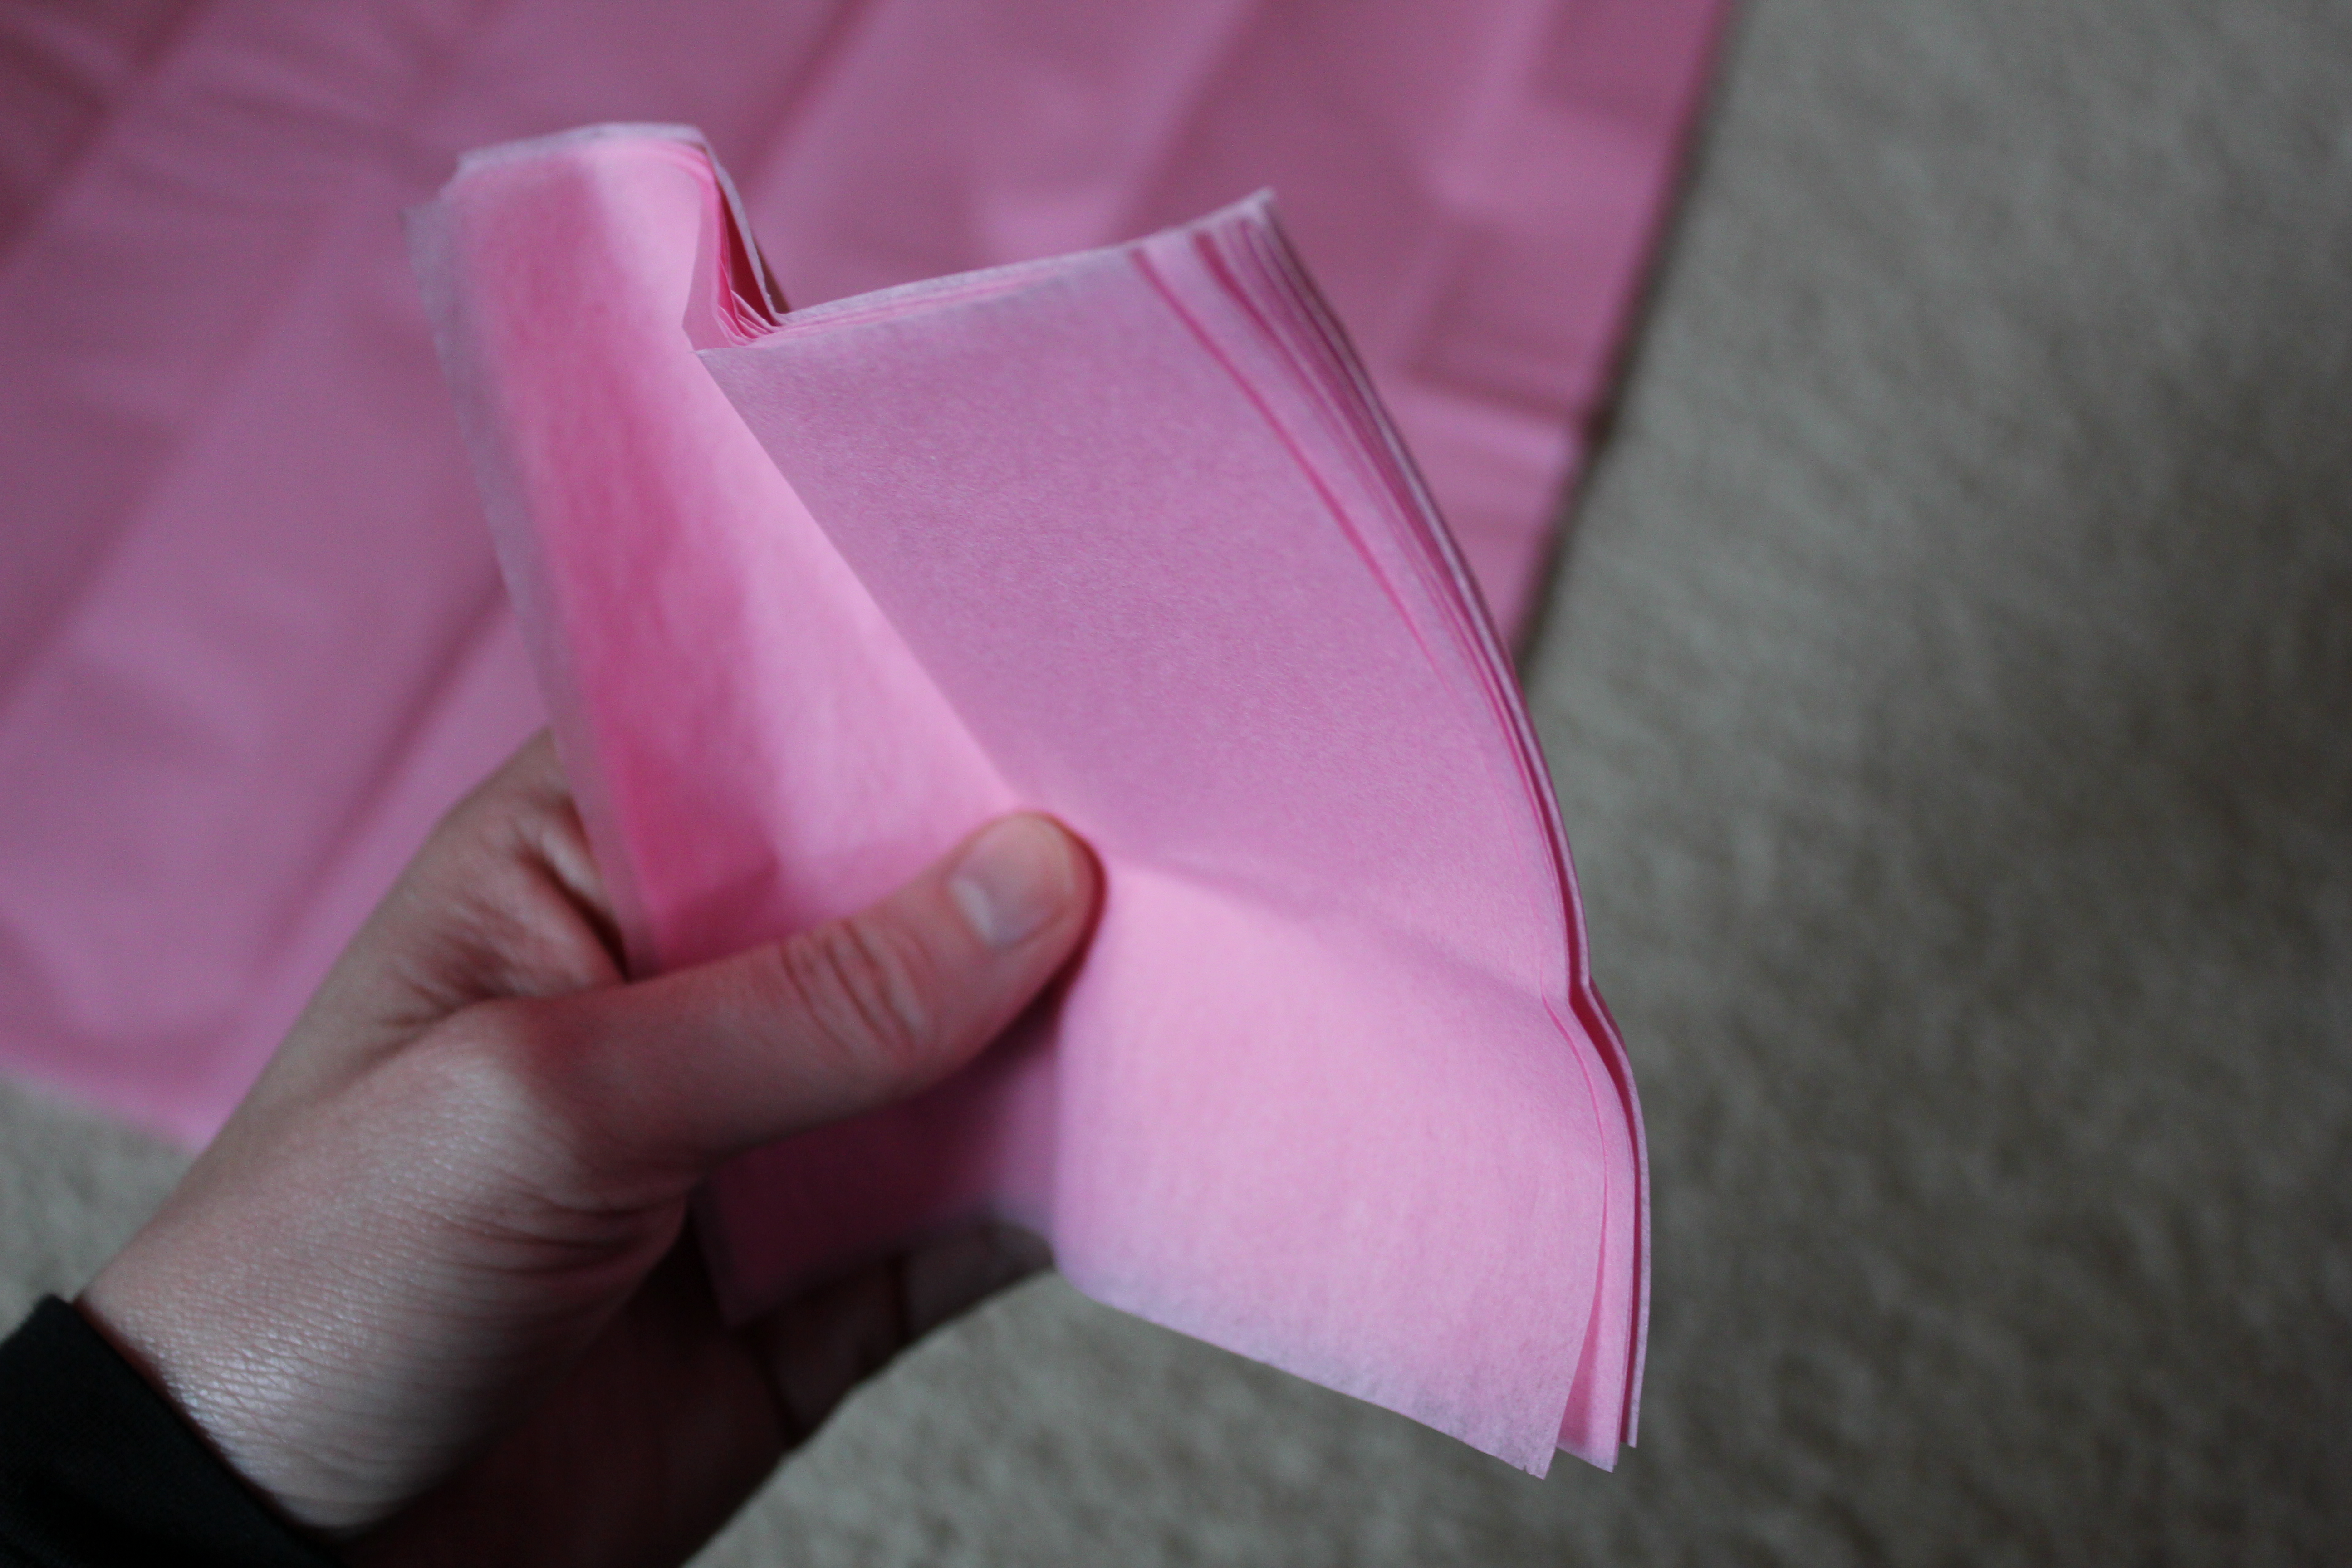
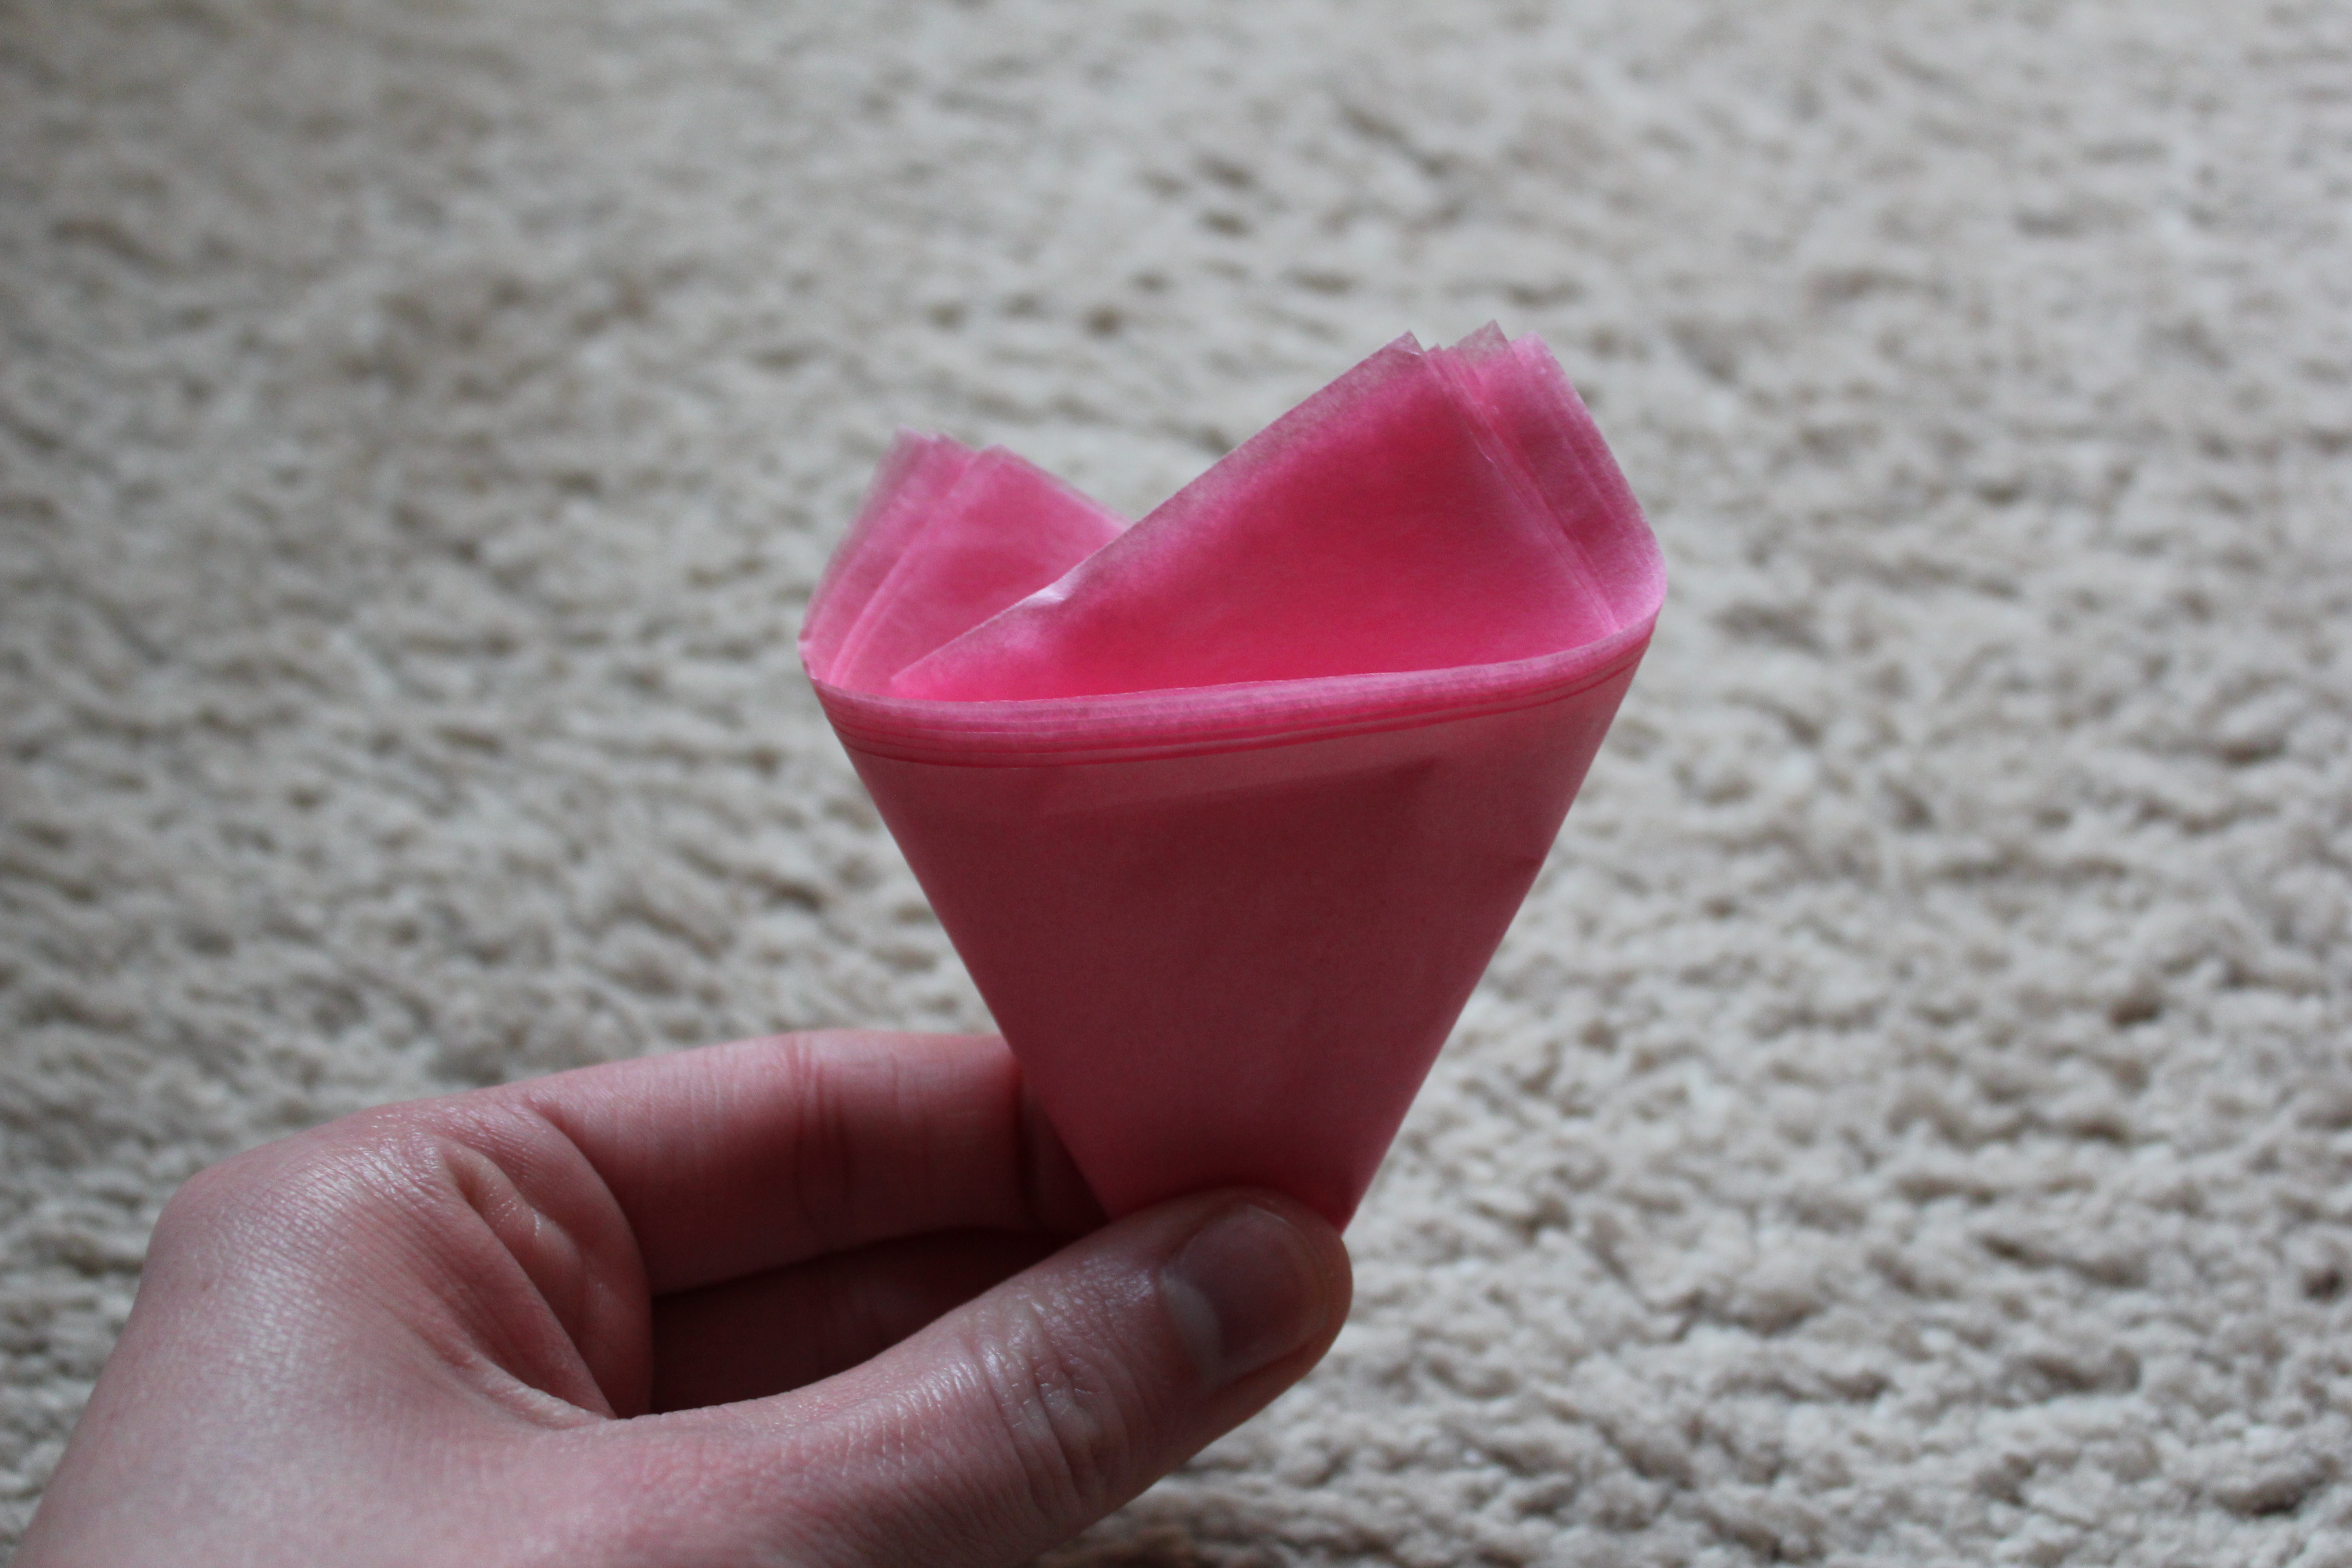
Continue to fold the squares until they resemble an ice cream cone (see below)!
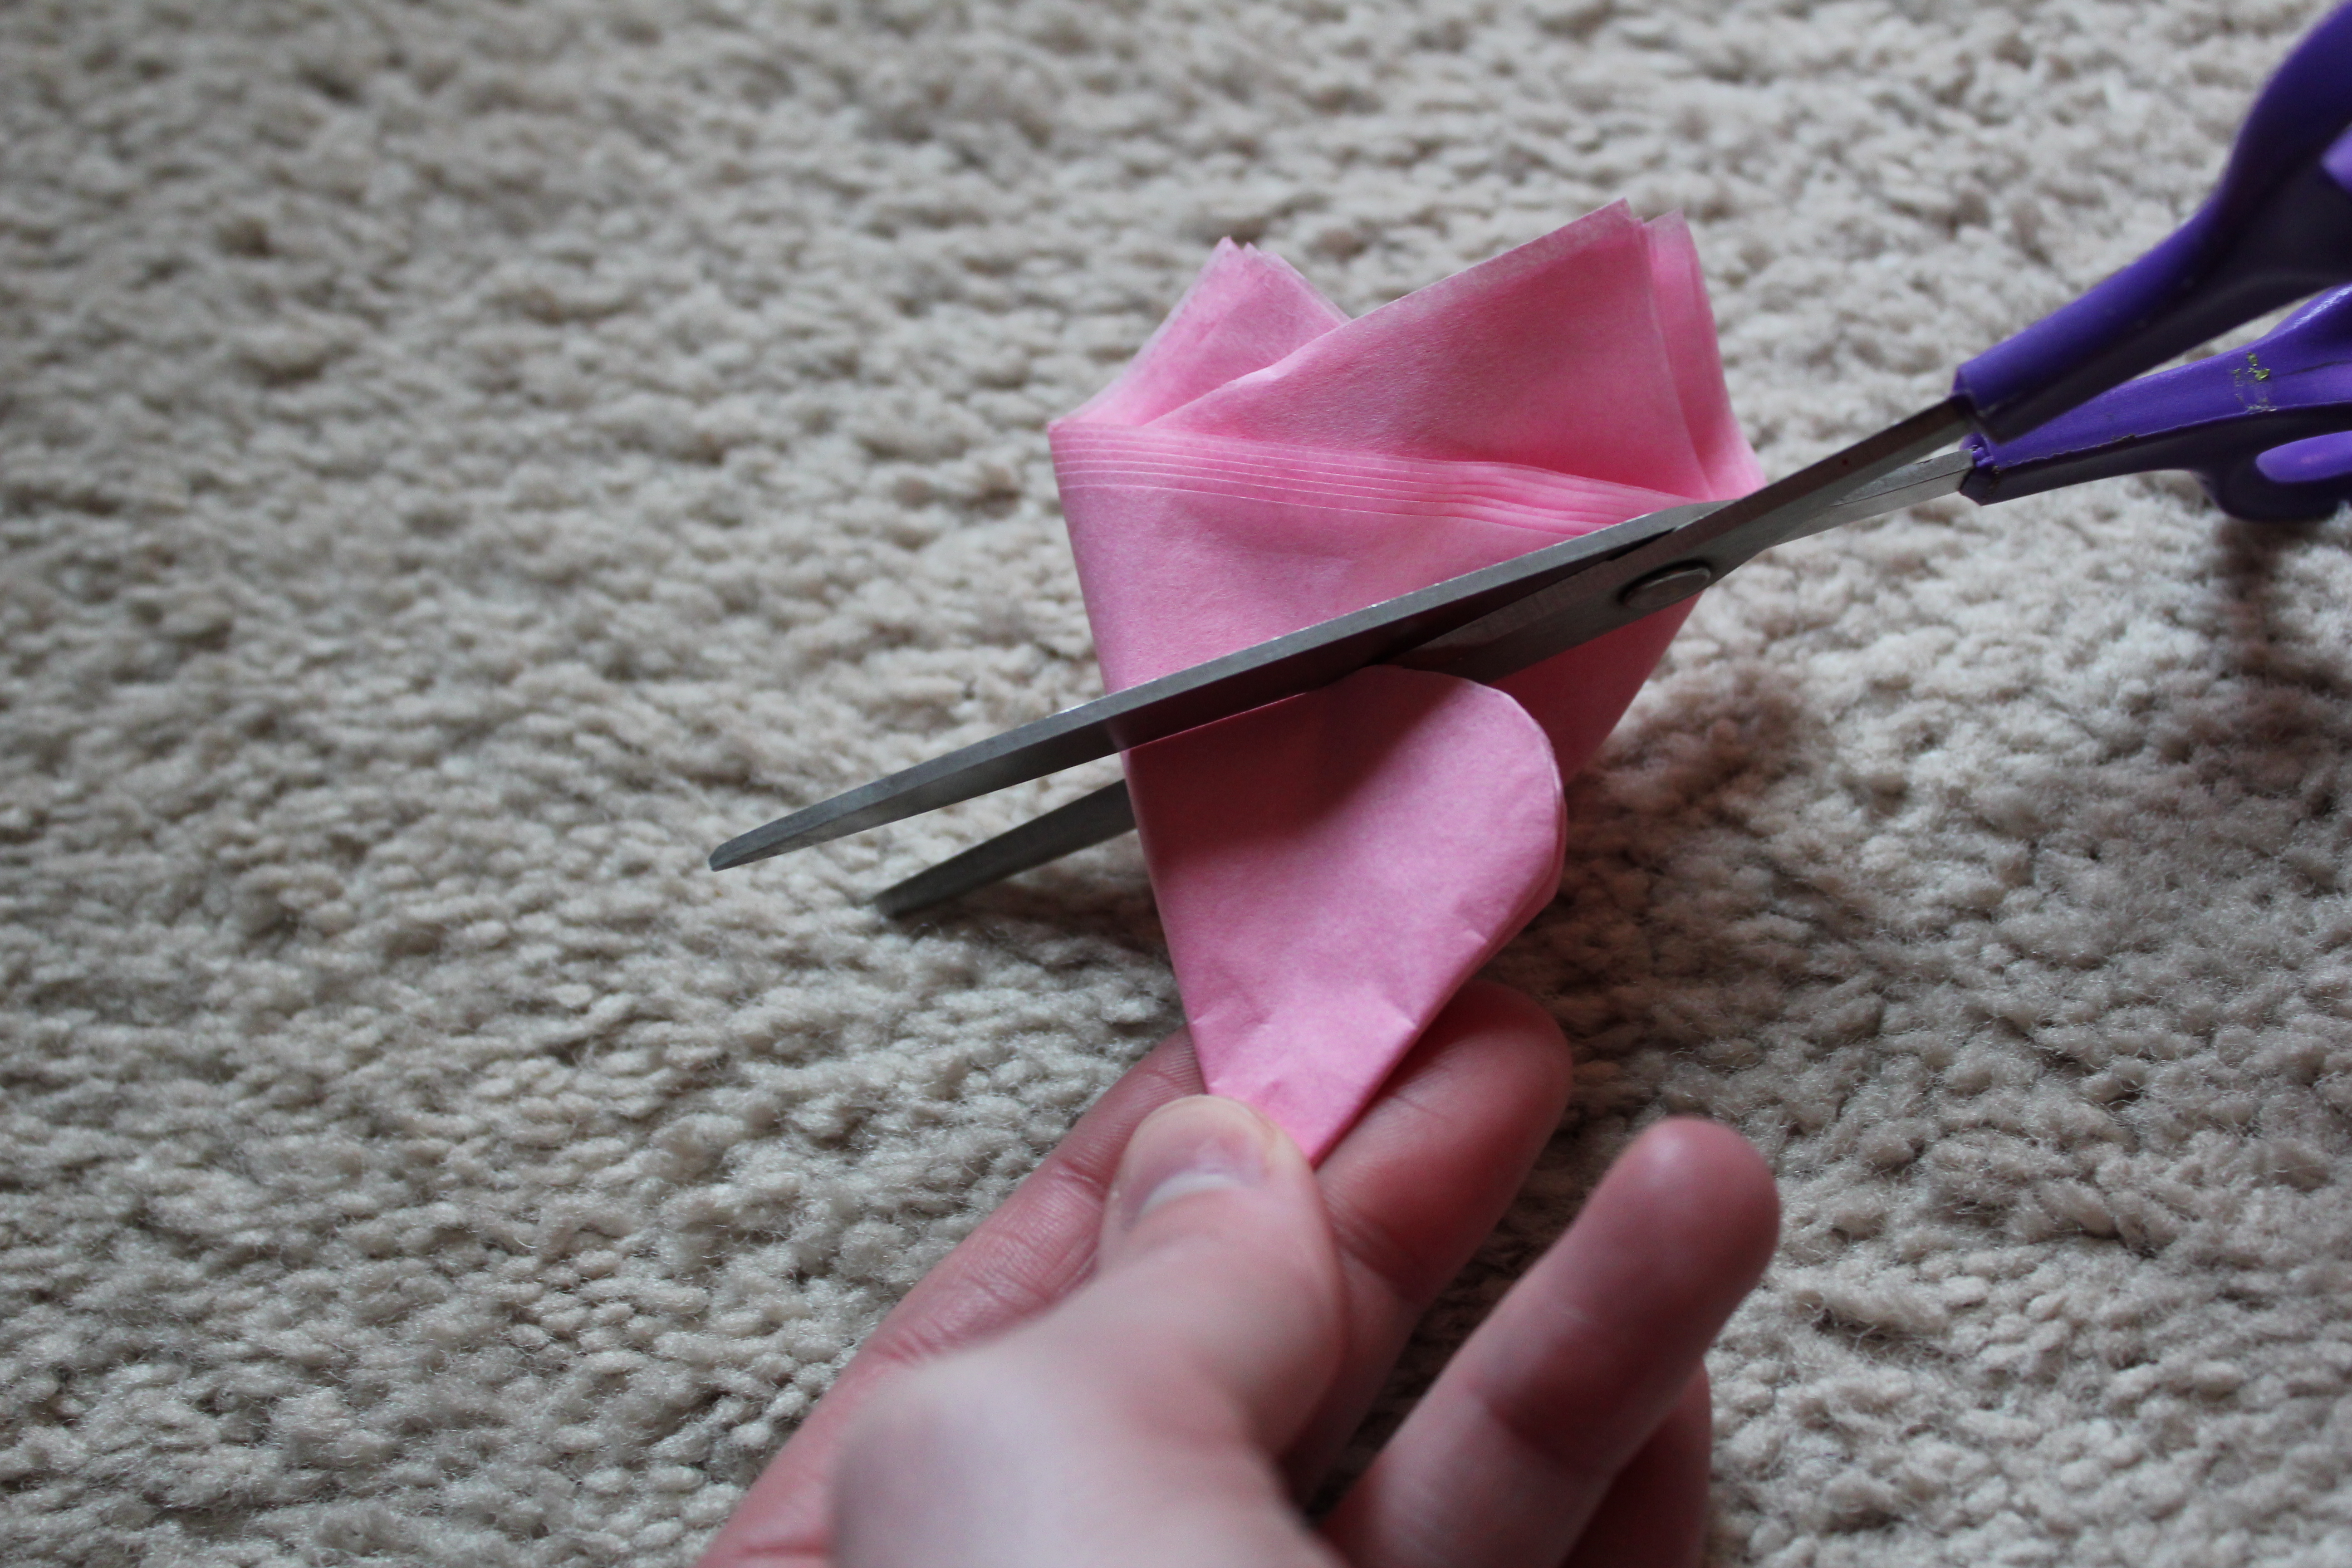
Cut through this cone-shape to create the round edges of the petal. (Note: The rounder you make this cut, the more distinct your flower petals will be.)
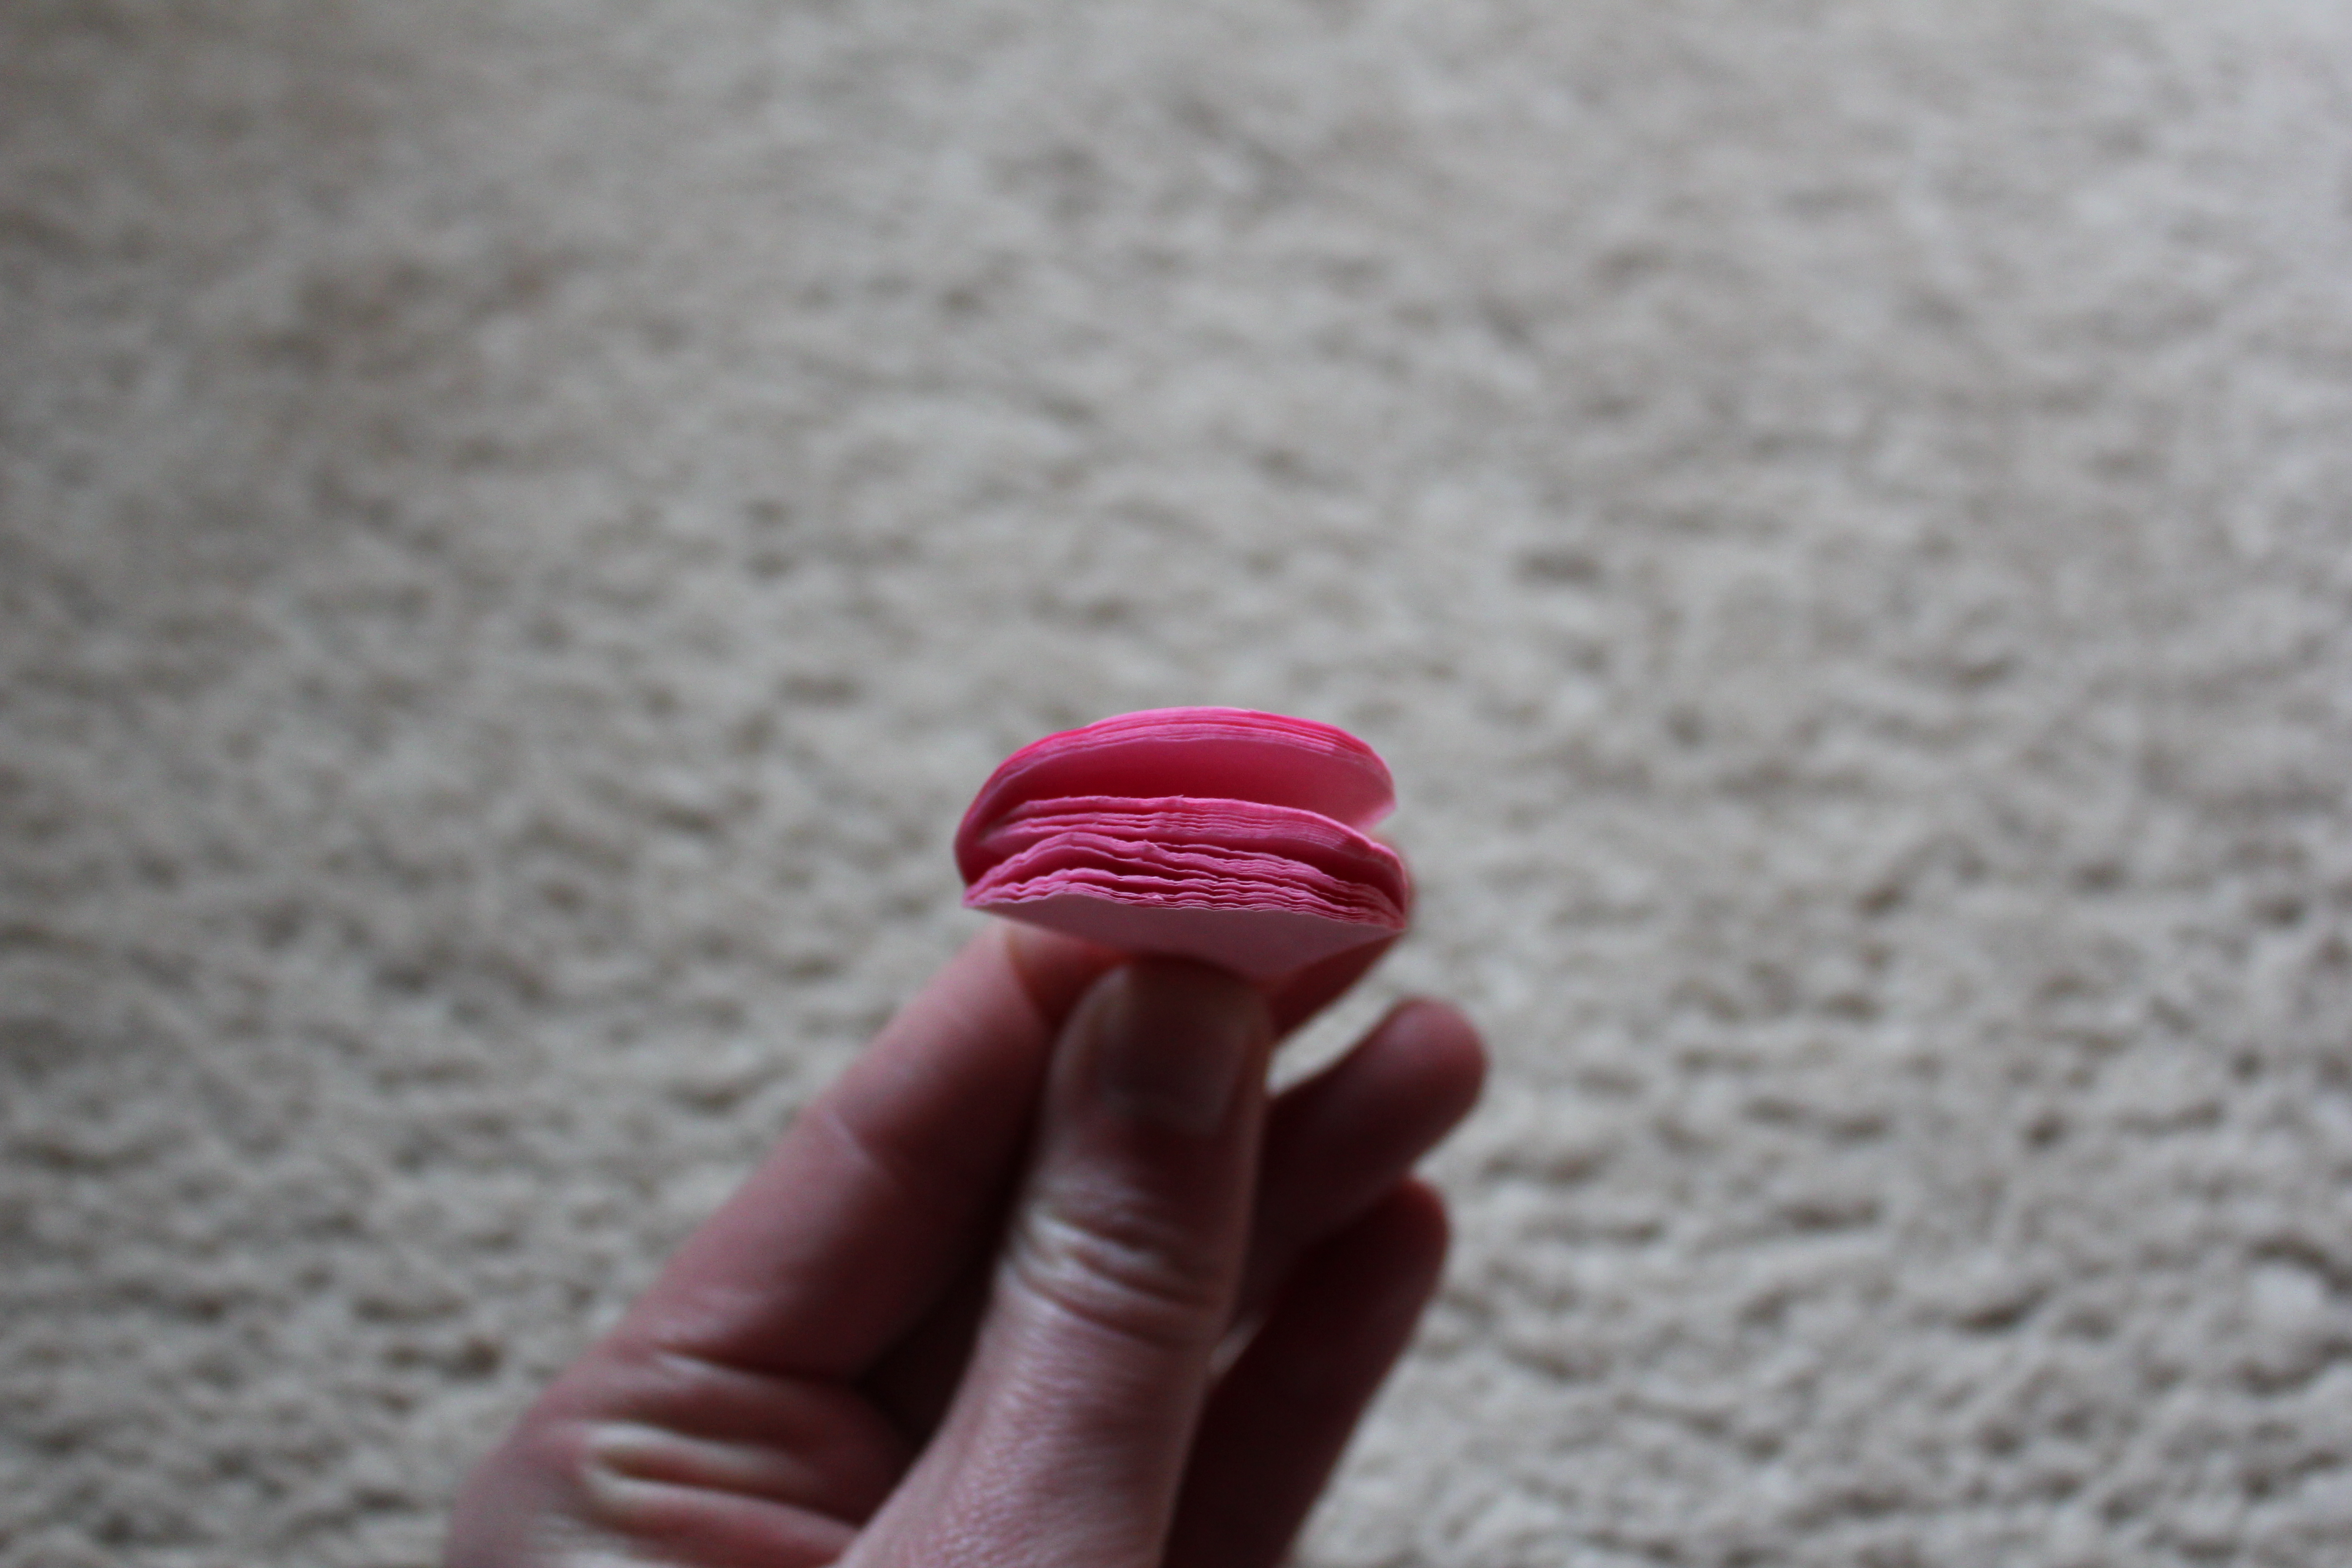
Unfold the cut pieces and you should have something that resembles a flower!
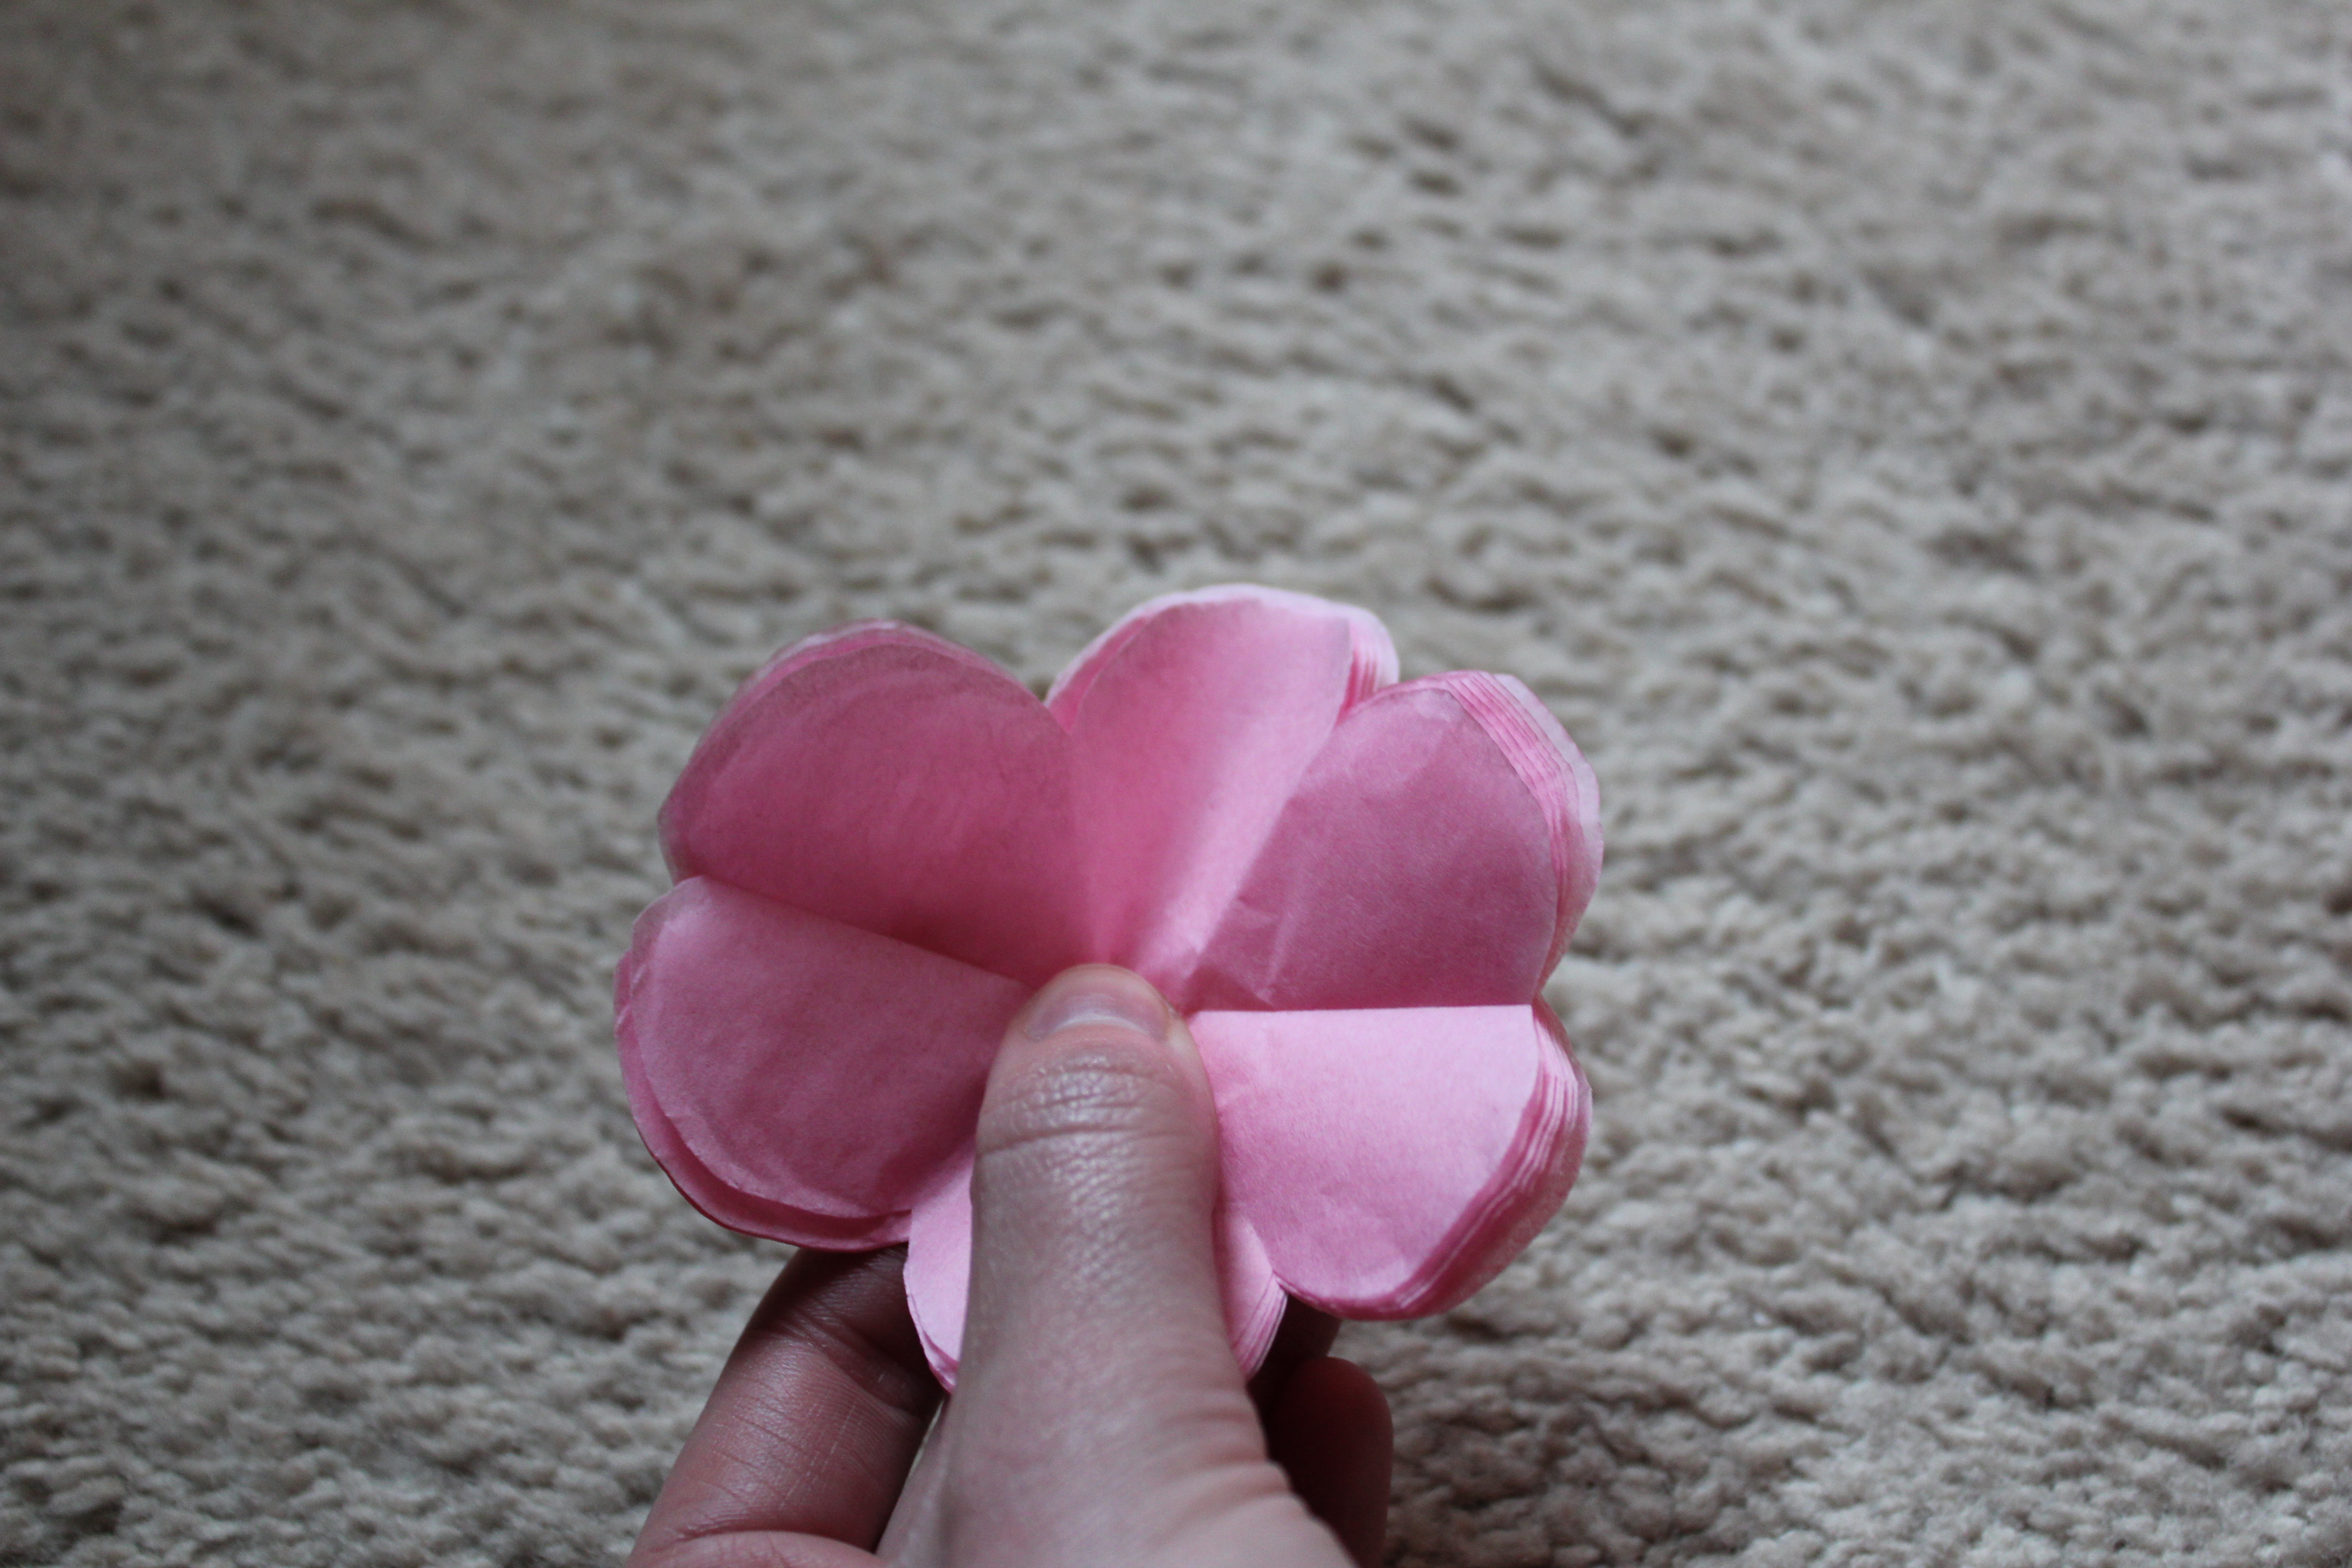

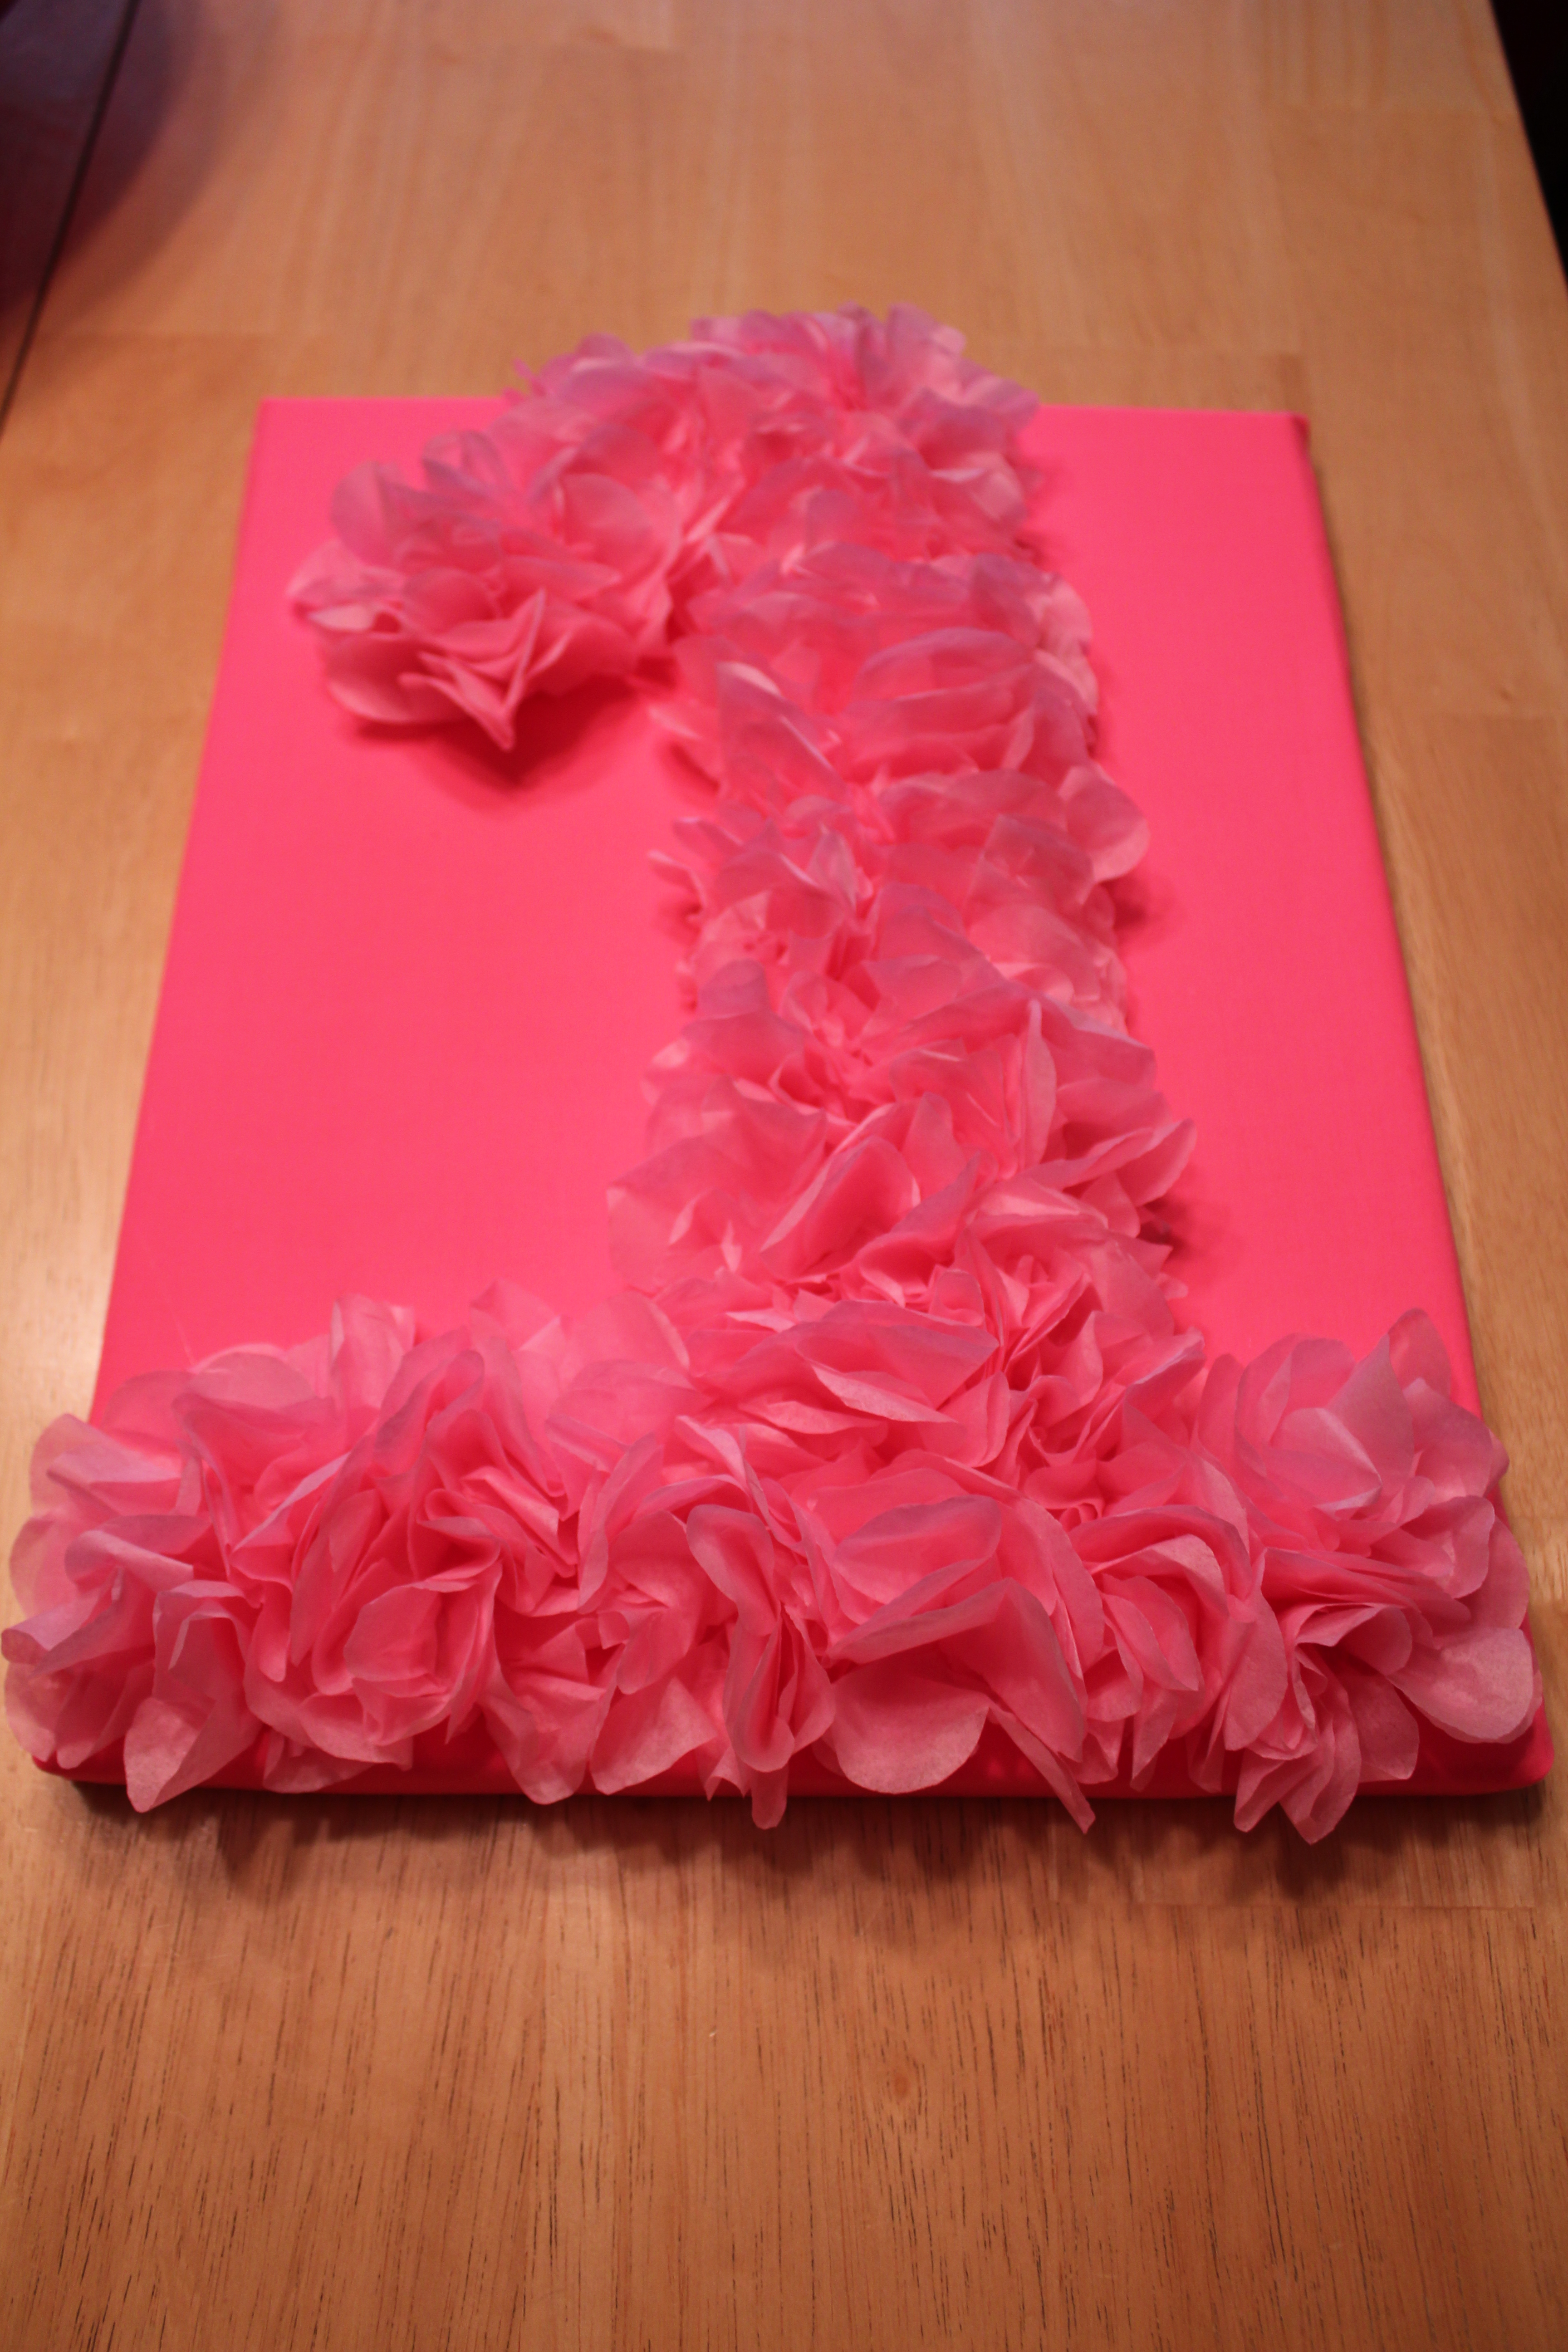
4) Trace, with a pencil, the number you want to make on your canvas. I started with just a single line and then boxed around it to make a fuller number “1”.
5) Take an individual flower from your pile of tissue paper flowers and ‘cinch’ up the bottom so you are able to hot glue it to the canvas.

6) Begin gluing the flowers to the canvas, in the shape of the number you are creating. The closer you make the flowers, the fuller your number will look. Just make sure that the fabric isn’t showing through the tissue paper.
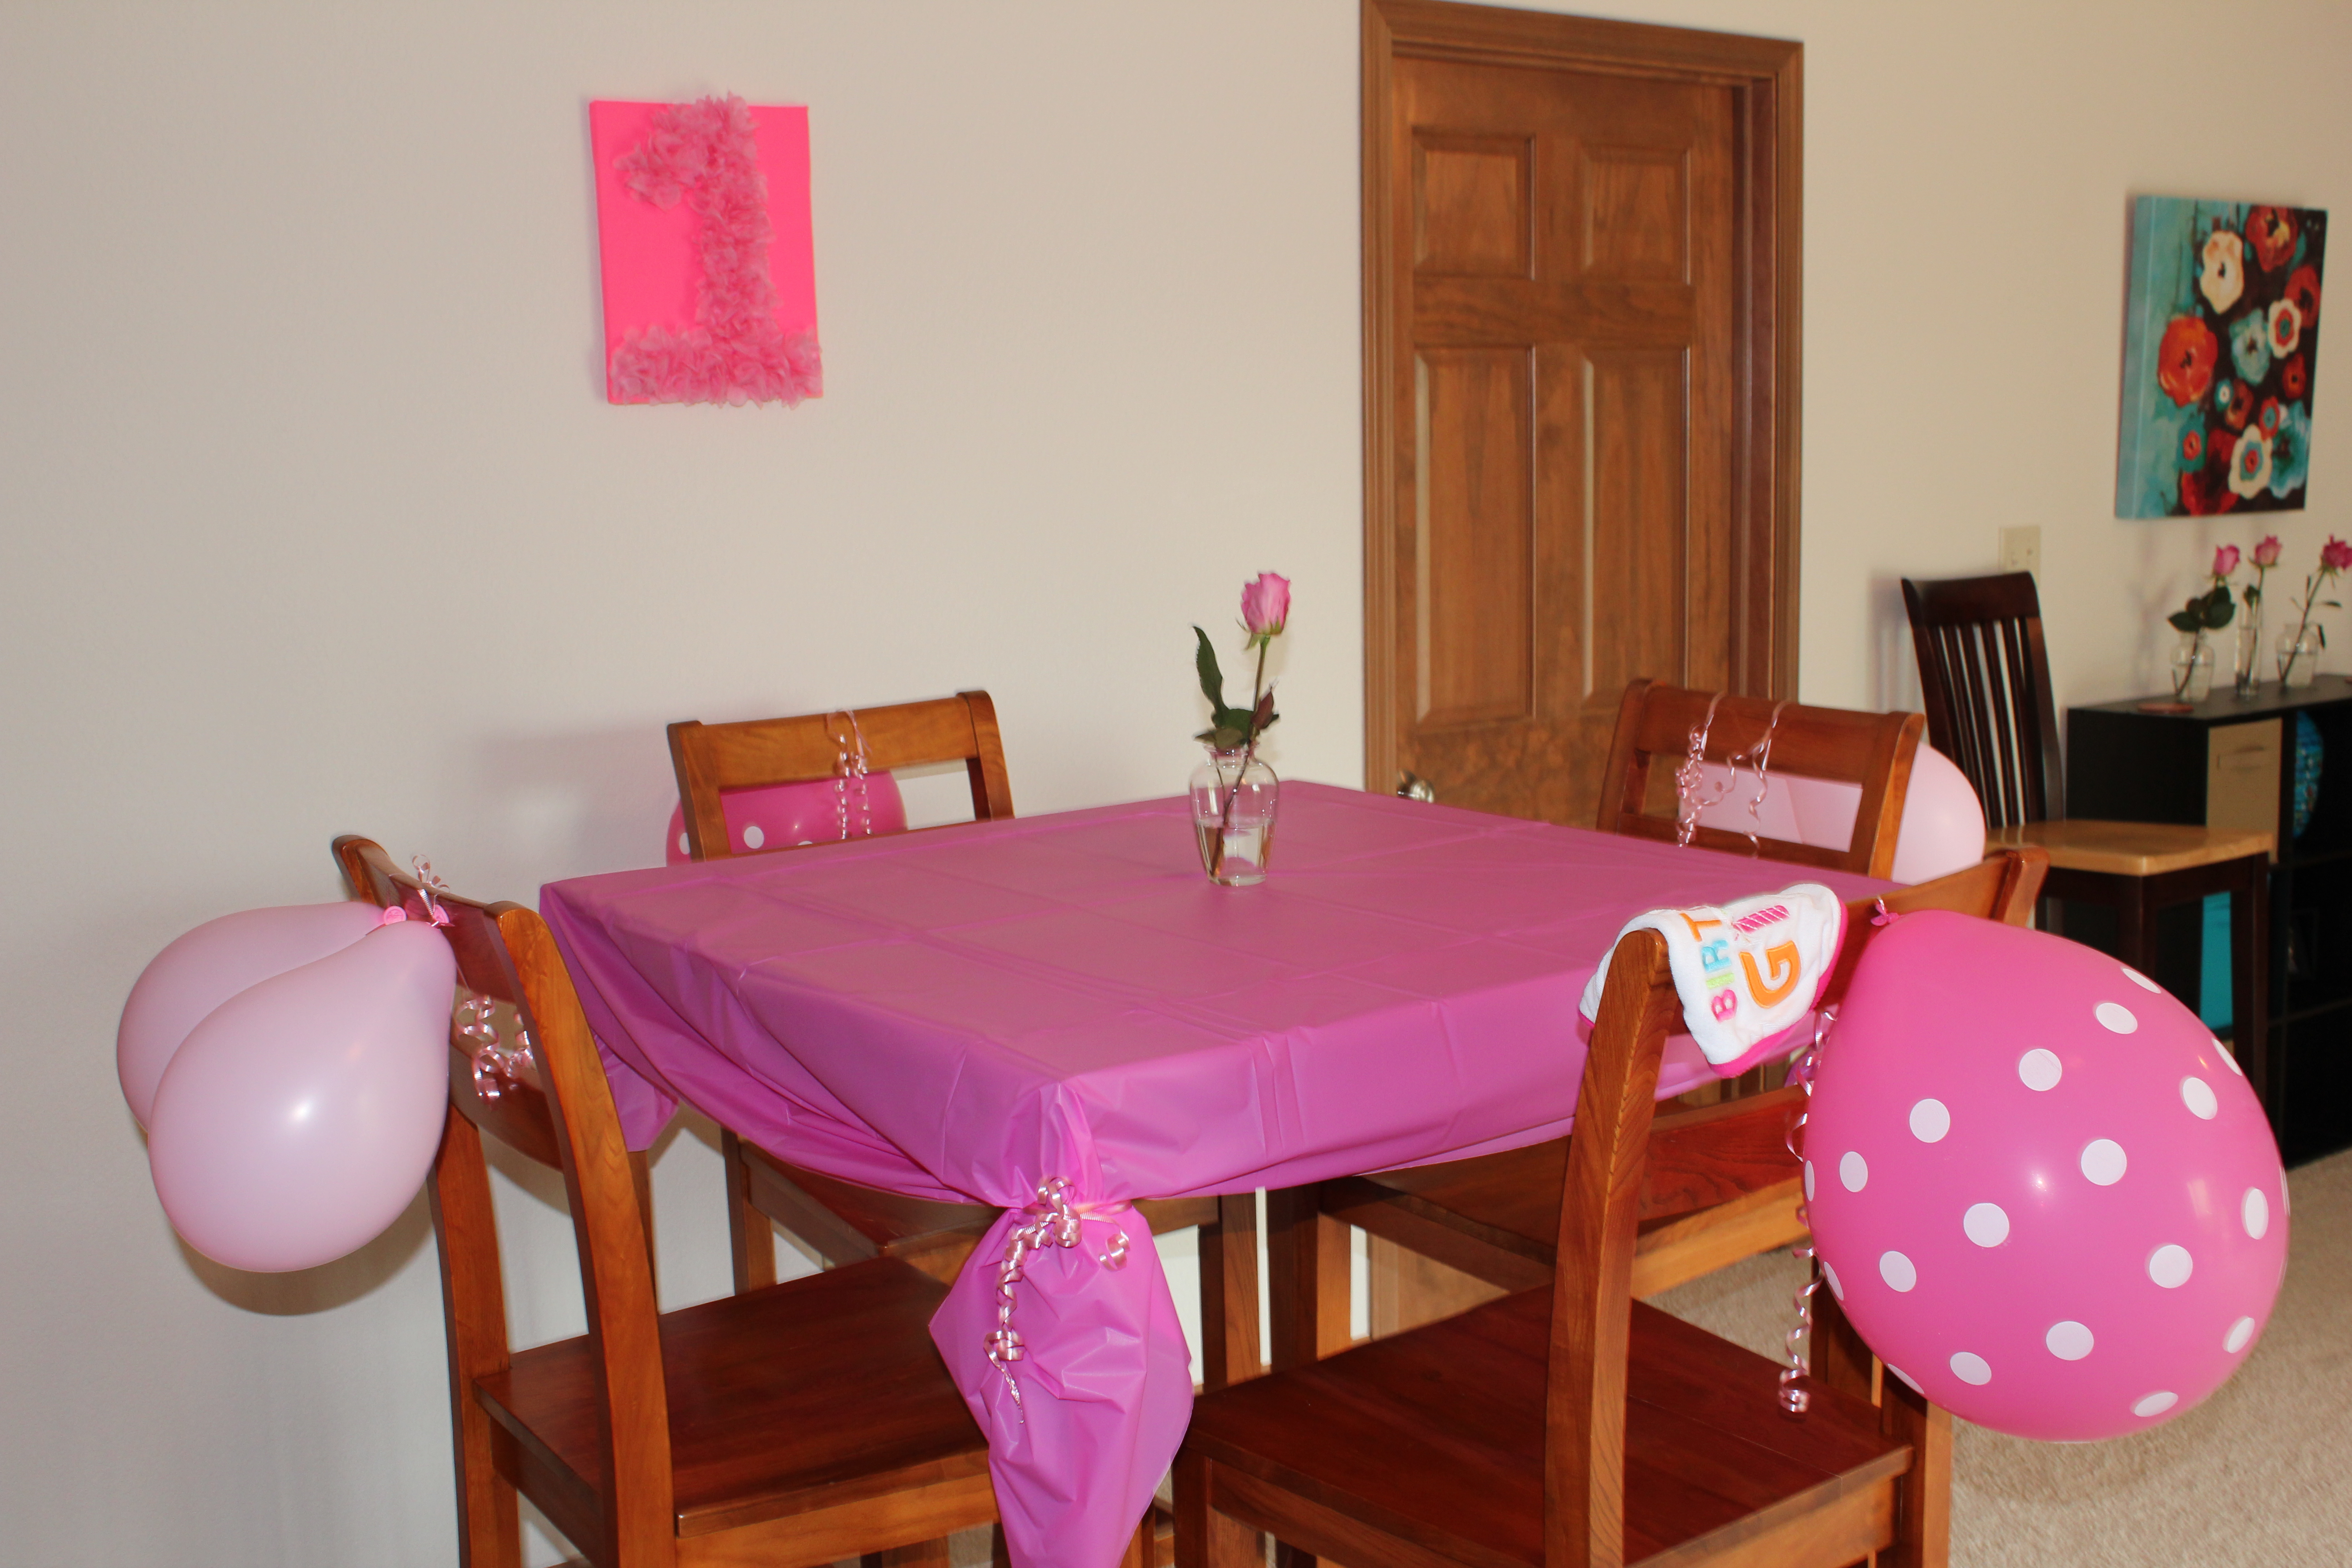
That’s it! Just keep gluing down the tissue paper flowers until the number is complete!
I think from start to finish this project took me a little less than an hour! It was inexpensive and easy and I really liked how it turned out — it added the perfect touch to a blank wall!
Cute!
xo,
Abby
Looking for more?
Turning One: Pink Candy Buffet

very nice indeed…